9 Cute DIY Phone Case Ideas for a Fun and Personal Project
Every year, more than 1.5 billion smartphone cases are sold worldwide, yet the majority of people carry a case that looks nearly identical to someone else’s. That gap between mass production and personal expression is exactly where the 9 cute DIY phone case ideas for a fun and personal project explored in this guide come in. Whether the goal is a one-of-a-kind gift, a weekend creative outlet, or a way to match a phone case to a specific aesthetic, handmade cases deliver something no retail shelf can: a design that belongs entirely to the person who made it.
Disclosure: This post contains affiliate links. As an Amazon Associate, we earn from qualifying purchases, and at no extra cost to you.
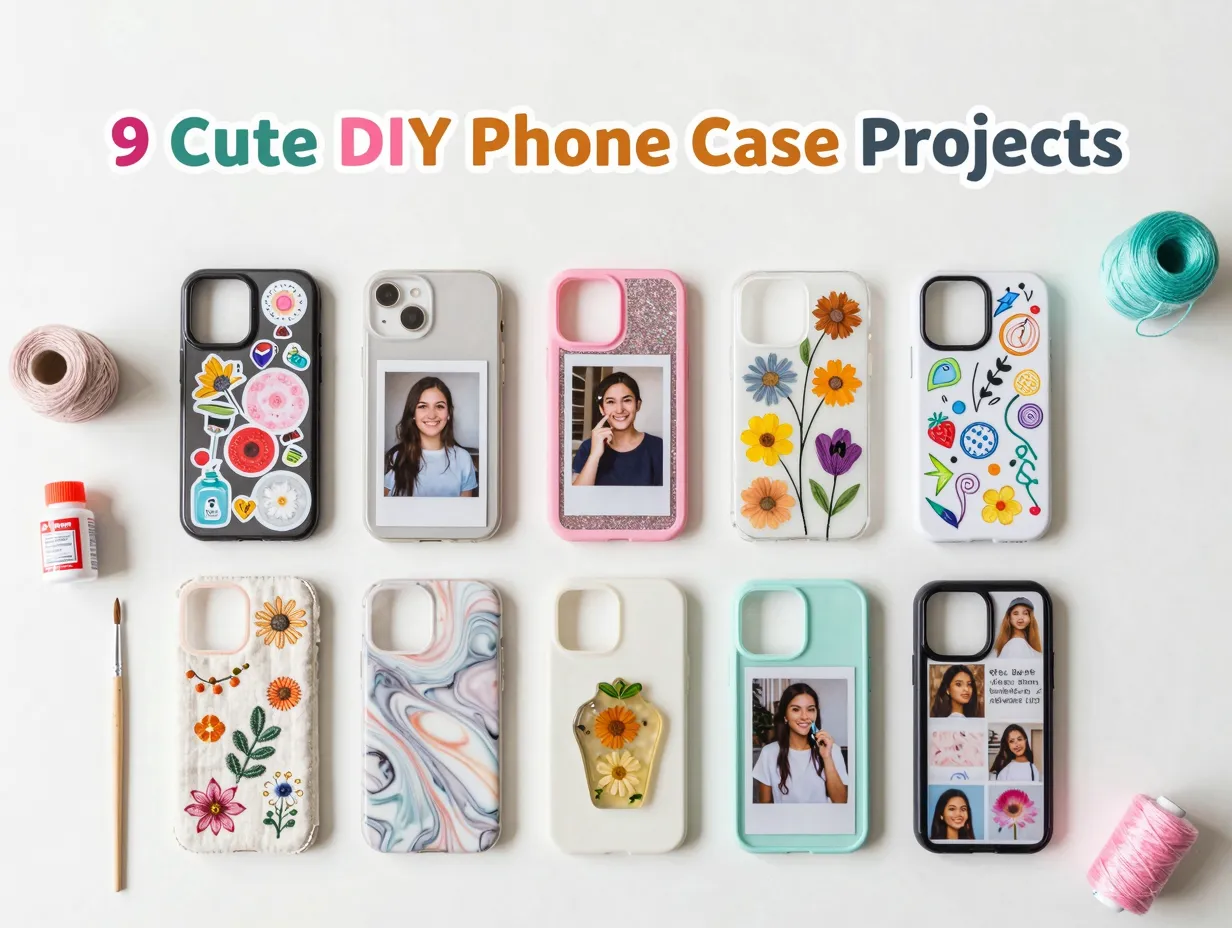
From beginner-friendly sticker collages to more advanced embroidered fabric cases, these projects range in skill level, cost, and time investment. Most require only materials already found at home or available for a few dollars at a craft store. In 2026, DIY phone case content continues to trend across social platforms, with nature motifs, glitter effects, and photo collages ranking among the most searched and shared designs [2][5].
Key Takeaways
- Nine distinct DIY phone case techniques are covered, ranging from beginner to intermediate skill levels.
- Most projects cost under ten dollars and use materials like acrylic paint, stickers, pressed flowers, or fabric.
- Clear phone cases are the most versatile base for DIY projects and are widely available online.
- Sealing finished designs with Mod Podge or epoxy resin extends durability significantly.
- Popular 2026 themes include floral and nature motifs, glitter effects, photo collages, and charm-loaded “cluttercore” styles.
Why DIY Phone Cases Are Worth Making in 2026
The appeal of handmade phone cases has grown well beyond hobbyist circles. Design-focused platforms and print-on-demand trend reports consistently list personalized phone accessories among the top-selling custom products, with pet portraits, abstract art, and photo-based designs leading demand [2][5][7]. Making a case at home captures that same personalization at a fraction of the cost.
There is also a practical advantage: a DIY case can be updated whenever a design feels stale. A clear case with a paper insert, for example, can be refreshed in minutes. More permanent techniques like resin or embroidery reward the effort with a case that genuinely feels like wearable art.
The nine ideas below are organized from simplest to most involved, so beginners can start at the top and work their way toward more ambitious projects as confidence builds.
The Complete List: 9 Cute DIY Phone Case Ideas for a Fun and Personal Project
1. Clear-Case Sticker Collage
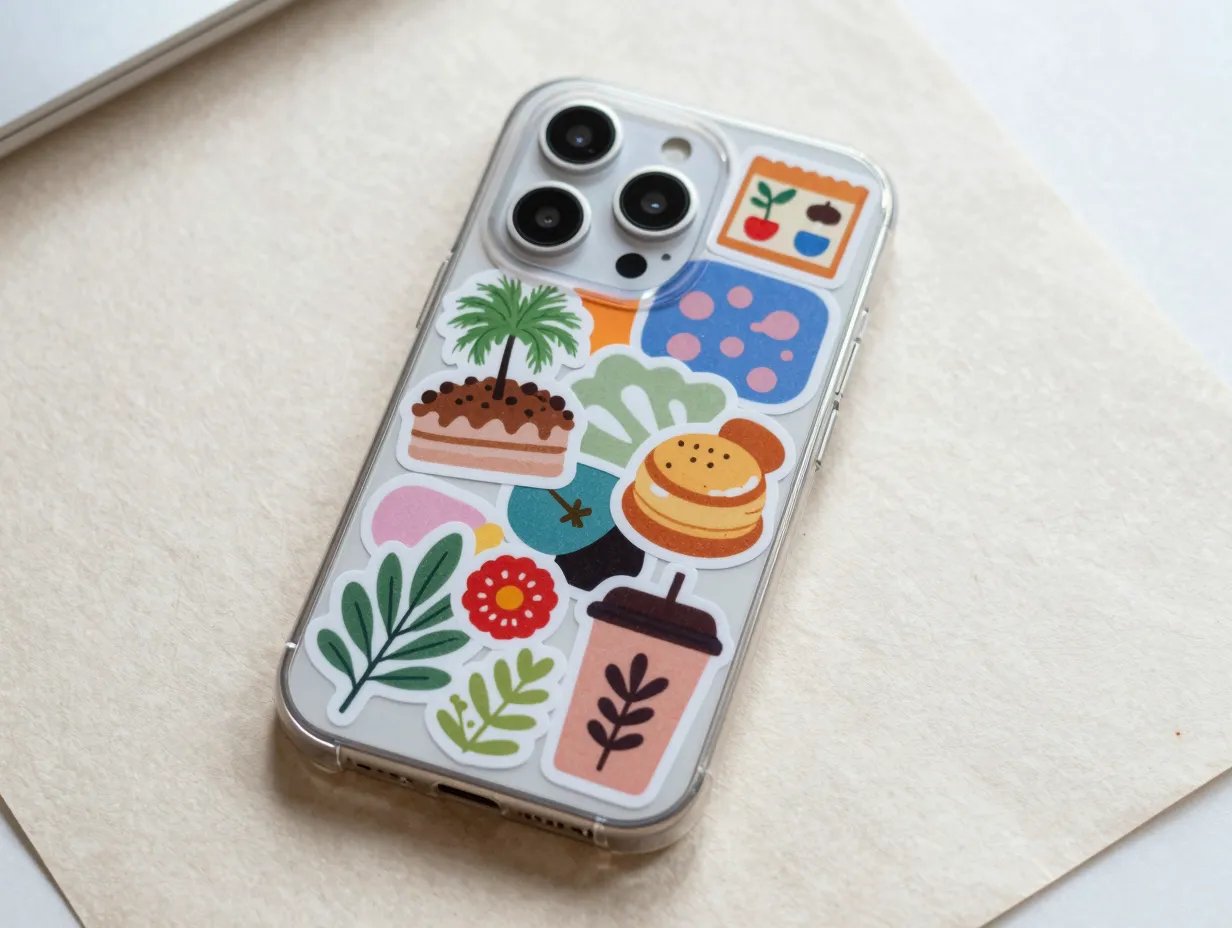
A sticker collage on a transparent case is one of the most recommended starting points for anyone new to DIY phone customization [1][5]. The process is straightforward: select a clear case that fits the phone model, choose a mix of stickers in different sizes, and begin layering.
How to do it:
The key technique is to place large “anchor” stickers first, these define the overall look and fill the most visual space. Smaller stickers then fill the gaps between them, creating a dense, intentional arrangement rather than a random scatter. Overlapping stickers slightly gives the collage a layered, dimensional feel.
Tips for best results:
- Mix sticker styles (holographic, matte, glossy) for visual texture.
- Leave the camera area clear or frame it deliberately as a design element.
- Press each sticker firmly to avoid air bubbles under the case.
Popular sticker themes in 2026 include botanical illustrations, retro food graphics, pop-culture references, and abstract shapes [5][12]. A finished sticker collage case can be sealed with a thin layer of Mod Podge to protect the stickers from peeling.
2. Patterned Paper or Photo Insert
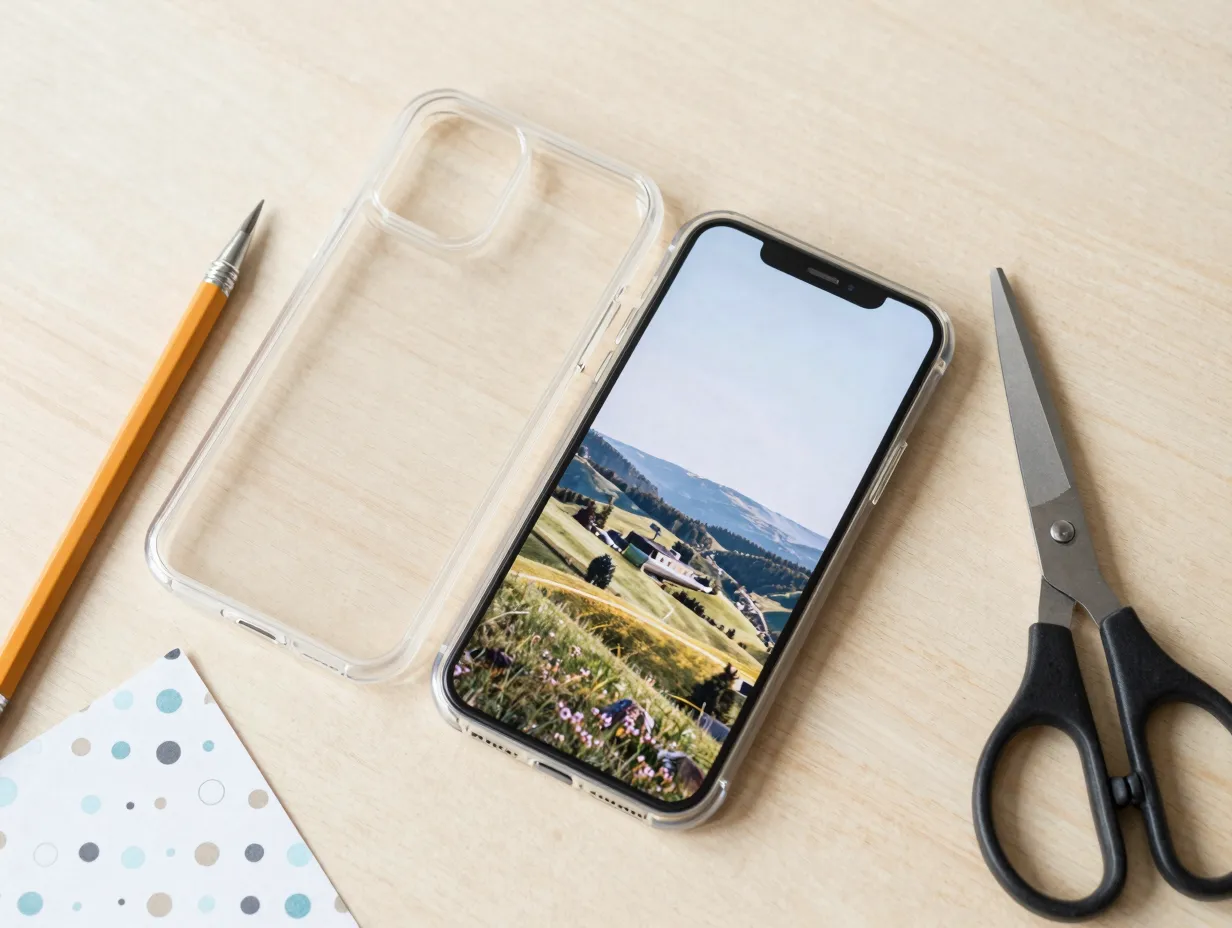
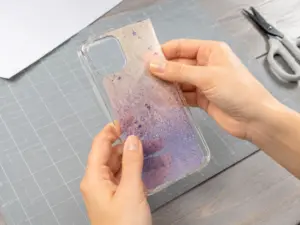
The paper insert method is one of the most versatile and beginner-friendly techniques available [1][5][15]. It requires nothing more than a clear case, scissors, and a printed image or patterned paper.
Step-by-step process:
- Place the clear case face-down on the chosen paper or printed photo.
- Trace the outline of the case with a pencil.
- Cut along the traced line, then mark and cut out a hole for the camera.
- Slide the paper insert between the phone and the case.
The insert sits snugly inside the clear shell, visible through the transparent back. Because no adhesive is used, the design can be swapped out any time, a major advantage for people who like to change their aesthetic with the seasons or their mood.
“The paper insert method turns a single clear case into an endlessly changeable canvas, no glue, no commitment, no waste.”
Printed photos of landscapes, pets, or collages work especially well. Patterned scrapbook paper, magazine pages, and even hand-drawn artwork all produce striking results [1][5].
3. Hand-Painted Doodle Case
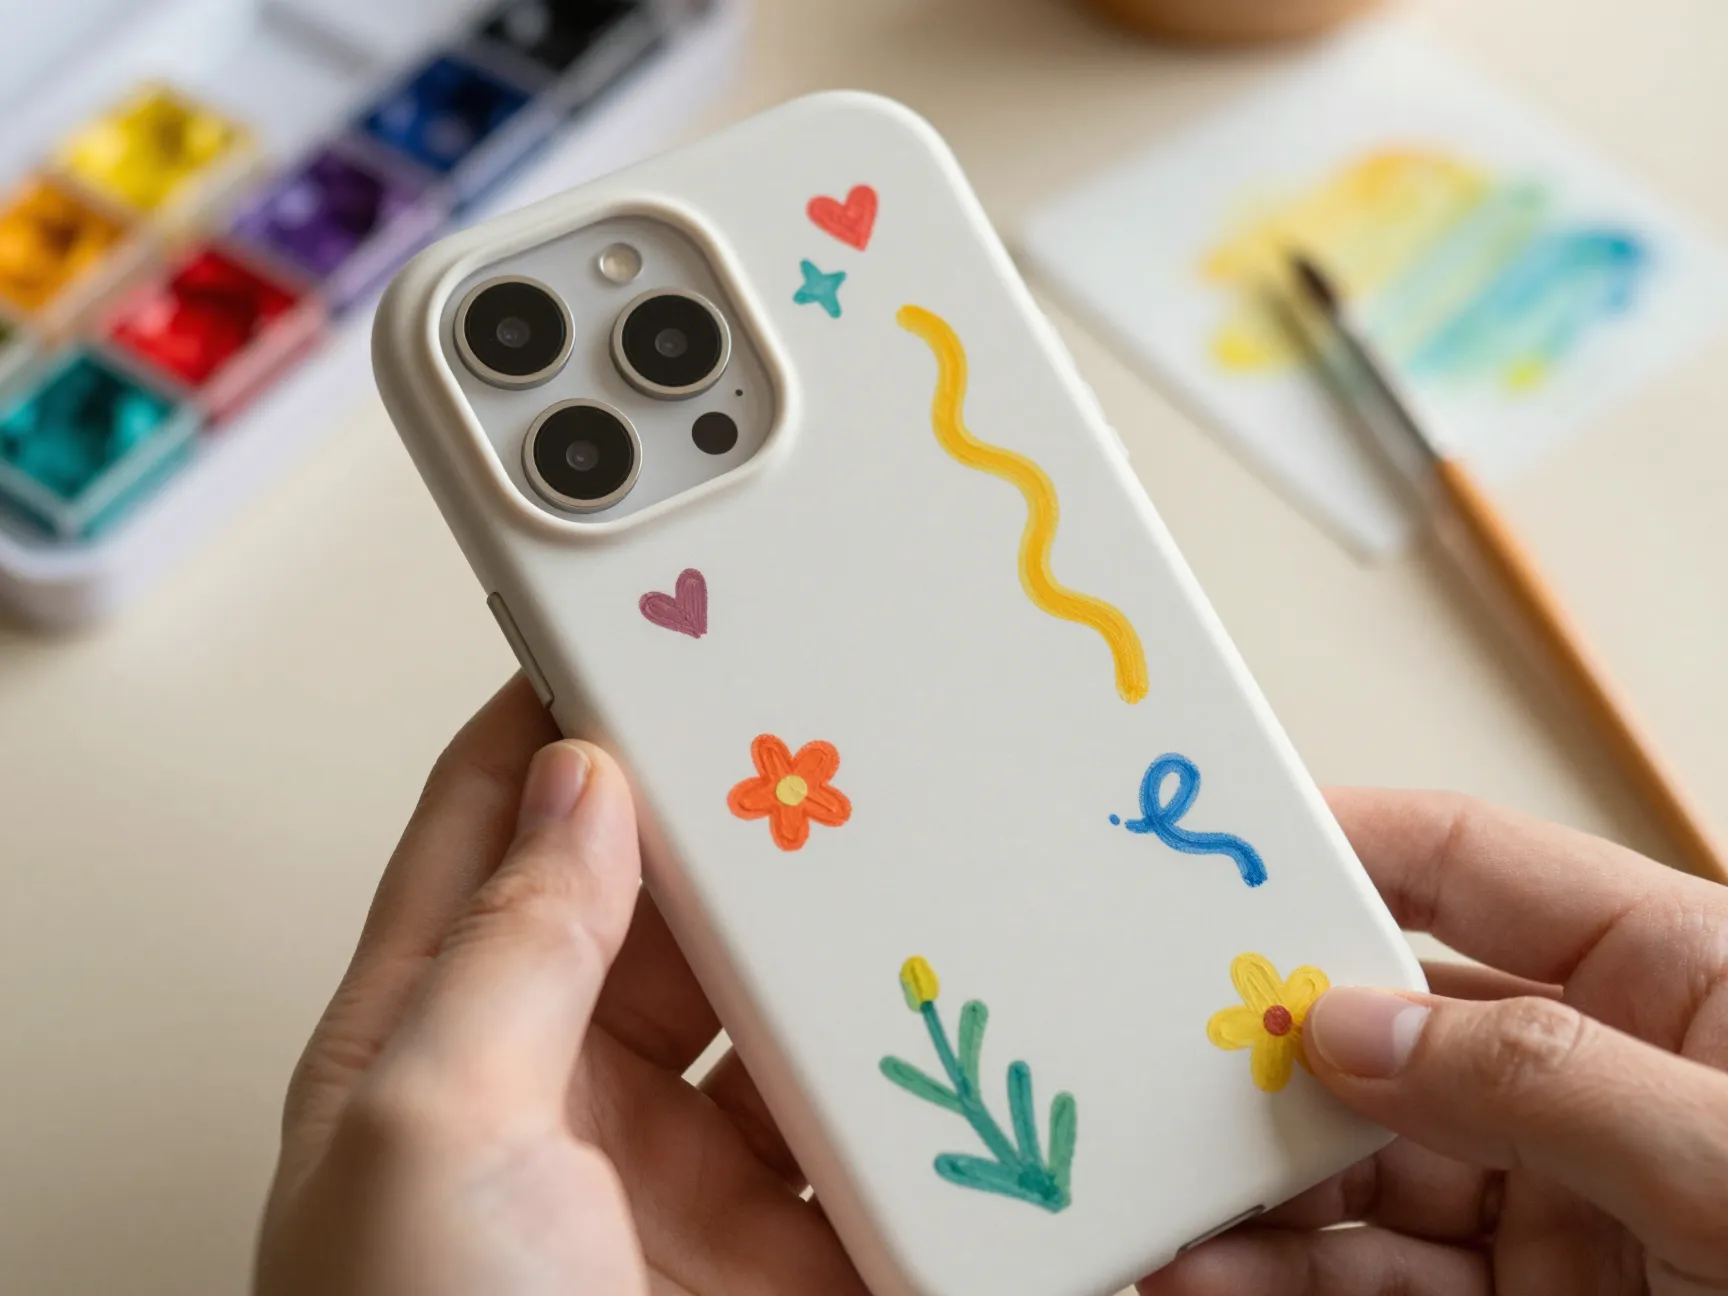
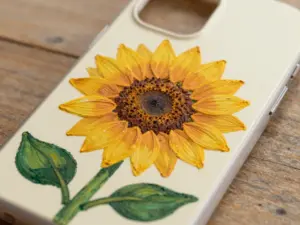
Acrylic paint transforms a plain solid or clear case into a miniature canvas. Hand-painted doodle cases are consistently featured in DIY design round-ups as simple, satisfying projects that require no artistic training to attempt [1][2][5].
Materials needed:
- Plain or clear phone case (solid-color cases work well as a background)
- Acrylic paint in desired colors
- Fine-tipped paintbrushes
- Optional: nail polish for metallic or glossy accents
Recommended motifs for beginners:
- Wavy lines and abstract brushstrokes
- Small hearts, stars, and dots
- Simple florals and leaf outlines
- Minimalist line art portraits
The most important rule is patience: each layer of paint must dry fully before adding the next. Rushing this step causes colors to bleed and muddy. A clear sealant coat applied after the final layer protects the design from chipping [1][5].
Nail polish can substitute for or complement acrylic paint, adding a glossy, jewel-toned effect that acrylic alone cannot replicate. Metallic nail polish works particularly well for outlining details.
4. Glitter and Holographic Effect Case
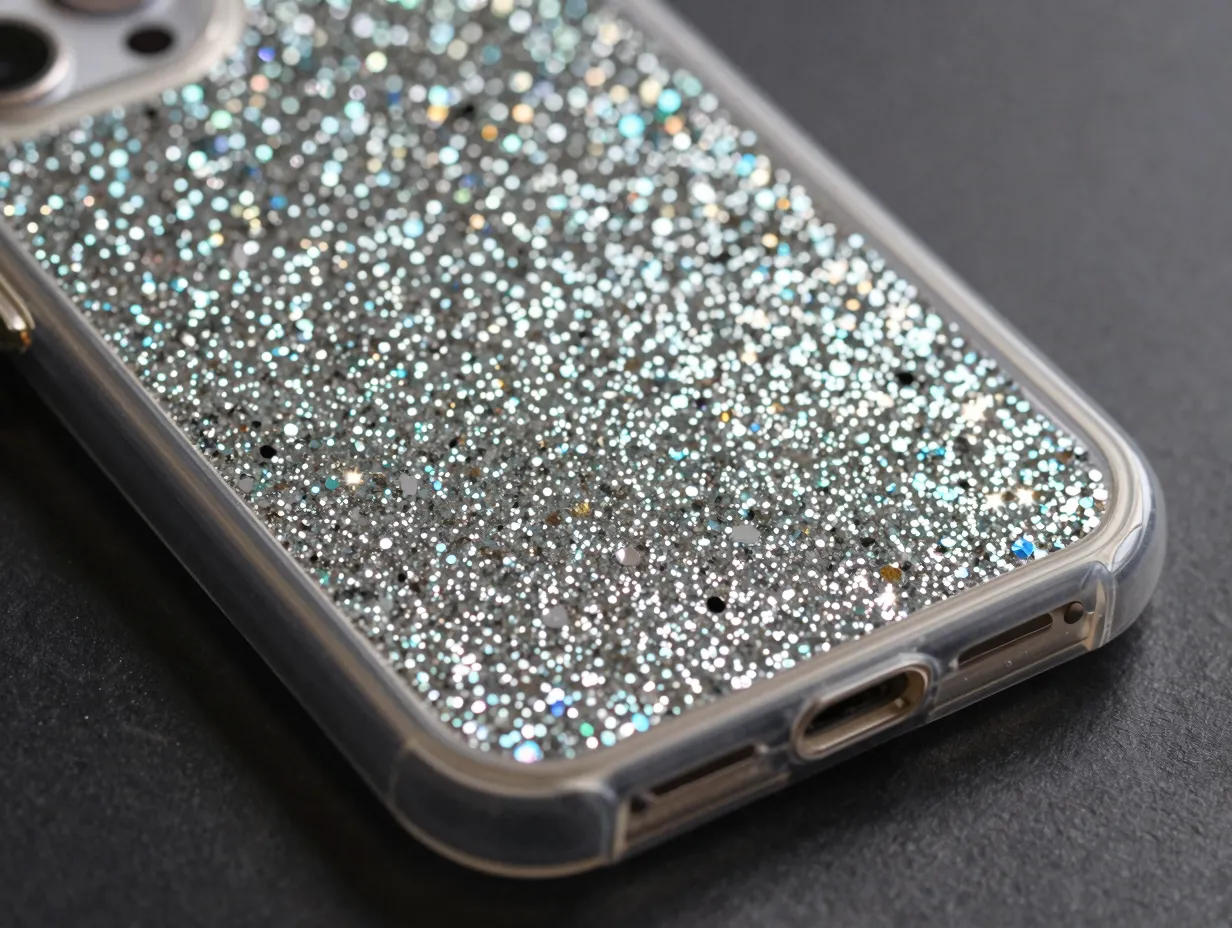
Glitter cases remain one of the most visually striking DIY options, and the technique has been refined into a reliable four-step process [5][14][15]. The key material is Mod Podge, a craft adhesive and sealer that binds loose glitter without cracking.
How to create a glitter case:
- Choose a clear case and decide whether to coat the inside (for a smooth outer surface) or the outside.
- Mix loose glitter into Mod Podge until the mixture is evenly saturated.
- Paint the mixture onto the inside back surface of the case using a flat brush.
- Allow at least 24 hours of drying time so the glitter settles evenly before handling.
Holographic glitter, chunky craft glitter, and fine cosmetic glitter each produce different effects. Mixing two sizes, one fine, one chunky, creates depth. For a more controlled look, use holographic vinyl cut into shapes and adhere them to the case surface instead.
5. Pressed-Flower Case
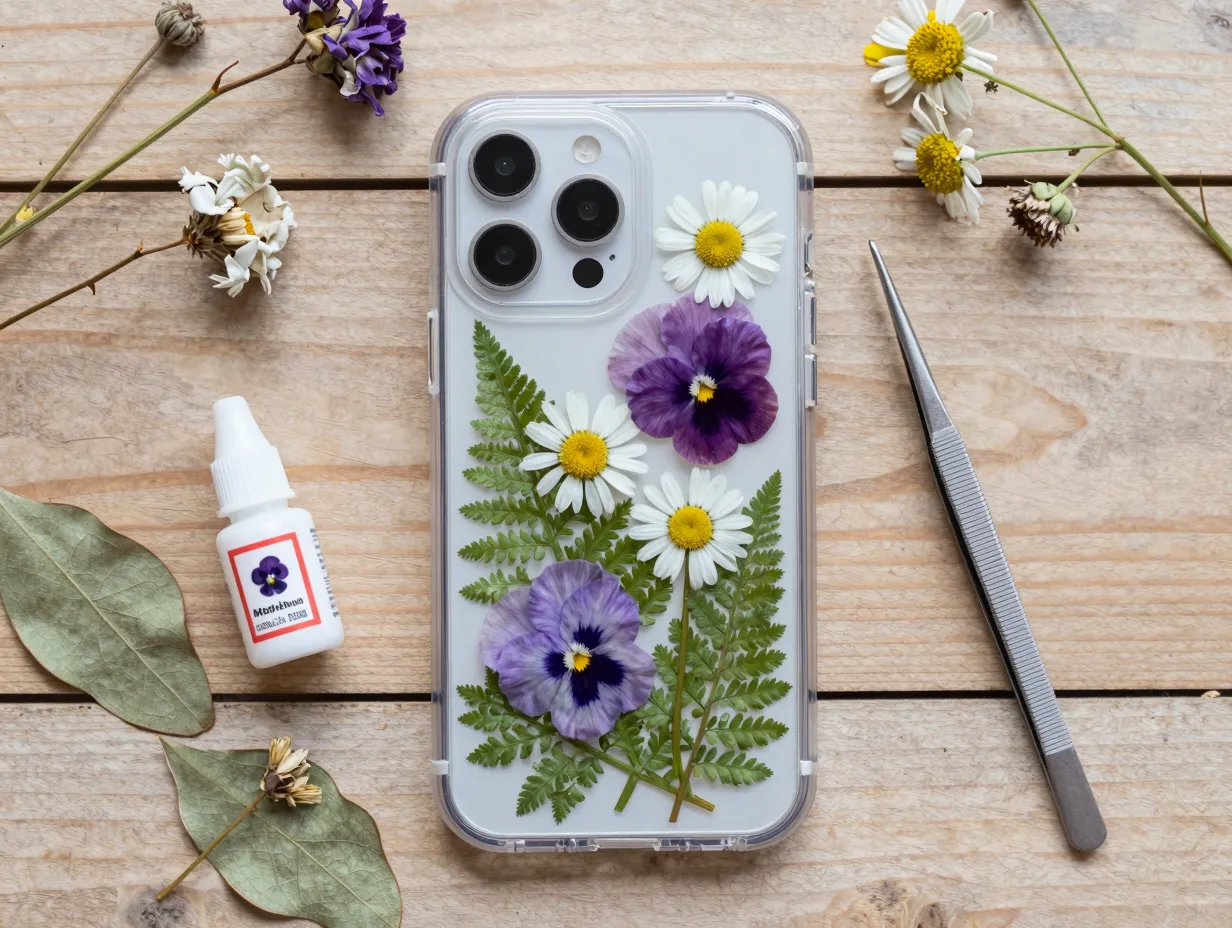
Pressed-flower cases have maintained strong popularity into 2026, appearing in multiple design guides and print-on-demand trend reports that list floral and nature motifs as top-selling phone accessory themes [2][5][7][15].
Pressing flowers at home:
- Collect small, flat flowers such as pansies, daisies, or baby’s breath.
- Place them between two sheets of parchment paper inside a heavy book.
- Stack additional books on top and leave undisturbed for five to seven days.
- Once fully dried, handle with tweezers to avoid tearing delicate petals.
Assembling the case:
Arrange the pressed flowers on the back of a clear case, experimenting with placement before committing. Once satisfied with the layout, apply a thin layer of Mod Podge or clear epoxy resin over the flowers to seal them permanently. Epoxy resin provides a harder, more durable finish and gives the case a glossy, professional look [5][15].
Pressed leaves, ferns, and even small seed pods can supplement flowers for a more botanical aesthetic. The result is a genuinely unique case, no two pressed-flower arrangements will ever look exactly alike.
6. Nail-Polish Marble Case
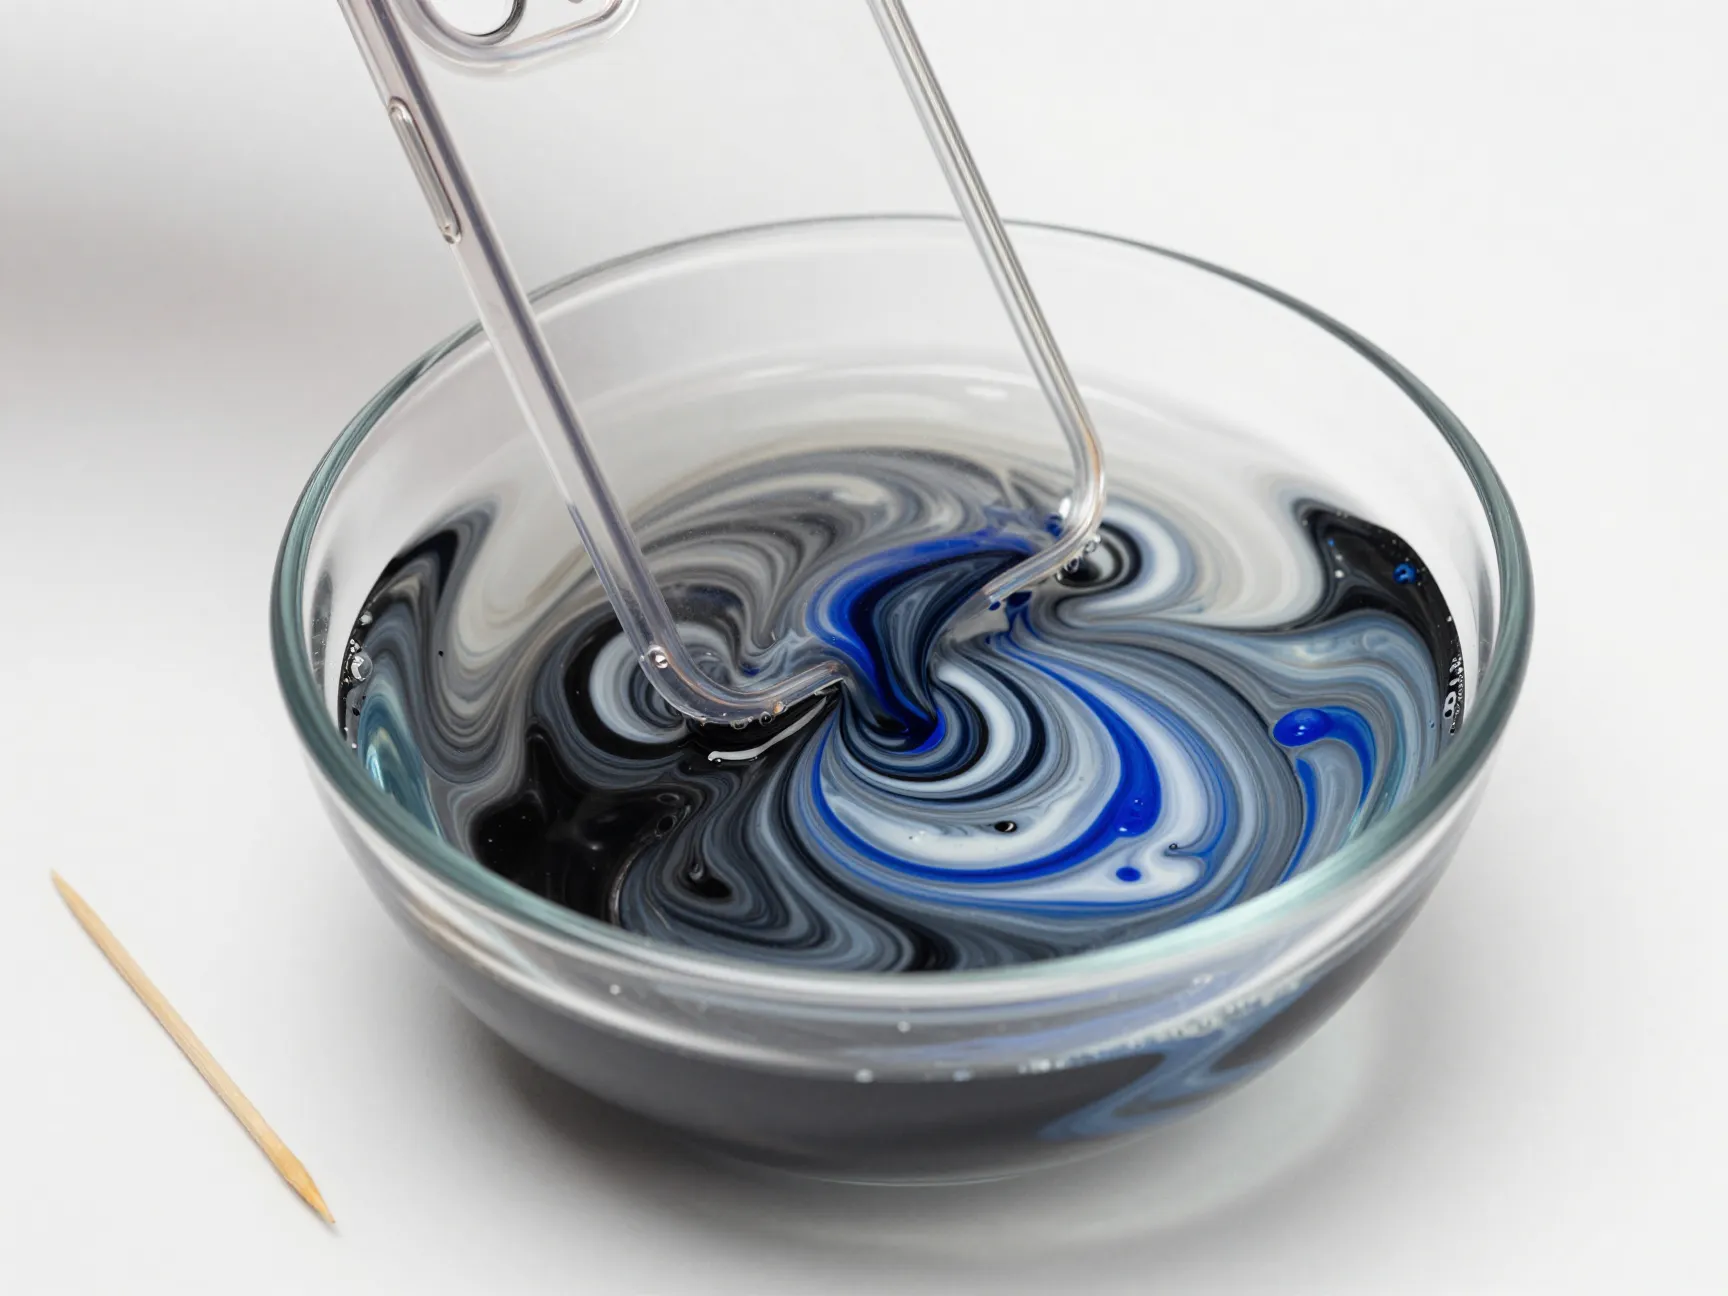
The marble technique uses nail polish and water to create swirling, stone-like patterns that look far more complex than the process actually is [8][15]. This method has appeared on authoritative craft sites for years and continues to be recommended for its dramatic visual payoff.
Materials:
- Clear or white phone case
- Two to four nail polish colors (one light, one dark, one accent)
- A bowl of room-temperature water
- A toothpick or skewer
Process:
- Fill a bowl with water deep enough to submerge the case.
- Drop several colors of nail polish onto the water’s surface, they will spread into rings.
- Use a toothpick to swirl the colors into a marble pattern.
- Dip the case face-down into the water, pressing through the nail polish layer.
- Remove, allow excess water to drip off, and let dry completely.
The result is a one-of-a-kind marbled pattern that cannot be replicated exactly. For a more contemporary look, pair classic black-and-white marble with a single bold accent color like cobalt blue or terracotta [8][15].
7. Fabric-Covered and Embroidered Case
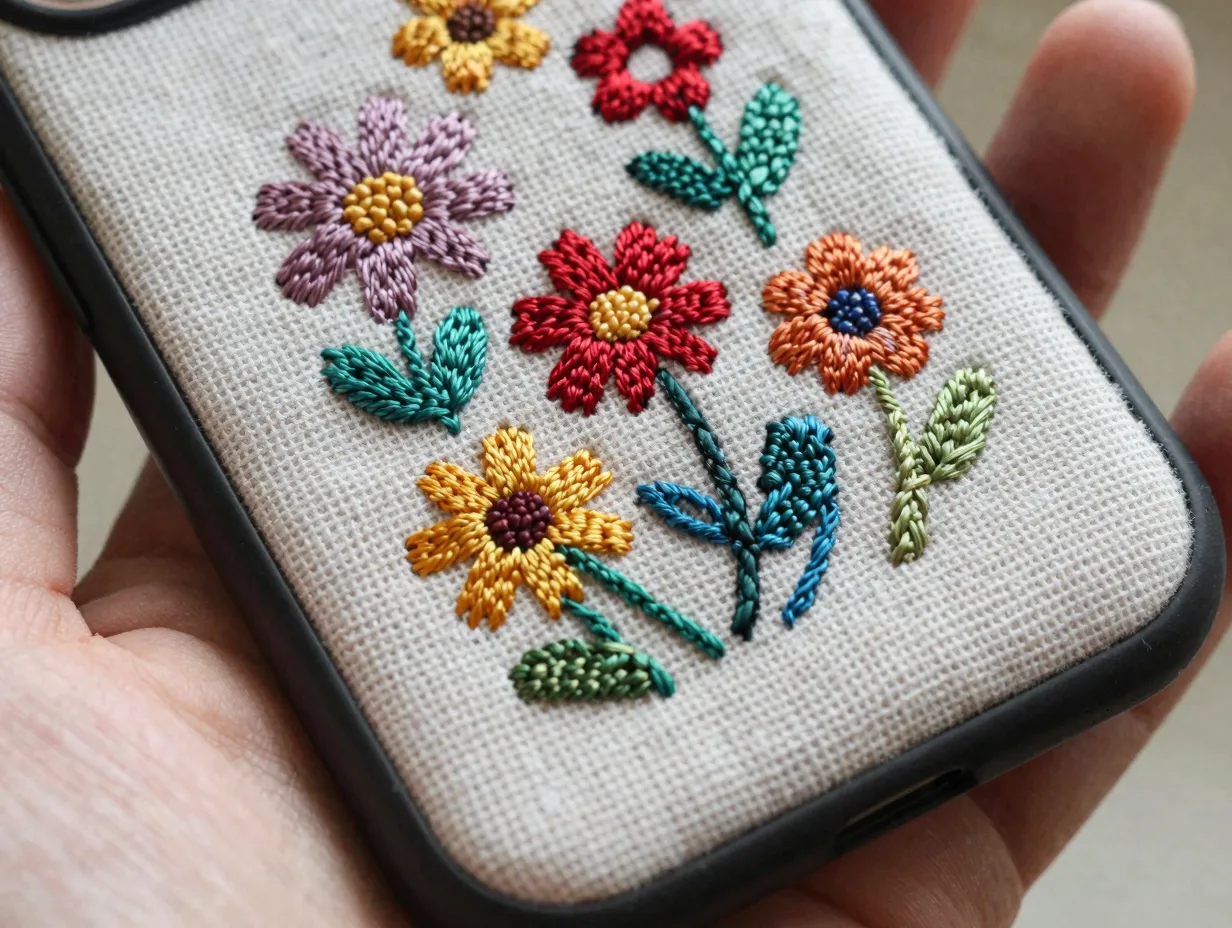
Fabric and embroidery projects sit at the more advanced end of the DIY spectrum, but the personalization payoff is substantial [13][15]. These cases are genuinely wearable art, tactile, textured, and completely handmade.
Fabric-covered base:
- Cut a piece of fabric slightly larger than the back of a plain phone case.
- Apply a thin, even layer of strong craft glue to the case back.
- Press the fabric onto the glue, smoothing out bubbles from the center outward.
- Trim excess fabric along the edges once dry.
Adding embroidery:
Once the fabric base is secure, use a washable fabric pen to sketch a simple design, florals, geometric patterns, or initials work well. Stitch over the design using basic embroidery techniques:
- Backstitch for outlines and lettering
- Satin stitch for filled shapes
- French knots for textured dots and flower centers
Style guides classify fabric and embroidered cases as medium-to-hard difficulty with the highest personalization score among all DIY case types [13][15]. The finished product is durable, soft to the touch, and genuinely one-of-a-kind.
8. Resin and Charm “Cluttercore” Case
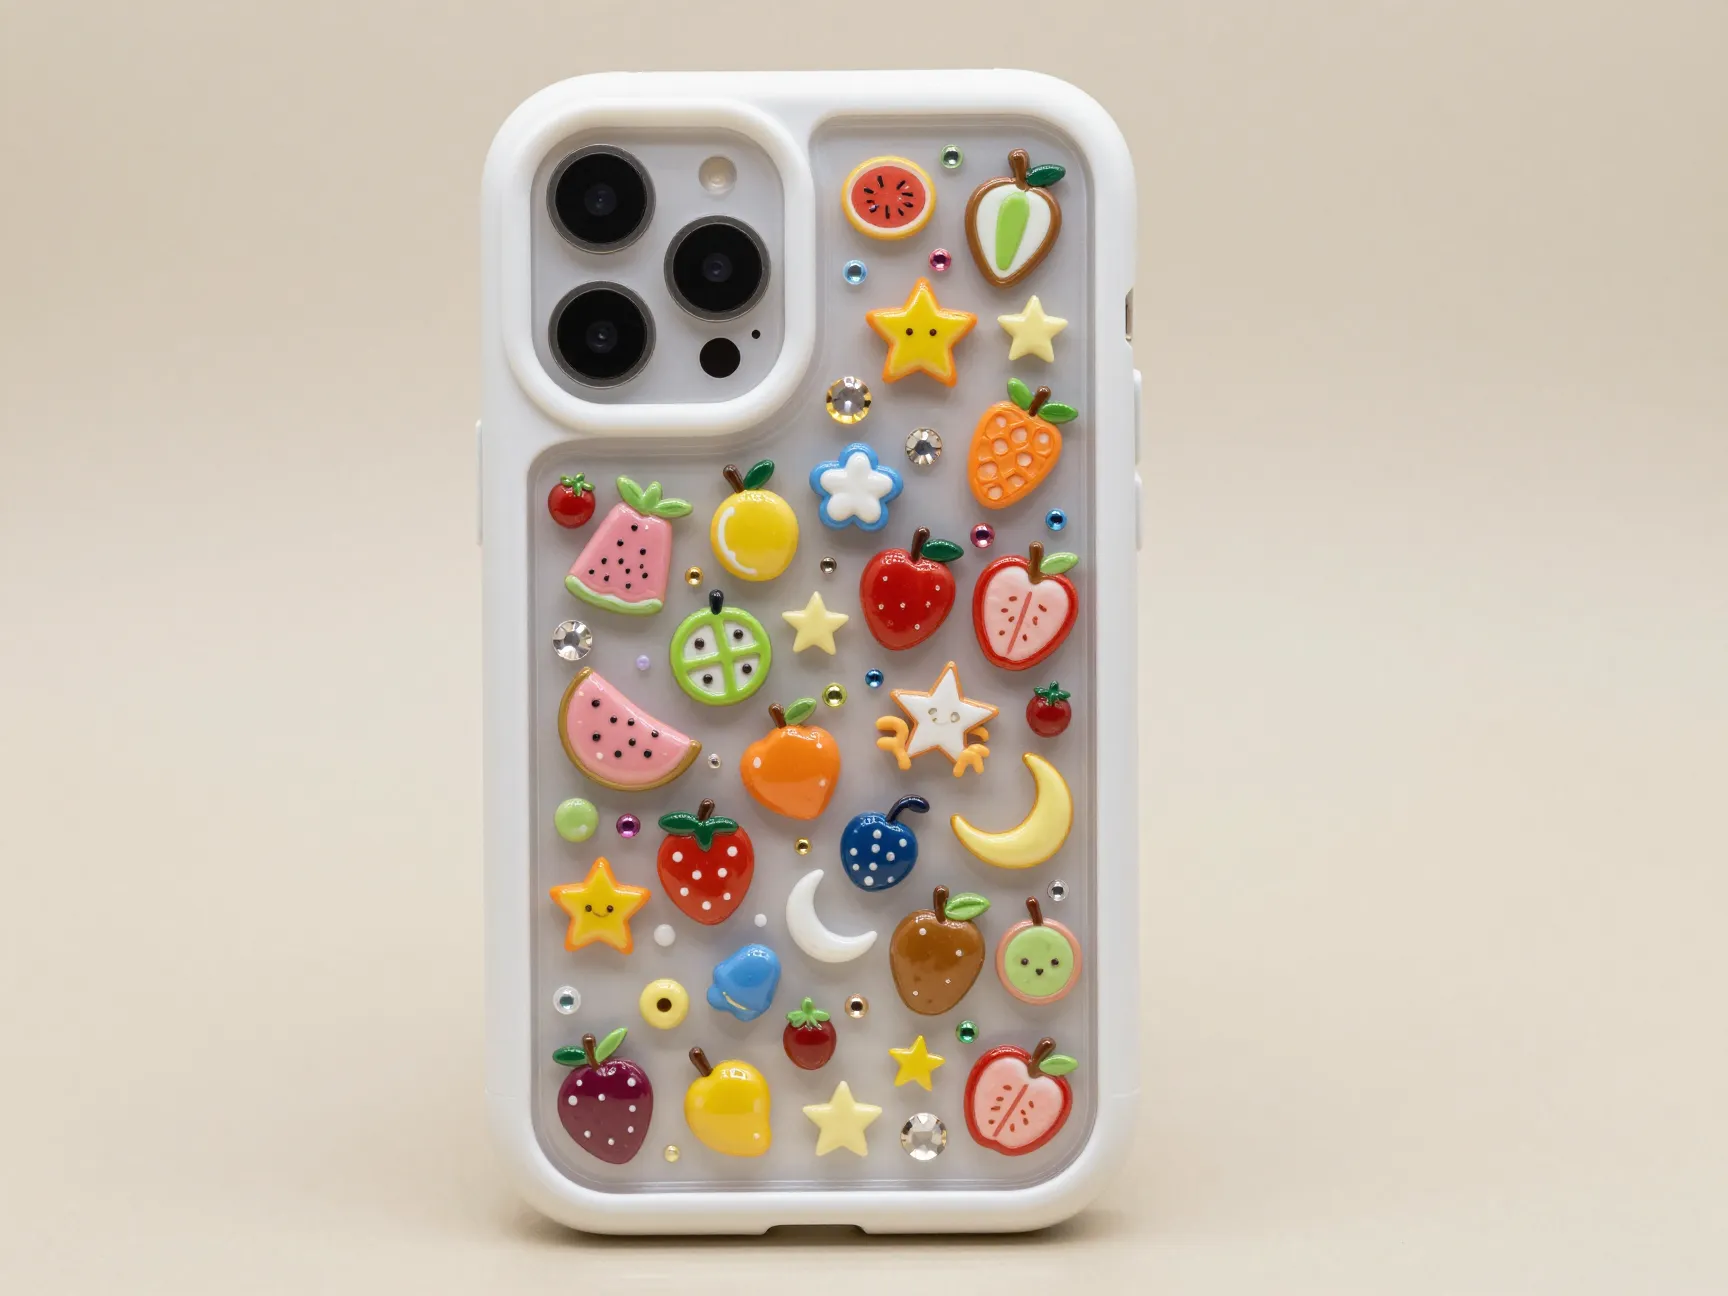
The cluttercore aesthetic, dense, maximalist, and charm-loaded, became a major TikTok-driven trend in early 2026 [4][7][11]. These cases embed small trinkets, charms, and decorative objects into a resin or silicone base, creating a three-dimensional, sculptural effect.
How to build a cluttercore case:
- Start with a neutral-colored solid case (black, white, or beige works best as a backdrop).
- Lightly sand the back surface so adhesive bonds properly.
- Apply a thin layer of silicone caulk or UV resin to the case back.
- Press charms, rhinestones, small trinkets, dried flowers, or beads into the resin before it cures.
- Allow full curing time per the resin product’s instructions, typically 24 to 48 hours.
Popular charm categories for 2026:
- Miniature food charms (fruits, desserts)
- Star and moon motifs
- Vintage buttons and cameos
- Tiny figurines and enamel pins
The result is a case that doubles as a conversation piece. Puffy paint can also be used to add raised, three-dimensional outlines and patterns without the complexity of full resin casting [7][12].
9. Photo Collage and Memory Case
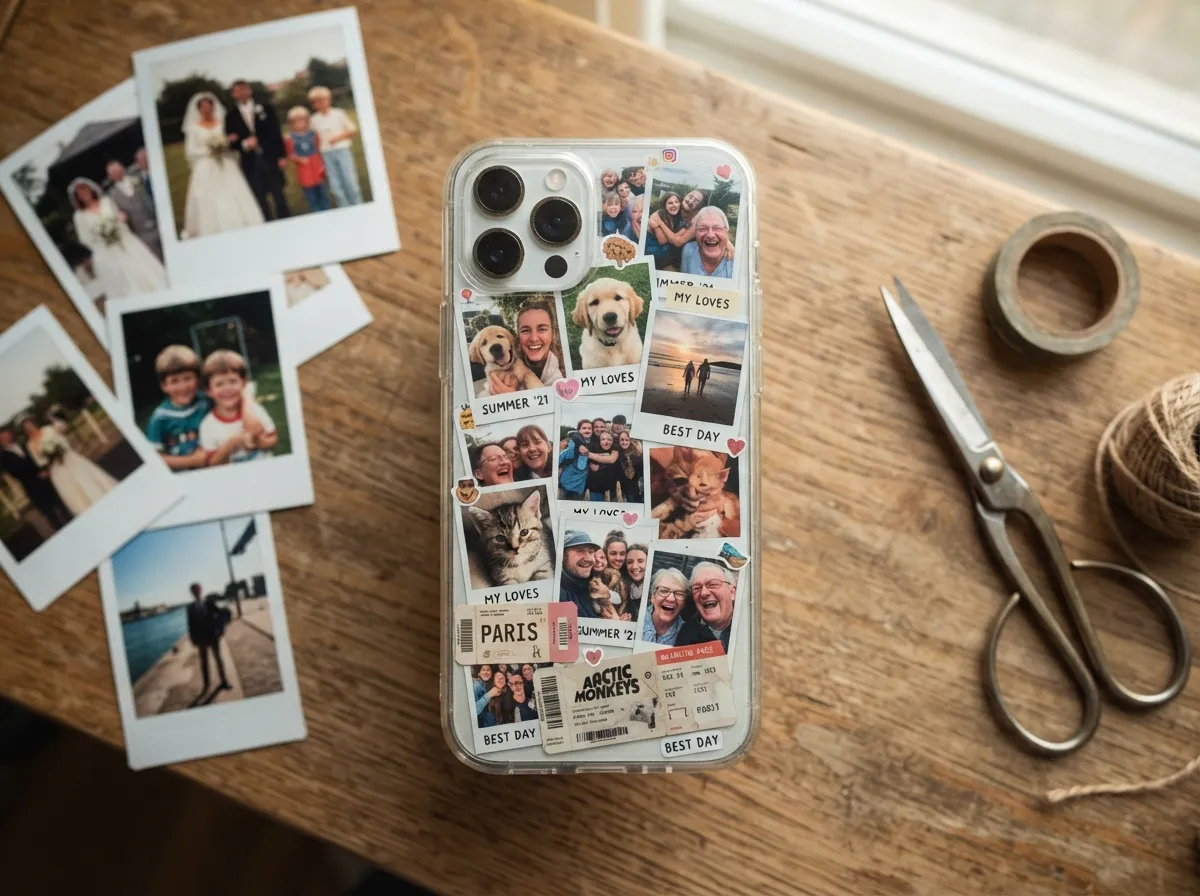
Photo collage cases are among the most emotionally resonant DIY options, and they rank consistently among the most in-demand personalized phone accessories in 2026 [2][5][7][12][15]. They work equally well as personal keepsakes or as thoughtful handmade gifts.
Building a photo collage case:
- Print multiple small photos, 2×2 inches or smaller works well for most phone case sizes.
- Arrange the photos on the case back, overlapping edges for a collage effect.
- Trim photos to fit around the camera cutout.
- For a clear case: slide the assembled collage as a paper insert under the shell.
- For a permanent version: glue photos directly to a plain case and seal with Mod Podge.
Theme ideas for photo collage cases:
- Best-friend or family photo montages
- Travel memories from a specific trip
- Pet portraits arranged in a grid
- Concert ticket stubs and event photos mixed with images
Pet portrait cases and personalized photo cases are specifically noted in 2026 business-oriented design articles as among the highest-demand styles in the custom phone accessories market [2][5][7]. A well-sealed photo collage case is both durable and deeply personal.
Comparing the 9 DIY Phone Case Ideas at a Glance
The table below summarizes each technique by skill level, estimated cost, and primary materials needed to help with planning.
| Project | Skill Level | Est. Cost | Key Material |
|---|---|---|---|
| 1. Sticker Collage | Beginner | $3 – $8 | Stickers, clear case |
| 2. Paper/Photo Insert | Beginner | $1 – $5 | Printed paper, clear case |
| 3. Hand-Painted Doodles | Beginner | $4 – $10 | Acrylic paint, brushes |
| 4. Glitter/Holographic | Beginner | $5 – $12 | Glitter, Mod Podge |
| 5. Pressed Flowers | Beginner-Intermediate | $5 – $15 | Dried flowers, epoxy resin |
| 6. Nail-Polish Marble | Intermediate | $3 – $8 | Nail polish, water bowl |
| 7. Fabric and Embroidery | Intermediate-Advanced | $8 – $20 | Fabric, embroidery thread |
| 8. Resin/Charm Cluttercore | Intermediate-Advanced | $10 – $25 | UV resin, charms |
| 9. Photo Collage | Beginner | $2 – $8 | Printed photos, Mod Podge |
Essential Supplies and Where to Find Them
Most of the materials needed for these 9 cute DIY phone case ideas for a fun and personal project are available at major craft retailers, dollar stores, or online marketplaces. A few items worth keeping in a dedicated DIY case kit:
- Clear phone cases in the correct model size (bulk packs are cost-effective for experimenting)
- Mod Podge in matte and glossy finishes (the most versatile sealant across all nine projects)
- Acrylic paint set with fine and medium brushes
- UV or epoxy resin for pressed flowers and cluttercore builds
- Loose glitter in multiple sizes and finishes
- Embroidery floss and a fine needle for fabric projects
- Nail polish in a range of colors for the marble technique
Buying clear cases in multipacks allows for practice runs without worrying about ruining the only available case. Mistakes are part of the learning process, and having extras on hand removes that pressure.
Tips for Making DIY Phone Cases Last Longer
A beautiful handmade case deserves to hold up over time. These finishing and maintenance tips apply across all nine projects:
Sealing is non-negotiable. Any design applied to the exterior of a case, paint, stickers, photos, flowers, needs a protective topcoat. Mod Podge, clear acrylic spray sealant, or UV resin all work well depending on the project.
Allow full drying time. Rushing the drying or curing process is the most common cause of smudged paint, uneven glitter, and bubbled resin. Follow manufacturer guidelines strictly, especially for resin products.
Avoid submerging sealed cases in water. Even well-sealed DIY cases are not fully waterproof. Water exposure over time can lift edges and cause delamination.
Clean gently. A dry microfiber cloth is the safest cleaning tool for decorated cases. Avoid alcohol wipes or harsh cleaners on painted or glittered surfaces.
Conclusion
The 9 cute DIY phone case ideas for a fun and personal project covered in this guide offer something for every skill level, budget, and aesthetic preference. From the five-minute sticker collage to the weekend-long embroidered fabric case, each technique produces a result that no mass-produced product can replicate.
Actionable next steps:
- Choose one project from the list that matches the current skill level and available materials.
- Purchase a multipack of clear cases to allow for experimentation without pressure.
- Gather core supplies, Mod Podge, acrylic paint, and a fine brush cover most beginner projects.
- Start with the paper insert method for an immediate, zero-commitment result, then build toward more permanent techniques.
- Document the process with photos, finished cases make excellent content and even better gifts.
The best DIY phone case is not necessarily the most technically complex one. It is the one that reflects a specific personality, memory, or aesthetic in a way that nothing off a shelf ever could. Start simple, experiment freely, and let the case become a genuine creative statement.
References
[1] Phone Case Design Ideas – https://www.eufymake.com/blogs/printing-ideas/phone-case-design-ideas
[2] Phone Case Design Ideas – https://www.podbase.com/blogs/phone-case-design-ideas
[4] Memor Phone Cases Tiktok Trend Diy – https://www.bustle.com/life/memor-phone-cases-tiktok-trend-diy
[5] Phone Case Designs – https://printify.com/blog/phone-case-designs/
[7] Diy Phone Case Ideas – https://www.diyncrafts.com/162514/crafts/diy-phone-case-ideas
[8] Diy Phone Case Ideas 4163851 – https://www.thesprucecrafts.com/diy-phone-case-ideas-4163851
[13] Style and difficulty classifications referenced from: Diy Phone Case Ideas Diy Mobile Covers – https://brightstuffs.com/diy-phone-case-ideas-diy-mobile-covers/