6 Aesthetic Tips for When Your Phone is Taking a Picture
Smartphone cameras now outperform dedicated point-and-shoot cameras from a decade ago, yet most people still produce flat, forgettable images. The gap is not hardware. It is technique. Mastering the 6 aesthetic tips for when your phone is taking a picture covered in this guide can transform an ordinary snapshot into a scroll-stopping image, regardless of which phone model sits in your pocket.
Disclosure: This post contains affiliate links. As an Amazon Associate, we earn from qualifying purchases, and at no extra cost to you.
Key Takeaways
- Light quality matters more than megapixel count, soft, angled natural light is the single biggest aesthetic upgrade available to any phone photographer.
- Composition rules such as the rule of thirds, leading lines, and negative space create intentional, modern-looking images without any extra equipment.
- Creative angles and perspective shifts, low shots, diagonals, and close foreground framing, add drama and energy to everyday scenes.
- Tapping to focus and choosing the right camera mode (HDR, Portrait, Night) gives the photographer control over brightness and subject isolation before the shutter fires.
- A structured editing workflow, crop, adjust highlights and shadows, fine-tune white balance, add subtle grain, elevates a good capture into a polished final image.
Why These 6 Aesthetic Tips for When Your Phone is Taking a Picture Actually Matter
Before diving into individual techniques, it is worth understanding why these principles carry so much weight. Expert consensus across professional photography blogs and consumer-electronics guides in 2026 has converged around the same five or six categories: light, composition, perspective, camera settings, editing, and basic device preparation [2][5][7]. That convergence is meaningful. It means the fundamentals are stable and learnable, not dependent on owning the latest flagship device.
The practical implication is simple: a mid-range phone used with strong technique will consistently outperform a premium phone used carelessly. Every tip in this article is free, requires no accessories, and can be applied immediately.
1. Choose Soft, Angled Light Over Harsh Direct Sun

Light is not just one element of a good photo, it is the most important element. Multiple 2026 photography guides frame light choice as more impactful than megapixel count or lens type for phone images [1][5]. The difference between a professional-looking result and a flat snapshot often comes down to where the light is coming from and how soft it is.
What to look for outdoors: Shade, overcast skies, and the golden hour (the first and last hour of daylight) all produce soft, diffused light that wraps around a subject rather than hammering it from above. Harsh midday sun creates unflattering shadows under eyes, blown-out highlights on skin, and a generally flat, washed-out look [1][5][6].
What to do indoors: Open curtains and position the subject near a window. Light from the side, roughly at a 45-degree angle, creates depth and dimension by casting gentle shadows that reveal texture and form [3][5][6]. Placing a subject directly in front of a window (backlit) can create a beautiful silhouette, but it will blow out the background unless exposure is manually adjusted.
The outdoor rule of thumb: Keep the sun just outside the frame rather than shooting directly into it or letting it fall flat on the subject’s face. This prevents squinting and preserves detail in bright areas [1][3][5].
“Soft, natural light is the single biggest aesthetic upgrade available to any phone photographer, it costs nothing and requires no equipment.”
Quick comparison:
| Light Condition | Result |
|---|---|
| Harsh midday sun | Blown highlights, flat shadows, squinting subjects |
| Open shade | Even, soft tones, no harsh shadows |
| Golden hour | Warm, dimensional, cinematic quality |
| Window light at 45 degrees | Depth, flattering skin tones, natural feel |
2. Apply Composition Rules to Create Intentional Aesthetics
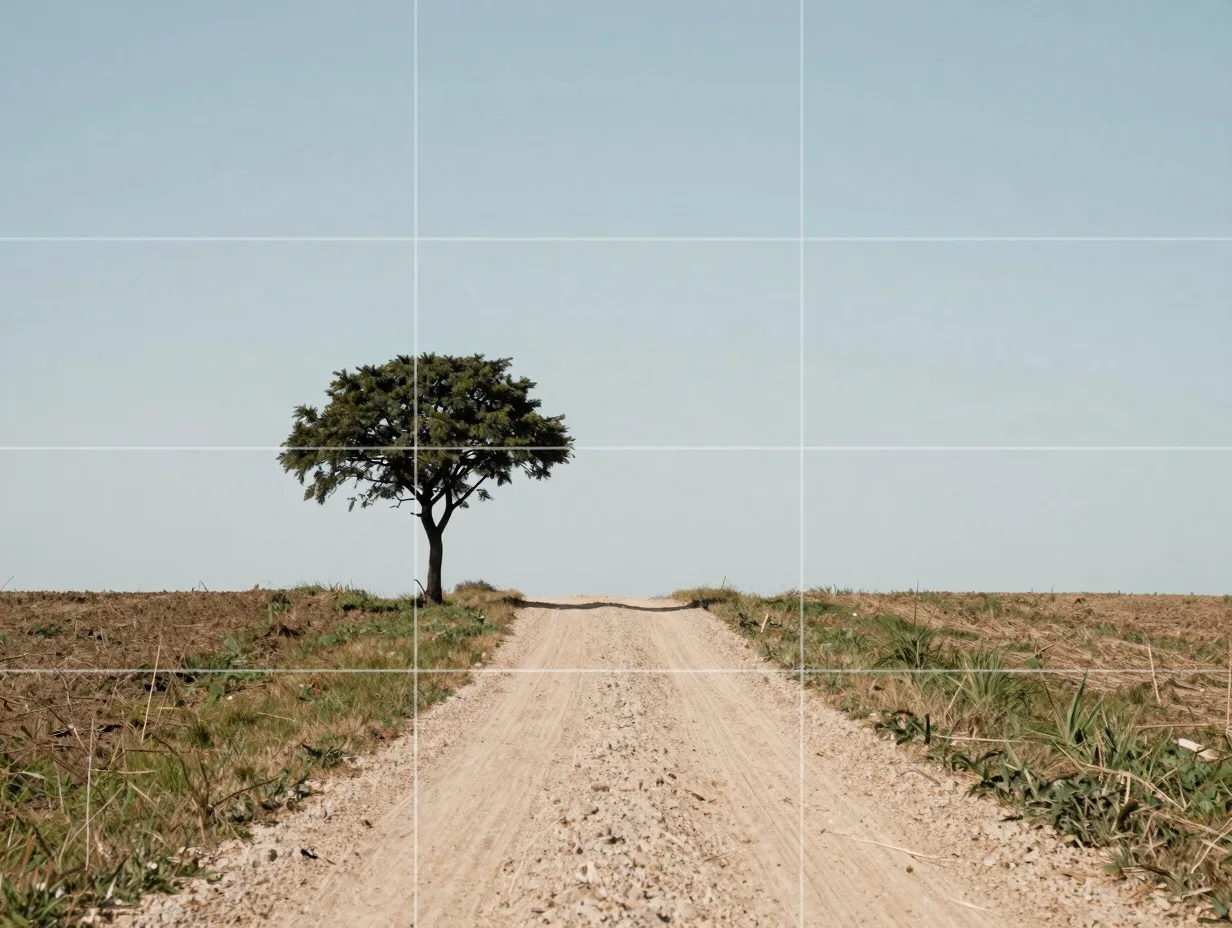
A technically well-lit photo can still feel random and cluttered without deliberate composition. Turning on the camera grid and using it actively is one of the simplest, highest-impact habits a phone photographer can develop [5][6][9].
The rule of thirds divides the frame into a 3×3 grid. Placing the main subject at one of the four intersection points, rather than dead center, creates a more dynamic, visually interesting image. The horizon in a landscape, for example, should sit on the top or bottom third of the frame, not the middle [5][9][14].
Leading lines are natural or architectural lines, roads, fences, rivers, staircases, that draw the viewer’s eye toward the subject. Positioning the phone to include a strong leading line adds depth and guides attention exactly where it is needed [5][6].
Negative space and clean backgrounds are equally powerful. Minimal clutter around the subject creates a modern, airy aesthetic that feels intentional rather than accidental [9][14][15]. Before pressing the shutter, scan the entire frame for distracting elements: a trash can at the edge, a stranger walking through, a power line cutting across the sky. Either move the subject, move the phone, or wait.
Practical steps for better composition:
- Enable the camera grid in settings before every session.
- Place the subject on a rule-of-thirds intersection point.
- Look for natural leading lines and incorporate them deliberately.
- Remove or move any distracting elements from the background.
- Leave intentional empty space around the subject to create breathing room.
3. Experiment With Angles and Perspective
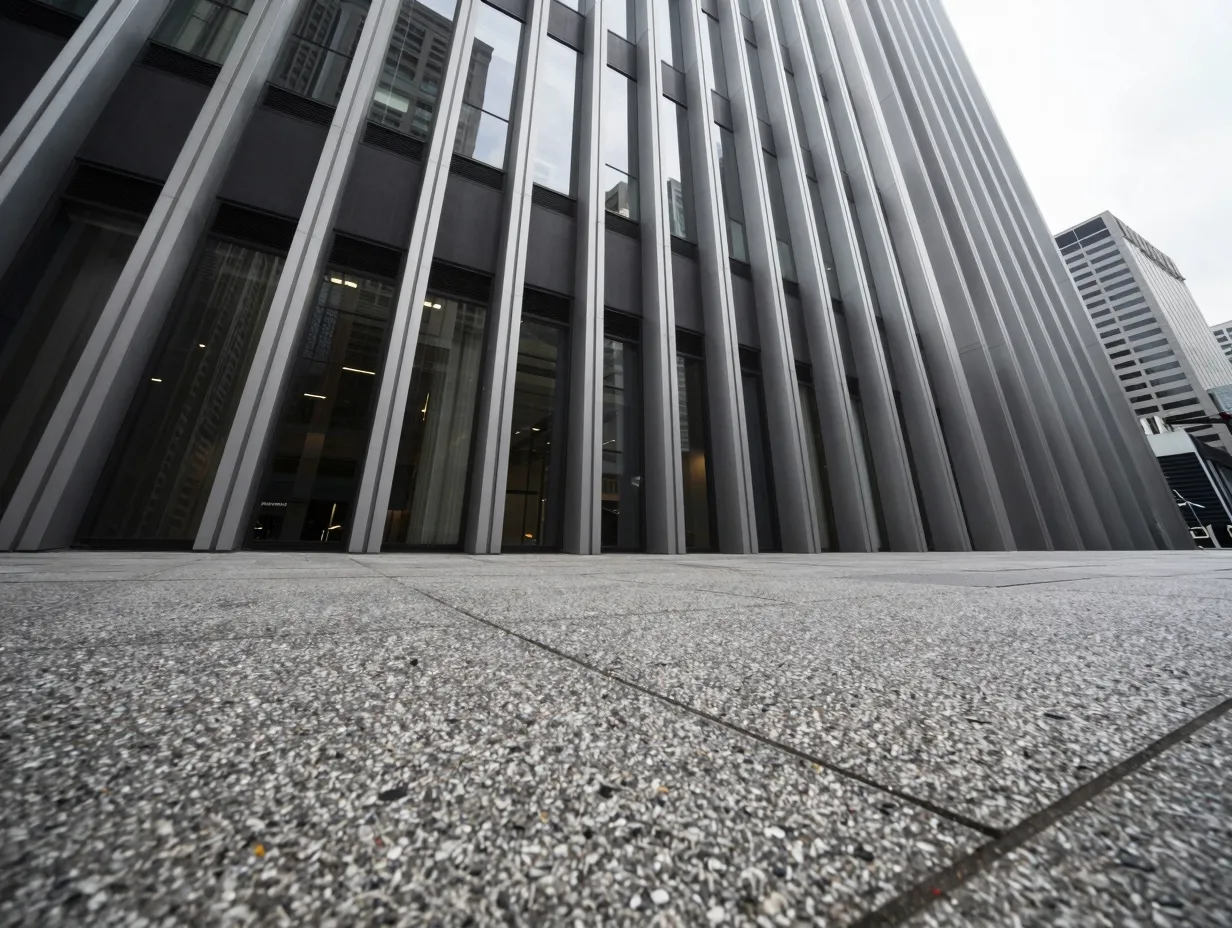
Most phone photos are taken from standing eye level, which is also the most forgettable angle. One of the most effective of the 6 aesthetic tips for when your phone is taking a picture is simply to move the camera to an unexpected position [10][12].
Low-angle shots place the phone close to the ground and point it upward. This makes subjects appear larger, more powerful, and more dramatic. It also introduces an unusual foreground, blades of grass, pavement texture, a coffee cup rim, that adds depth and context [10][12].
High-angle overhead shots (also called flat lays when the subject is on a horizontal surface) are ideal for food, products, and styled scenes. They eliminate distracting backgrounds entirely and create a clean, editorial look.
Diagonals and converging lines are particularly effective with ultra-wide lenses. Shooting down a long corridor, a row of trees, or a tiled floor at a slight diagonal creates a sense of motion and depth that a straight-on shot cannot match [10][12].
Getting physically closer is another perspective shift that dramatically improves aesthetics. Rather than using digital zoom, which degrades detail and introduces noise, moving the body closer to the subject (or switching to an optical telephoto lens) preserves sharpness and fills the frame with meaningful content [5][8].
“Digital zoom is a shortcut that costs image quality. Moving physically closer is always the better option.”
Angles to try in different scenarios:
- Street photography: crouch low to include pavement texture and exaggerate perspective.
- Portraits: shoot slightly above eye level for flattering proportions.
- Architecture: shoot upward from a corner to capture converging vertical lines.
- Food and products: shoot straight down (overhead) for a clean, editorial flat-lay.
- Landscapes: get the phone close to a foreground element (rock, flower, water) for depth.
4. Clean the Lens, Stabilize the Phone, and Use the Right Mode
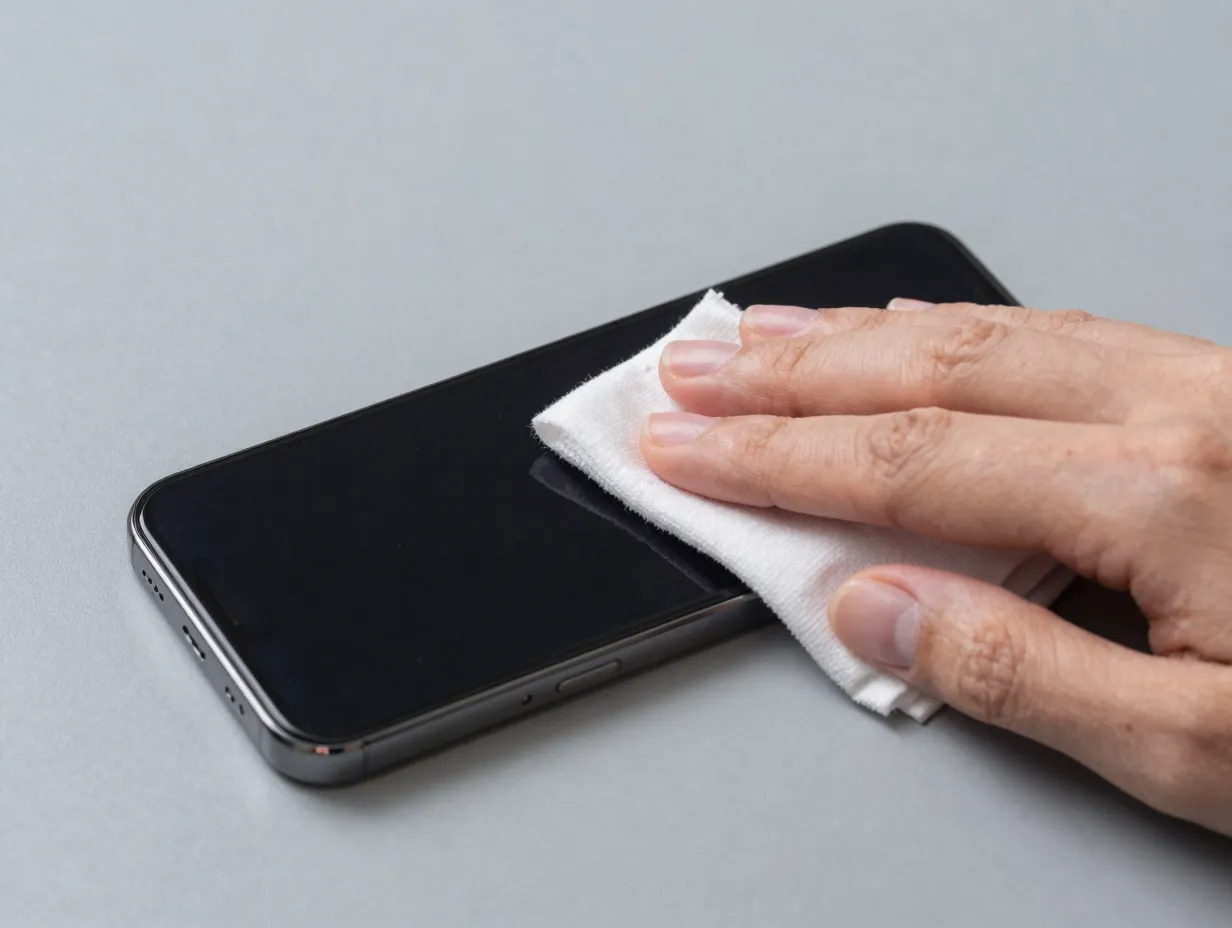
This tip addresses the baseline conditions that must be met before any compositional or lighting technique can work. A smudged lens and a shaky hand undermine even the best setup [2][7][11].
Clean the lens first. Phone lenses spend most of their time in pockets and bags, accumulating fingerprints, dust, and oils. A quick wipe with a soft cloth takes three seconds and can dramatically improve sharpness and contrast. Smudged lenses create haze, reduce micro-contrast, and make images look soft regardless of how good the light is [2][7][11].
Stabilize the device. Resting the phone against a wall, a table edge, or a ledge eliminates hand shake, which is one of the most common causes of blurry images, especially in lower light. For longer exposures or Night mode shots, even a slight tremor will produce motion blur [2][7][11].
Choose the right camera mode for the scene:
- HDR mode is designed for high-contrast scenes, bright sky with a darker foreground, for example. It blends multiple exposures to recover detail in both highlights and shadows [5][6].
- Portrait mode uses computational depth-mapping to blur the background and isolate the subject. It is most effective when the subject is 2 to 5 feet from the camera [5][6].
- Night mode uses longer exposures and multi-frame stacking to brighten low-light scenes without excessive noise. It works best when the phone is stabilized [5][10].
Tap to focus and adjust exposure manually. Tapping the screen tells the camera exactly which part of the scene to prioritize for focus and initial exposure. After tapping, a small sun or slider icon typically appears, sliding it up or down adjusts brightness before the shot is taken [5][6][7]. This single habit prevents the most common exposure mistakes: blown-out skies, dark faces, and muddy shadows.
5. Frame for the Platform and Embrace Intentional Imperfection
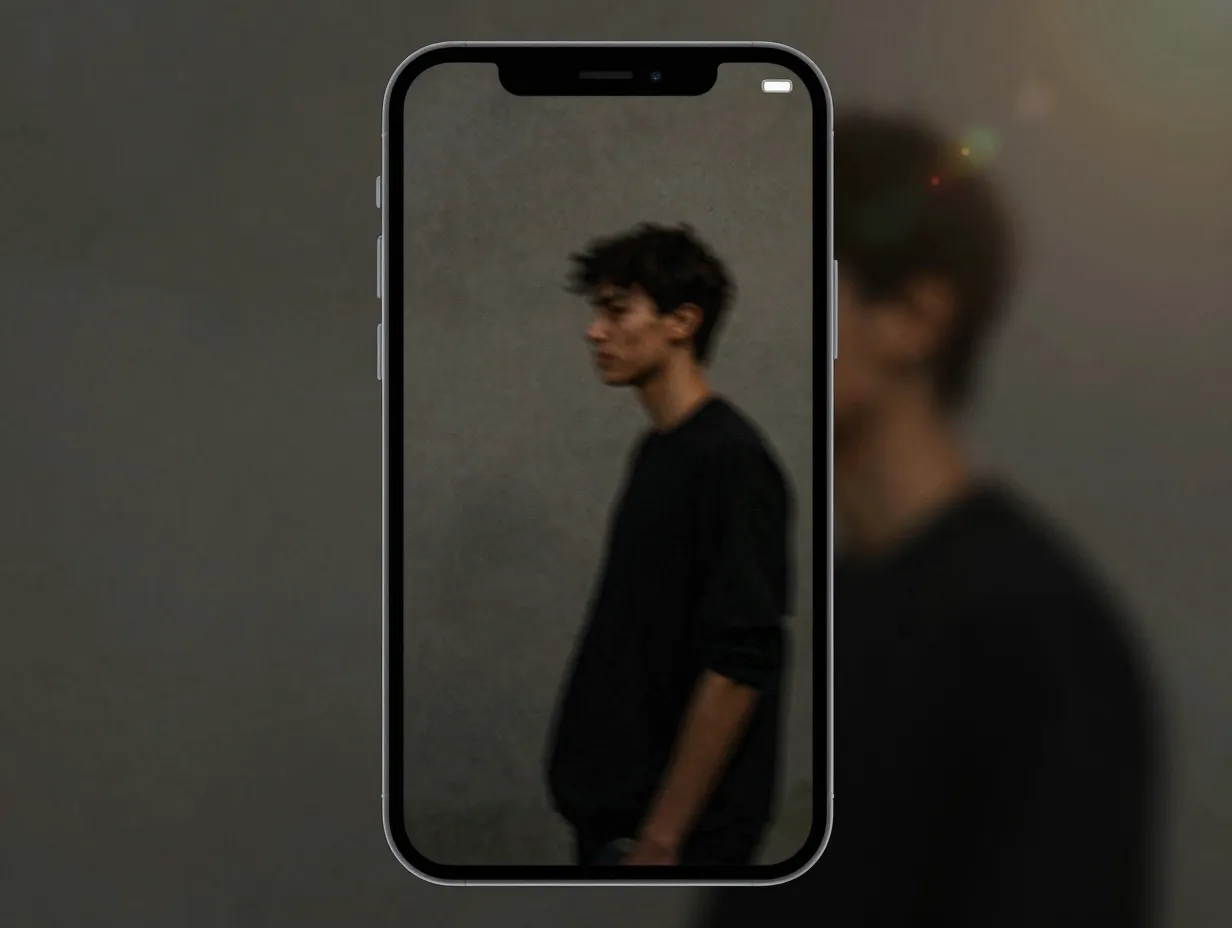
Not all images are destined for the same platform, and the platform should inform how the image is captured, not just how it is edited afterward. This is one of the more nuanced of the 6 aesthetic tips for when your phone is taking a picture, but it has a measurable impact on how images perform.
Shoot vertical for vertical platforms. For content primarily destined for TikTok, Instagram Reels, or Stories, capturing natively in 9:16 vertical orientation is strongly recommended rather than shooting horizontal and cropping later [13]. Shooting in the correct ratio from the start preserves resolution, avoids awkward cropping decisions, and ensures the entire frame is used intentionally.
Embrace certain “imperfections” as aesthetic features. Contemporary social-first photography has shifted away from the hyper-polished, over-processed look that dominated the early 2010s. Motion blur on a moving subject, a subtle lens flare, a slightly underexposed moody background, or the natural grain of a low-light shot can all read as deliberate aesthetic choices rather than technical failures [13].
Turning off aggressive AI enhancement filters, the “beautify,” “scene optimizer,” or “AI boost” features found on many Android phones, often produces more authentic, atmosphere-rich images. These filters can flatten skin texture, oversaturate foliage, and remove the natural grain that gives an image character [13].
Platform-specific framing guide:
| Platform | Recommended Ratio | Key Framing Note |
|---|---|---|
| Instagram Feed (square) | 1:1 | Center subject, leave breathing room |
| Instagram Reels / Stories | 9:16 vertical | Shoot vertical natively |
| TikTok | 9:16 vertical | Shoot vertical natively |
| 2:3 vertical | Leave space at top for text overlay | |
| Twitter / X | 16:9 horizontal | Wide landscape or scene-setting shots |
6. Edit With a Structured Workflow and Restrained Hand
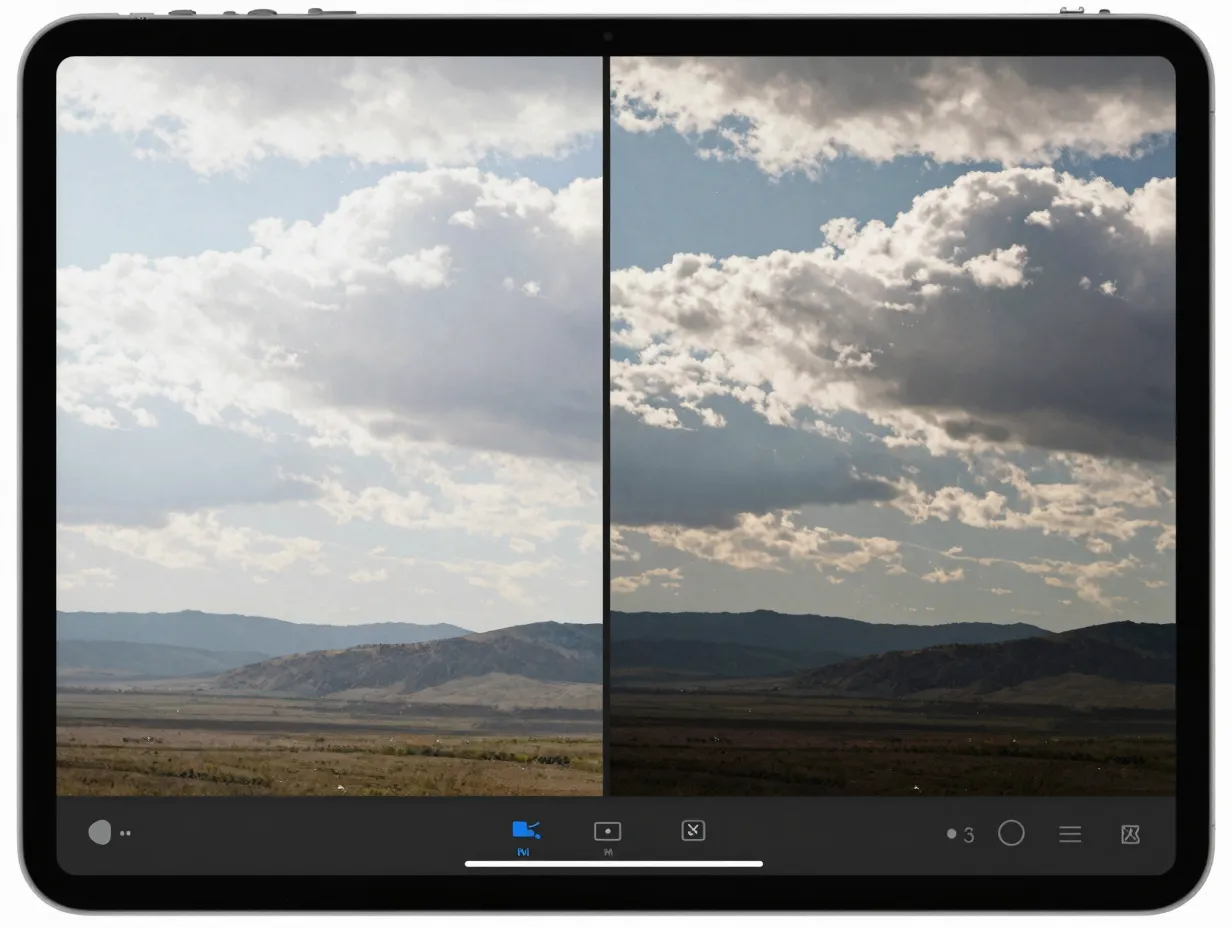
Capturing a great image is only half the process. Editing is where good photos become great ones, but it is also where many phone photographers go wrong by over-processing. A structured, restrained workflow is the foundation of an aesthetic result [4].
The recommended editing sequence:
- Crop and straighten first. Correct the horizon, remove distracting edges, and establish the final composition before touching any tonal controls. Cropping decisions made before brightness adjustments are more accurate [4].
- Adjust highlights and shadows. Pull down highlights to recover blown-out sky detail. Lift shadows to reveal detail in dark areas without making the image look flat. This step alone creates a more balanced, professional look [4].
- Fine-tune white balance. Correct color casts by adjusting temperature (warm or cool) and tint (green or magenta). Accurate white balance produces natural skin tones and balanced skies [4].
- Add a small amount of fine grain. Adding grain at a value of +5 to +10 in most editing apps gives phone images a warm, tactile, film-like quality that feels intentional rather than digital [4]. This is particularly effective for portraits and lifestyle images.
- Adjust selective colors last. If the sky looks too vivid or skin tones are too orange, use selective color or HSL controls to bring individual hues back to a natural range [4].
What to avoid:
- Oversaturating skies and foliage, which creates an artificial, “cheap filter” look [4][6][8][15].
- Overusing clarity or texture sliders, which can make skin look harsh and textured.
- Stacking multiple heavy filters on top of each other, which compounds unnatural color shifts [4][6].
- Sharpening aggressively, which amplifies noise and creates a gritty, digital appearance.
“The goal of editing is to enhance what was captured, not to manufacture something that was never there. Restraint is the mark of a skilled editor.”
Recommended editing apps for 2026:
- Lightroom Mobile, industry-standard controls, non-destructive, free tier available.
- VSCO, film-inspired presets with manual fine-tuning capability.
- Snapseed, powerful selective editing tools, fully free.
- Adobe Express, quick adjustments with AI-assisted tools for social content [6].
Applying All 6 Aesthetic Tips for When Your Phone is Taking a Picture Together
The six tips in this guide are most powerful when used in combination rather than in isolation. A well-lit subject placed thoughtfully in the frame, shot from a creative angle with the lens clean and the correct mode selected, framed for the target platform, and edited with a structured workflow, that sequence produces consistently strong results.
The order of operations matters:
- Prepare the device (clean lens, stabilize, select mode).
- Find or create the right light (soft, angled, appropriate for the scene).
- Compose deliberately (grid on, rule of thirds, leading lines, clean background).
- Choose a creative angle (low, high, diagonal, close).
- Frame for the platform (9:16 for vertical, 16:9 for horizontal).
- Edit with restraint (crop, tonal balance, white balance, subtle grain).
Following this sequence consistently, even on casual, everyday shots, builds the muscle memory that separates photographers who get lucky occasionally from those who produce strong images reliably.
Conclusion
The 6 aesthetic tips for when your phone is taking a picture outlined in this guide are not theoretical, they are practical, immediately applicable, and supported by broad expert consensus across the photography community in 2026 [1][2][5][7]. None of them require expensive equipment, premium subscriptions, or advanced technical knowledge.
Actionable next steps:
- Enable the camera grid on the phone right now, before the next photo opportunity.
- The next time a photo is taken indoors, move the subject near a window and observe the difference in light quality.
- Before shooting, wipe the lens with a soft cloth, make this a non-negotiable habit.
- Download Lightroom Mobile or Snapseed and practice the five-step editing workflow on the next ten images.
- On the next outing, deliberately try one unusual angle, low to the ground, directly overhead, or a strong diagonal, that would not normally be attempted.
Consistency with these fundamentals will produce visible improvement within days, not months. The phone is already capable. The technique is the variable.
References
[1] How To Use Your Phone For Professional Photography Shoots – https://thedivinemagazine.com/how-to-use-your-phone-for-professional-photography-shoots/
[2] 6 Phone Photography Tips – https://goodhartphotographyva.com/6-phone-photography-tips/
[3] Tips Beautiful Phone Photos Instagram Mobile Presets – https://allisonjeffers.com/tips-beautiful-phone-photos-instagram-mobile-presets/
[4] Mobile Photography Editing – https://www.alexandrekan.com/tech/mobile-photography-editing
[5] How To Take Better Photos With A Phone – https://www.photographylaunchpad.com/how-to-take-better-photos-with-a-phone/
[6] Professional Photos Phone – https://www.adobe.com/express/learn/blog/professional-photos-phone
[7] How To Take Good Photos With A Phone – https://www.theschoolofphotography.com/tutorials/how-to-take-good-photos-with-a-phone
[8] Dslr Like Photes With Your Phone 2026 – https://okbuz.com/2025/12/27/dslr-like-photes-with-your-phone-2026/
[9] Goodpictureswithphone – https://sites.nd.edu/cdt30423/files/2017/08/GoodPicturesWithPhone.pdf
[10] How To Improve Your Smartphone Photography 010037588 – https://www.engadget.com/cameras/how-to-improve-your-smartphone-photography-010037588.html