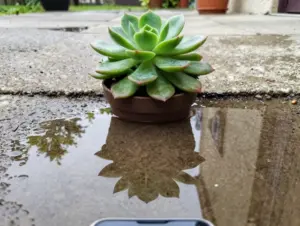
6 Steps to Achieve the Perfect Phone Camera Aesthetic
Smartphone cameras now account for over 90% of all photos taken worldwide, yet the gap between a forgettable snapshot and a scroll-stopping image has never been wider [1]. The difference rarely comes down to hardware alone. It comes down to intentional process. This guide breaks down the 6 Steps to Achieve the Perfect Phone Camera Aesthetic into a clear, repeatable framework that works whether shooting for social media, editorial content, or personal creative projects. Each step builds on the last, turning an ordinary phone into a genuinely expressive visual tool.
Disclosure: This post contains affiliate links. As an Amazon Associate, we earn from qualifying purchases, and at no extra cost to you.
Key Takeaways
- Defining a clear aesthetic before shooting saves editing time and creates visual consistency across a feed or portfolio
- Light is the single most powerful variable in phone photography, and controlling it costs nothing
- Modern AI camera features are useful tools, not replacements for compositional thinking
- Technical discipline during capture, such as locking focus and exposure separately, prevents problems that editing cannot fix
- Subtle, consistent editing builds a recognizable visual identity faster than heavy-handed filters
1. Define a Mobile-First Aesthetic and Output Channel
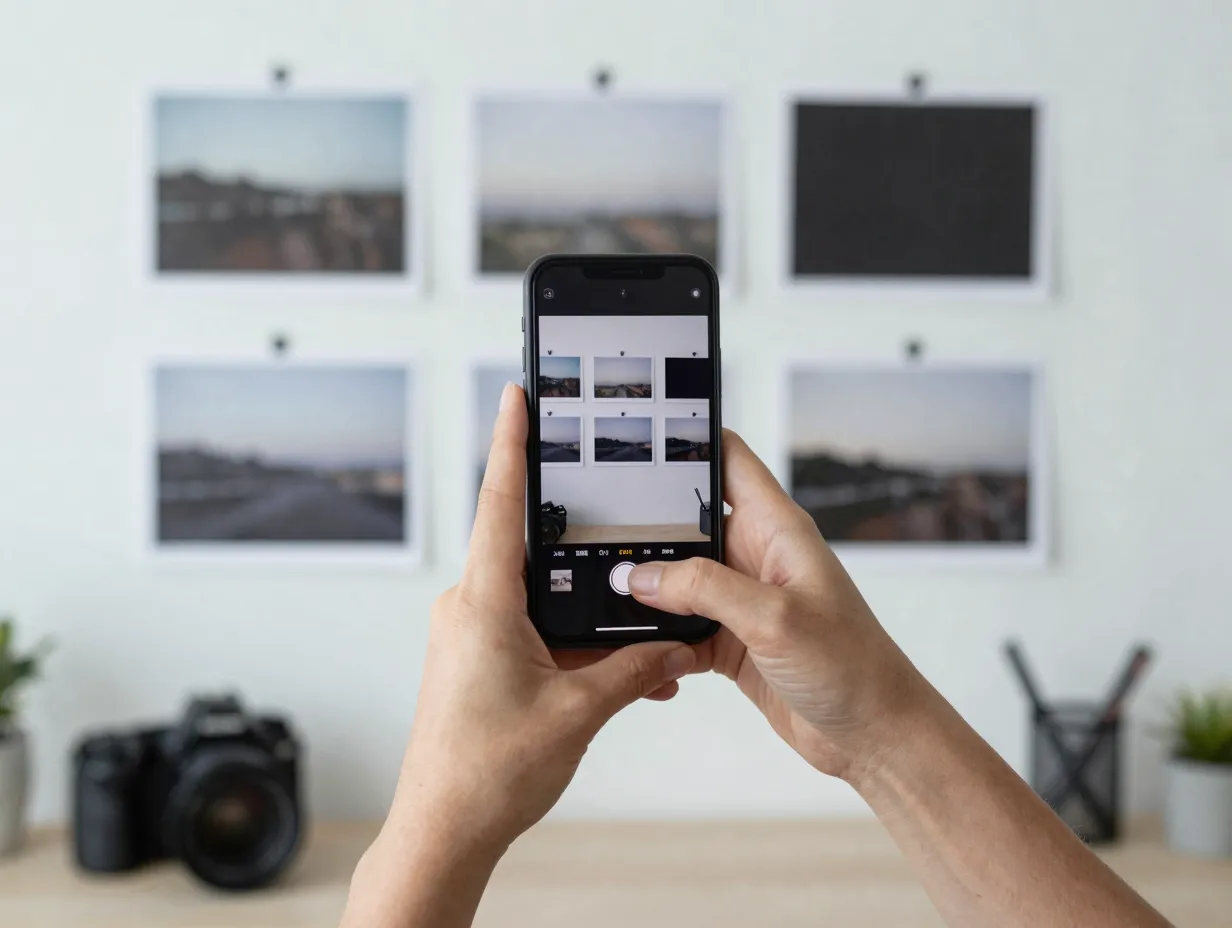
Before a single photo is taken, the most important decision is deciding what the images are for and what they should feel like. This is not a creative luxury. It is a practical filter that shapes every choice that follows.
Start with the output channel. A photo destined for an Instagram Reel is composed differently than one intended for a print magazine or a website banner. Vertical 9:16 framing dominates mobile-first platforms, while horizontal 16:9 or square 4:5 formats suit other contexts. Shooting without knowing the final crop wastes creative energy [4].
Then define the mood. Pull together a small reference set of images that share a consistent tone. Look for patterns in:
- Color temperature (warm, cool, neutral)
- Contrast level (flat and filmic vs. punchy and graphic)
- Subject-to-negative-space ratio
- Texture presence (gritty, clean, organic)
This reference set becomes a personal style guide. Every shooting and editing decision can be tested against it. Documented behavioral trends confirm that audiences on social platforms respond to visual consistency more than individual image quality, because consistency signals intentionality [5].
Define the niche or subject matter. A food photographer and a street photographer will make opposite choices about depth of field, color, and framing. Specificity in subject matter accelerates aesthetic development because it forces repeated problem-solving within a defined visual space.
“The phone that wins is not the one with the most megapixels. It is the one held by someone who knows exactly what they want the image to say.”
2. Control Light, Soft, Directional, or Intentionally Low-Light
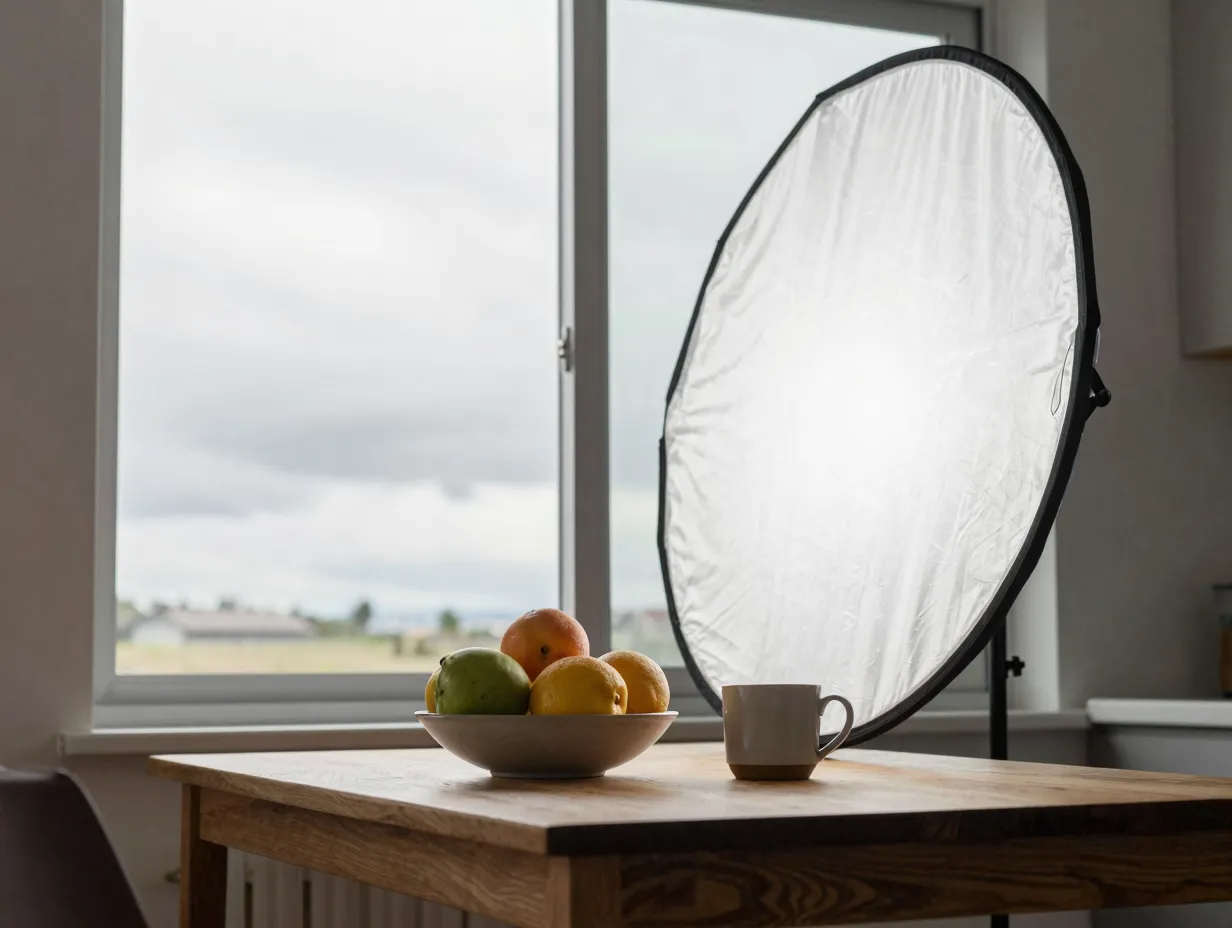
Light is the raw material of photography. Phone cameras handle light differently than DSLRs, and understanding those differences is central to the 6 Steps to Achieve the Perfect Phone Camera Aesthetic.
The three primary lighting scenarios for phone photography:
| Lighting Type | Best Use Case | Key Technique |
|---|---|---|
| Soft diffused light | Portraits, food, flat-lay | Shoot near a large window, avoid direct sun |
| Hard directional light | Architecture, graphic shadows | Use mid-morning or late-afternoon sun at an angle |
| Intentional low-light | Mood, nightlife, urban | Use Night Mode deliberately, add practical light sources |
Phone sensors have smaller photosites than dedicated cameras, which means they collect less light per pixel. This makes them more sensitive to harsh, direct light, which blows out highlights quickly. Soft, indirect light flatters phone sensors by reducing dynamic range demands [6].
Practical light control techniques:
- Window light: Position the subject at 45 degrees to a large window for natural, soft directional light
- Reflectors: A white foam board or even a white wall bounces fill light into shadows without cost
- Practical lights: Lamps, neon signs, candles, and string lights add mood and act as controllable light sources in low-light scenes
- Overcast sky: An overcast day creates a giant natural softbox, ideal for outdoor portraits and product shots
Night Mode on modern flagship phones has become a legitimate creative tool rather than a technical workaround. When used deliberately, it can produce images with a distinct atmospheric quality that daylight shooting cannot replicate [1]. The key is to use it with a specific visual intention rather than as a default fallback.
Avoid the two most common lighting mistakes:
- Shooting with the light source directly behind the subject, which creates silhouettes unless that is the intended effect
- Mixing color temperatures (warm incandescent with cool daylight) without a deliberate reason, which produces color casts that are difficult to correct in editing
3. Compose with Depth, Lines, and Cleaner Backgrounds
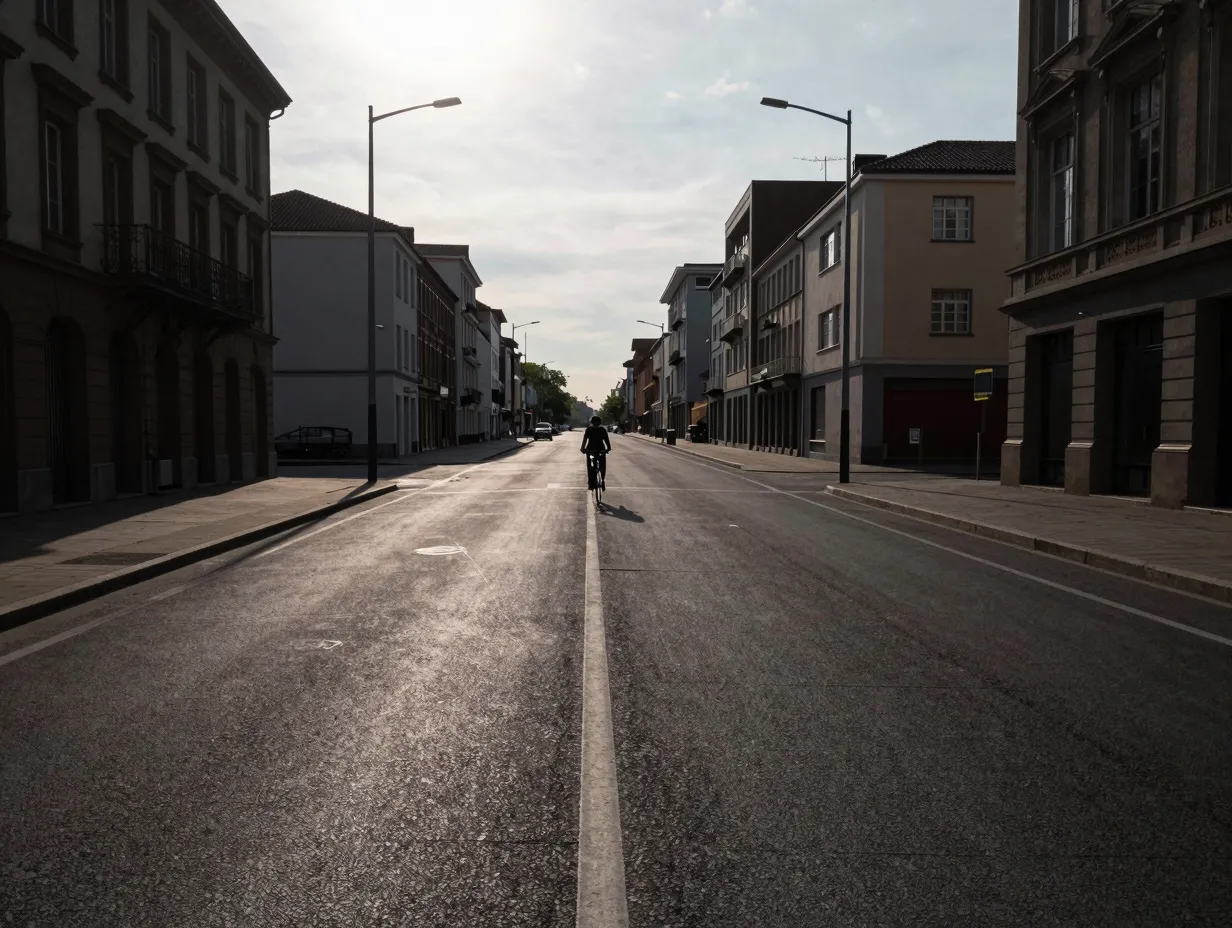
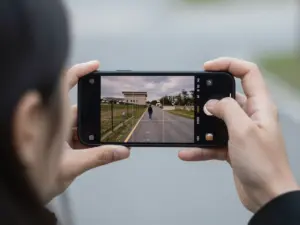
Composition is where phone photography most frequently falls short, not because of sensor limitations but because of habit. Most people point the phone at a subject and tap the shutter. A small number of compositional adjustments produce dramatically different results [4].
Core compositional principles adapted for mobile:
Rule of thirds. Virtually every phone camera can display a grid overlay. Placing the main subject at one of the four intersection points rather than dead center creates visual tension and guides the viewer’s eye naturally.
Leading lines. Roads, fences, staircases, rivers, and architectural edges draw the eye into the frame. Phone cameras with wide-angle lenses exaggerate perspective, which makes leading lines more dramatic than they appear to the naked eye.
Foreground elements. Including something in the foreground, even slightly out of focus, adds a sense of depth that flat, subject-only compositions lack. This is one of the most effective ways to make a phone photo feel more like a dedicated camera image [8].
Background simplification. A cluttered background competes with the subject. Moving the phone a few steps left or right, crouching, or raising the angle can replace a messy background with a clean wall, open sky, or blurred foliage.
Framing within the frame. Doorways, windows, arches, and overhanging branches create a natural frame around the subject, adding depth and directing attention.
Depth of field control. Modern phones offer Portrait Mode or Aperture simulation. Use it selectively. Background blur is most effective when the separation between subject and background is already meaningful in the physical scene. Applying it to a subject standing two feet from a wall produces an artificial-looking result that trained eyes immediately recognize [2].
A useful exercise is to take five versions of the same subject from five different positions before choosing a frame. This forces active compositional thinking rather than reactive shooting.
4. Use Modern Phone Camera Technology and AI Deliberately
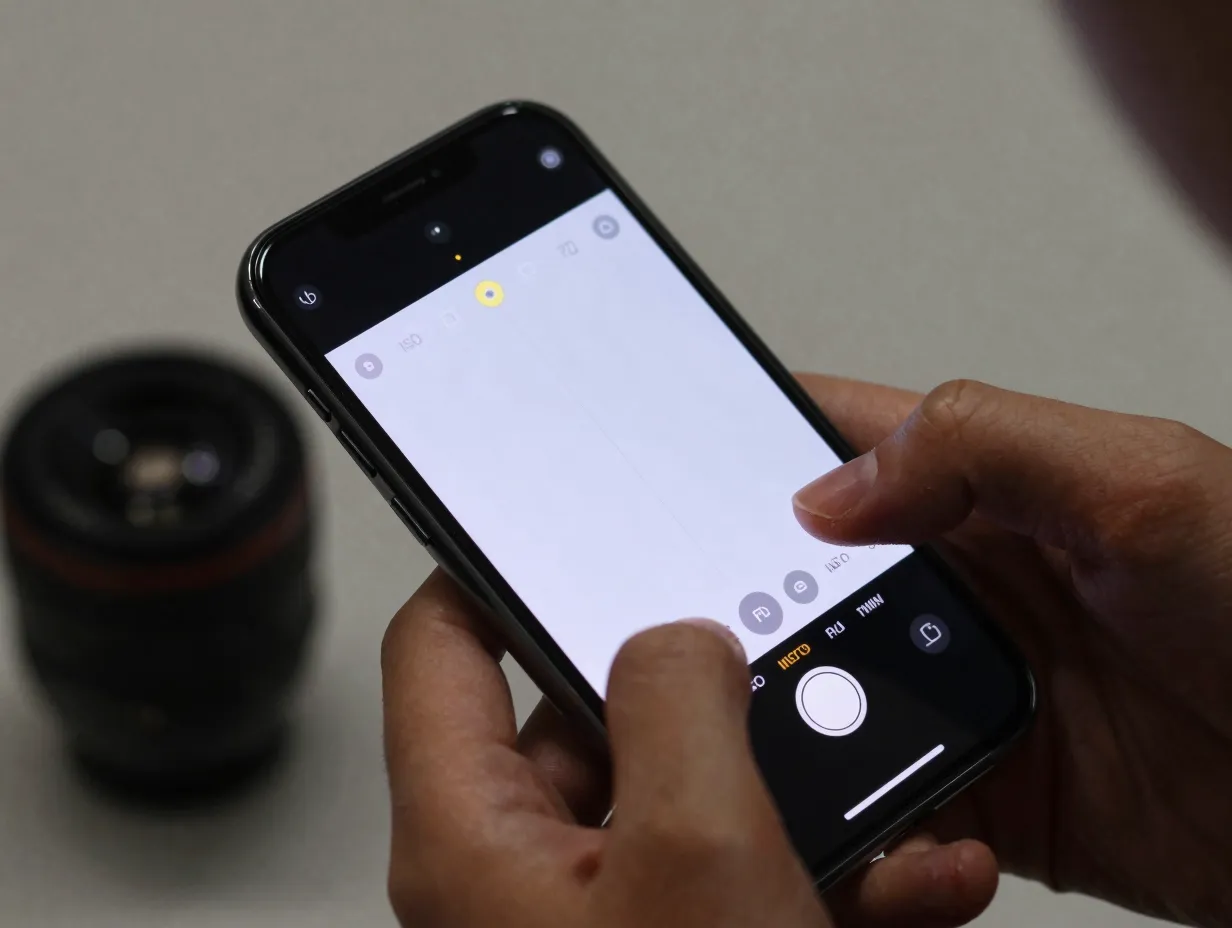
The 2026 smartphone camera landscape is defined by computational photography. Every major flagship now ships with multi-frame processing, AI scene recognition, semantic segmentation, and real-time HDR compositing [7]. These tools are powerful, but they require conscious management rather than passive acceptance.
What current flagship hardware offers:
- Periscope telephoto lenses (5x to 10x optical zoom on leading models)
- Large 1-inch or near-1-inch primary sensors on select devices
- Dedicated night processing chips
- AI-powered subject separation and background rendering
- Real-time video stabilization with cinematic frame rates [10]
The deliberate use principle. AI enhancements are applied automatically by default. They optimize for what algorithms define as a “good” image, which typically means high sharpness, boosted saturation, and noise reduction. These defaults often conflict with a personal aesthetic, particularly one that values film grain, muted tones, or intentional softness [3].
Practical steps for deliberate AI use:
- Shoot in RAW or ProRAW format when available to retain full editing control
- Disable or reduce AI scene enhancement in the camera settings
- Use Pro or Manual mode to set ISO, shutter speed, and white balance independently
- Test the phone’s computational bokeh against real optical background separation and decide which serves the aesthetic
- Review AI-processed images critically, asking whether the enhancement serves the intended mood or undermines it
The cinematic phone aesthetic is an emerging direction that uses telephoto compression, reduced depth of field, and 24fps video capture to produce images and footage with emotional weight previously associated with cinema cameras [1]. Achieving this look requires actively choosing the telephoto lens over the wide-angle default and resisting the urge to zoom digitally.
“AI is a collaborator, not a director. The photographer decides the intention. The algorithm executes the technical lift.”
5. Capture with Technical Discipline, Lens, Focus, Exposure, and Zoom
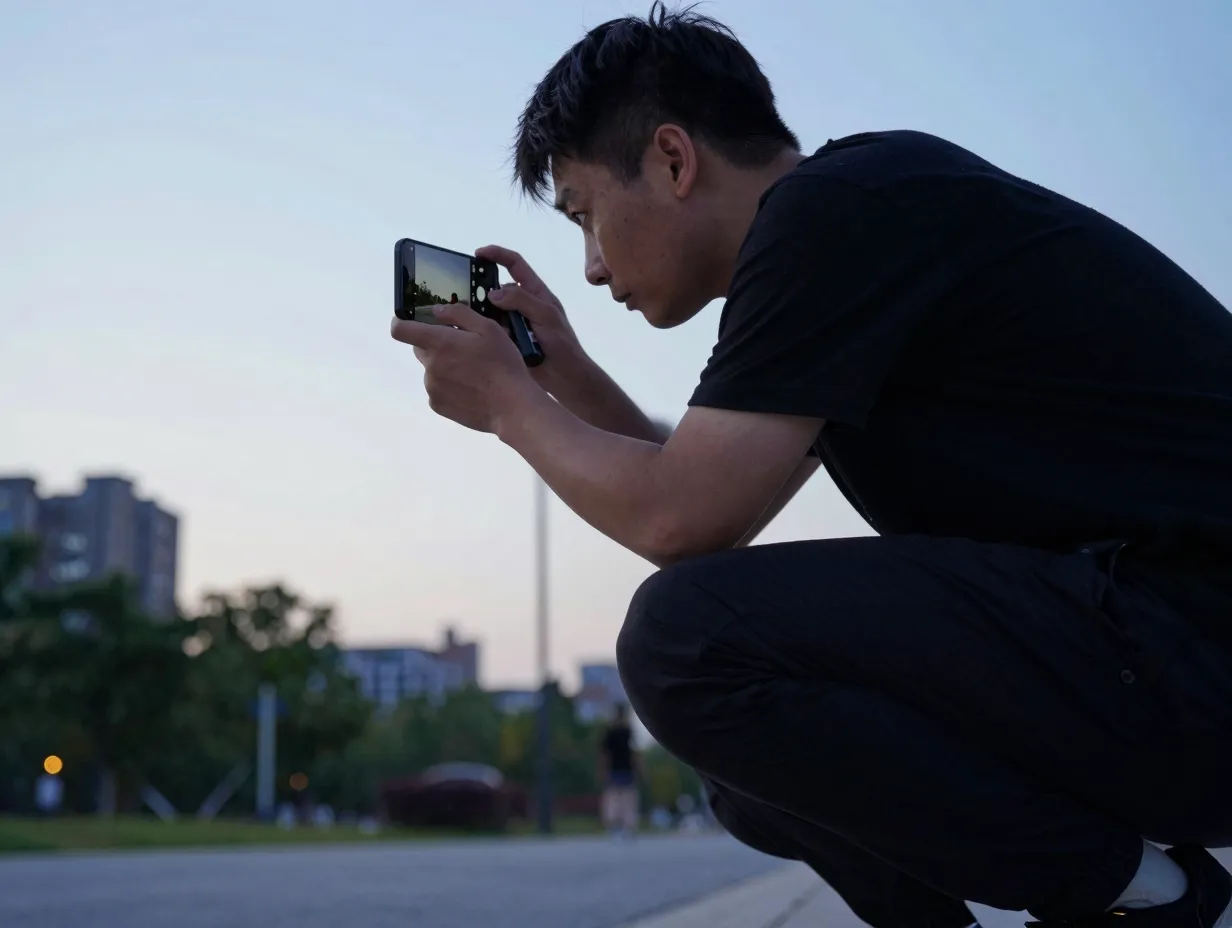
Even with perfect light and composition, poor capture technique introduces problems that editing cannot solve. The 6 Steps to Achieve the Perfect Phone Camera Aesthetic treat capture discipline as non-negotiable.
Lens selection. Most current flagship phones have three lenses: ultra-wide, main, and telephoto. Each has a distinct character:
- Ultra-wide (0.5x to 0.6x): Dramatic perspective, strong distortion at edges, best for architecture and environmental context
- Main lens (1x): The most optically capable lens on most phones, best for general use and low light
- Telephoto (2x to 10x optical): Flattering compression for portraits and detail shots, cinematic quality at longer focal lengths [9]
The most common mistake is relying on digital zoom, which degrades image quality significantly. Always move physically closer or switch to the optical telephoto lens instead.
Focus and exposure lock. On both iOS and Android, pressing and holding on the subject locks focus and exposure separately. This prevents the camera from refocusing or re-exposing when the composition shifts slightly. For portraits, tap the subject’s eye. For scenes with strong backlighting, tap the subject’s face to expose for skin rather than the bright background.
Exposure compensation. The exposure slider (the sun icon on most phone cameras) is one of the most underused tools available. Slightly underexposing by -0.3 to -0.7 EV preserves highlight detail and produces a richer, more filmic starting point for editing [6].
Stability. Camera shake is the most common cause of soft images in low light. Techniques to reduce it:
- Brace elbows against the body or a wall
- Use the volume button or a Bluetooth remote shutter to avoid pressing the screen
- Use a small tripod or gorilla pod for static scenes
- Shoot burst mode and select the sharpest frame
Aspect ratio and resolution. Shoot at the highest available resolution and the native aspect ratio of the sensor. Cropping in post is always possible. Shooting at a reduced resolution or a non-native crop discards pixel data permanently.
6. Edit Subtly, Exposure, Color, HSL, and Fine Grain for a Cohesive Look
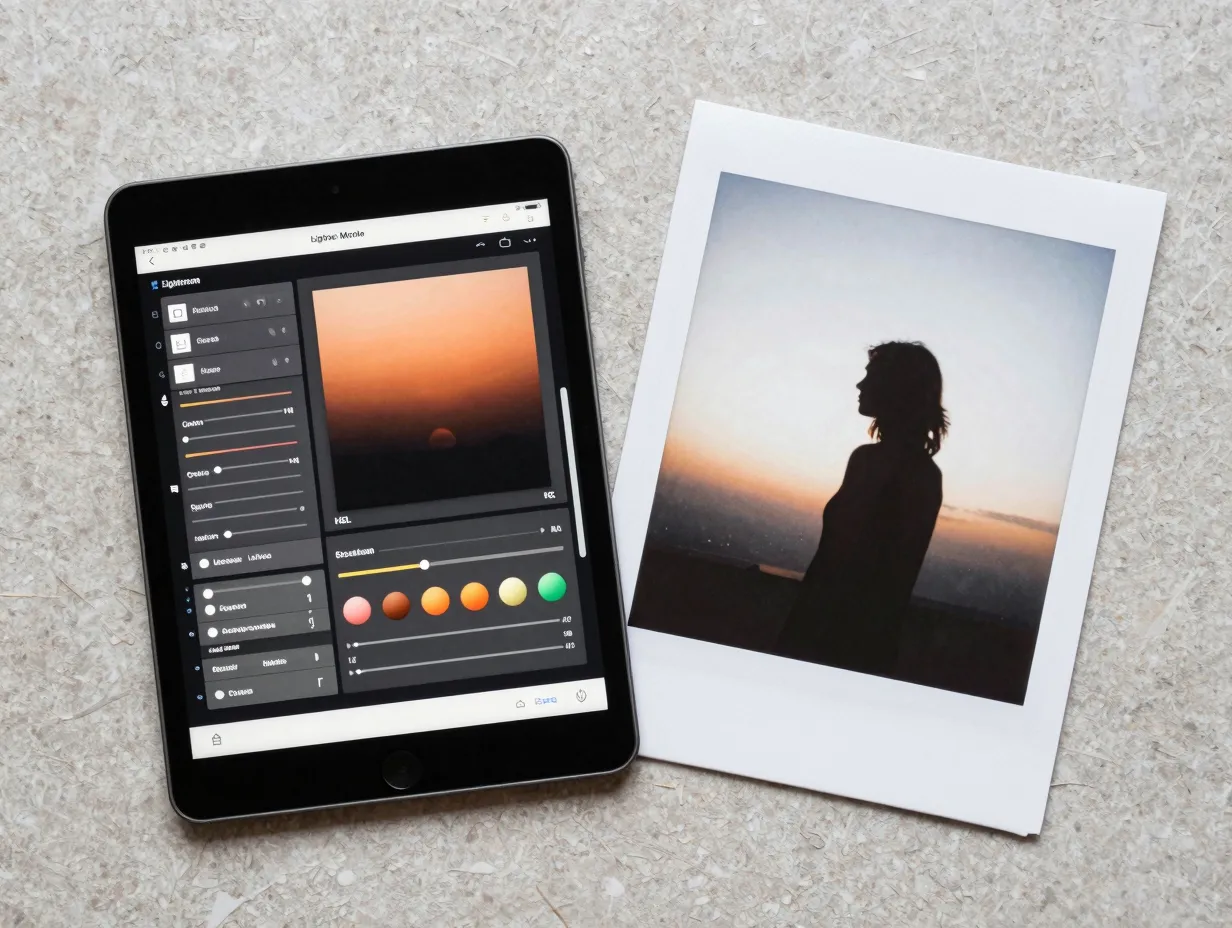
Editing is where the aesthetic vision defined in Step 1 is fully realized. The most common editing mistake is treating each photo as an isolated problem to fix rather than a piece of a consistent visual series.
The editing hierarchy for phone aesthetics:
- Exposure and contrast, Establish the tonal foundation first. Reduce highlights, lift shadows slightly for a filmic quality, or crush shadows for a dramatic look
- White balance, Shift color temperature to match the intended mood. Warmer tones feel intimate; cooler tones feel editorial or melancholic
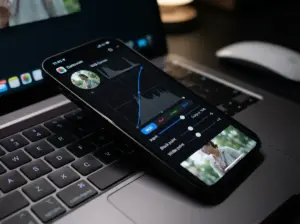
- HSL (Hue, Saturation, Luminance), Target specific colors rather than global saturation. Desaturating oranges and yellows slightly creates a more sophisticated, less Instagram-default look
- Tone curve, A gentle S-curve adds contrast without clipping. Lifting the black point on the curve creates a faded, filmic base
- Fine grain, Adding a small amount of grain (10-20 on most apps) unifies the image texture and reduces the plastic quality of over-processed phone photos [3]
- Sharpening and noise reduction, Apply selectively. Over-sharpening creates halos; over-smoothing removes natural texture
Recommended editing apps and their strengths:
- Lightroom Mobile: The most complete tool for RAW editing, presets, and HSL control
- VSCO: Strong film simulation presets with subtle, consistent results
- Snapseed: Selective adjustment tools and healing brush for quick, precise edits
- Darkroom: Excellent for batch editing and maintaining consistency across a series
The preset system. Developing a personal preset or editing recipe is the fastest way to build visual consistency. A preset does not mean every image looks identical. It means every image starts from the same tonal and color foundation, with adjustments made for the specific scene. This is how professional photographers maintain a recognizable aesthetic across hundreds of images [2].
Batch editing discipline. Edit a series of images together rather than one at a time. Viewing images side by side reveals inconsistencies in color temperature and exposure that are invisible when editing in isolation.
What to avoid in editing:
- Over-saturation, particularly in skin tones and greens
- Excessive clarity or texture sliders, which create an HDR look that ages poorly
- Inconsistent color grading across a feed or portfolio
- Heavy vignettes applied uniformly regardless of subject matter
Hardware, Accessories, and the 2026 Ecosystem
The foundation of any phone camera aesthetic is the hardware itself. In 2026, the gap between flagship and mid-range phone cameras has narrowed significantly, but meaningful differences remain in low-light performance, telephoto reach, and computational photography quality [10].
Baseline hardware considerations for a serious phone aesthetic:
- A main sensor of at least 50MP with optical image stabilization
- At least one optical telephoto lens (2x minimum, 5x preferred)
- RAW capture capability
- Log or flat video profile for cinematic video work [7]
Accessories that extend creative range:
- Anamorphic lens attachments: Add cinematic lens flare and a wider aspect ratio to video
- ND filters: Control exposure in bright conditions without raising shutter speed, enabling motion blur in video
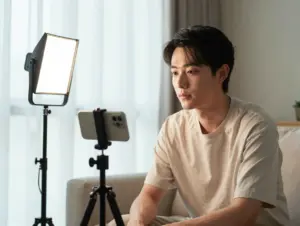
- Small LED panels: Portable, color-adjustable fill light for portraits and product shots
- Clip-on macro lenses: Enable extreme close-up work that standard phone lenses cannot achieve
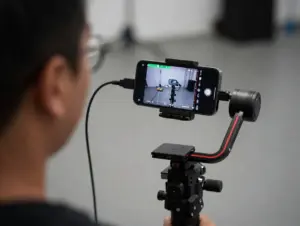
- Gimbals: Provide stabilized movement for video that rivals dedicated cinema rigs [1]
The accessory ecosystem has matured to the point where a phone paired with the right tools can produce results indistinguishable from dedicated camera setups in many shooting scenarios. The key is selecting accessories that serve the defined aesthetic rather than accumulating gear for its own sake.
Conclusion
The 6 Steps to Achieve the Perfect Phone Camera Aesthetic form a complete system, not a checklist of isolated tips. Defining the aesthetic first creates a filter for every decision that follows. Controlling light removes the most common technical barrier. Compositional discipline transforms ordinary scenes into intentional images. Using AI and camera technology deliberately prevents algorithmic defaults from overriding creative vision. Capturing with technical precision protects image quality at the source. And editing with subtlety and consistency builds the visual identity that makes a body of work recognizable.
Actionable next steps:
- Build a reference mood board of 10 to 15 images that represent the target aesthetic before the next shooting session
- Shoot the same subject in three different lighting conditions to understand how light changes the mood of an image
- Enable the grid overlay on the phone camera and practice placing subjects at rule-of-thirds intersections for one week
- Shoot one session entirely in RAW and edit from scratch rather than relying on automatic processing
- Develop a single editing preset and apply it consistently to a series of 20 images, then review the series as a whole
The phone in a pocket is already a capable creative instrument. The steps above are what turn capability into craft.
References
[1] Mobile Photography Trends In 2026 How Iphone Photography Became A Real Camera System – https://www.shiftcam.com/blogs/gear-guides/mobile-photography-trends-in-2026-how-iphone-photography-became-a-real-camera-system
[2] How To Use Your Phone For Professional Photography Shoots – https://thedivinemagazine.com/how-to-use-your-phone-for-professional-photography-shoots/
[3] Mobile Photography Editing – https://www.alexandrekan.com/tech/mobile-photography-editing
[4] Complete Guide To Smartphone Photography – https://www.fredericpaulussen.be/complete-guide-to-smartphone-photography/
[5] Fotografia Mobile Tendencias 2026 – https://www.mekanfoto.com.br/blog/fotografia-mobile-tendencias-2026
[6] How To Take Better Photos With A Phone – https://www.photographylaunchpad.com/how-to-take-better-photos-with-a-phone/
[7] All The Major Smartphone Camera News From A Busy Mwc Barcelona 2026 – https://www.redsharknews.com/all-the-major-smartphone-camera-news-from-a-busy-mwc-barcelona-2026
[8] Dslr Like Photes With Your Phone 2026 – https://okbuz.com/2025/12/27/dslr-like-photes-with-your-phone-2026/
[9] How To Shoot Cool Photos With Consumer Electronics In 2026 – https://electronics.alibaba.com/buyingguides/how-to-shoot-cool-photos-with-consumer-electronics-in-2026
[10] Smartphone Camera Tech 2026 3578479 – https://www.androidauthority.com/smartphone-camera-tech-2026-3578479/