6 PC Gaming Room Setup Steps To Create Your Ultimate Sanctuary
A desk chair costs more than most people’s entire lighting budget, yet ergonomics researchers now rank seating and desk quality above every RGB strip, monitor arm, or themed wall panel when building a gaming space that lasts. That single fact reframes how a serious setup should be planned. Building a room that supports hours of competitive play, long co-op sessions, or creative streaming work is not about buying the flashiest gear first. It is about sequencing decisions correctly. Following the right 6 PC Gaming Room Setup Steps To Create Your Ultimate Sanctuary turns a spare bedroom or basement corner into a space that performs as well as it looks.
Disclosure: This post contains affiliate links. As an Amazon Associate, we earn from qualifying purchases, and at no extra cost to you.
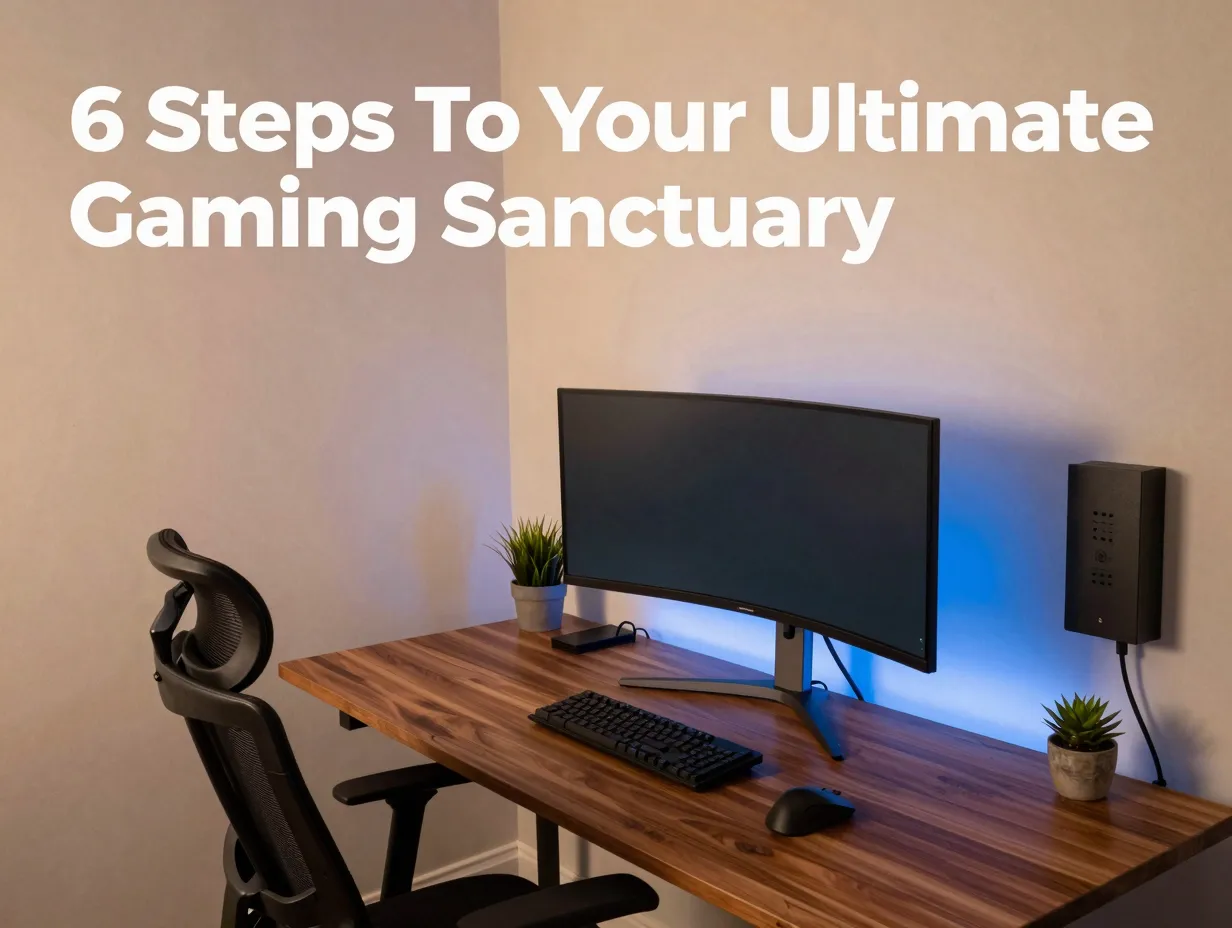
This guide breaks the process into a clear, ordered framework: foundation, furniture, core hardware, lighting, cable discipline, and environmental finishing touches. Each step builds on the last, so skipping ahead to buy a fancy chair before measuring the room, or installing RGB before planning power outlets, tends to create expensive rework later.
Key Takeaways
- Room foundation comes first: minimum clearances for desks, chairs, and monitor distance now have precise, testable standards [1][4].
- Furniture is the biggest line item in a modern setup; ergonomic desks and chairs deserve more budget than decorative accessories [2][6].
- Display and mouse quality should be prioritized over cosmetic upgrades because they directly affect performance and comfort [3][10].
- Lighting in 2026 favors bias lighting and latency-aware RGB sync over random colorful strips [1][9].
- Cable management, power planning, and climate control are now treated as dedicated steps, not afterthoughts [5][7][8].
Why a Dedicated Gaming Sanctuary Beats a Random Corner Setup
A gaming space thrown together from leftover furniture rarely holds up under long sessions. Poor posture, glare, overheating components, and tangled cables all compound over time, turning what should be a relaxing hobby into a source of fatigue. Industry guides increasingly frame the gaming room as a designed environment with measurable standards, not a decorative afterthought [1][5]. That shift matters because comfort and performance are now understood to be linked. A well-planned room reduces eye strain, improves reaction time through better display positioning, and even affects mood through lighting choices [4][9].
Treating the setup as a sequence of deliberate steps, rather than a shopping spree, is what separates a sanctuary from a cluttered corner.
The 6 PC Gaming Room Setup Steps To Create Your Ultimate Sanctuary Explained
Each of the following steps corresponds to a distinct phase of planning. They are ordered intentionally, starting with the physical room itself and ending with the finishing touches that make the space feel personal.
1. Lock In Your Room Foundation And Layout Clearances01
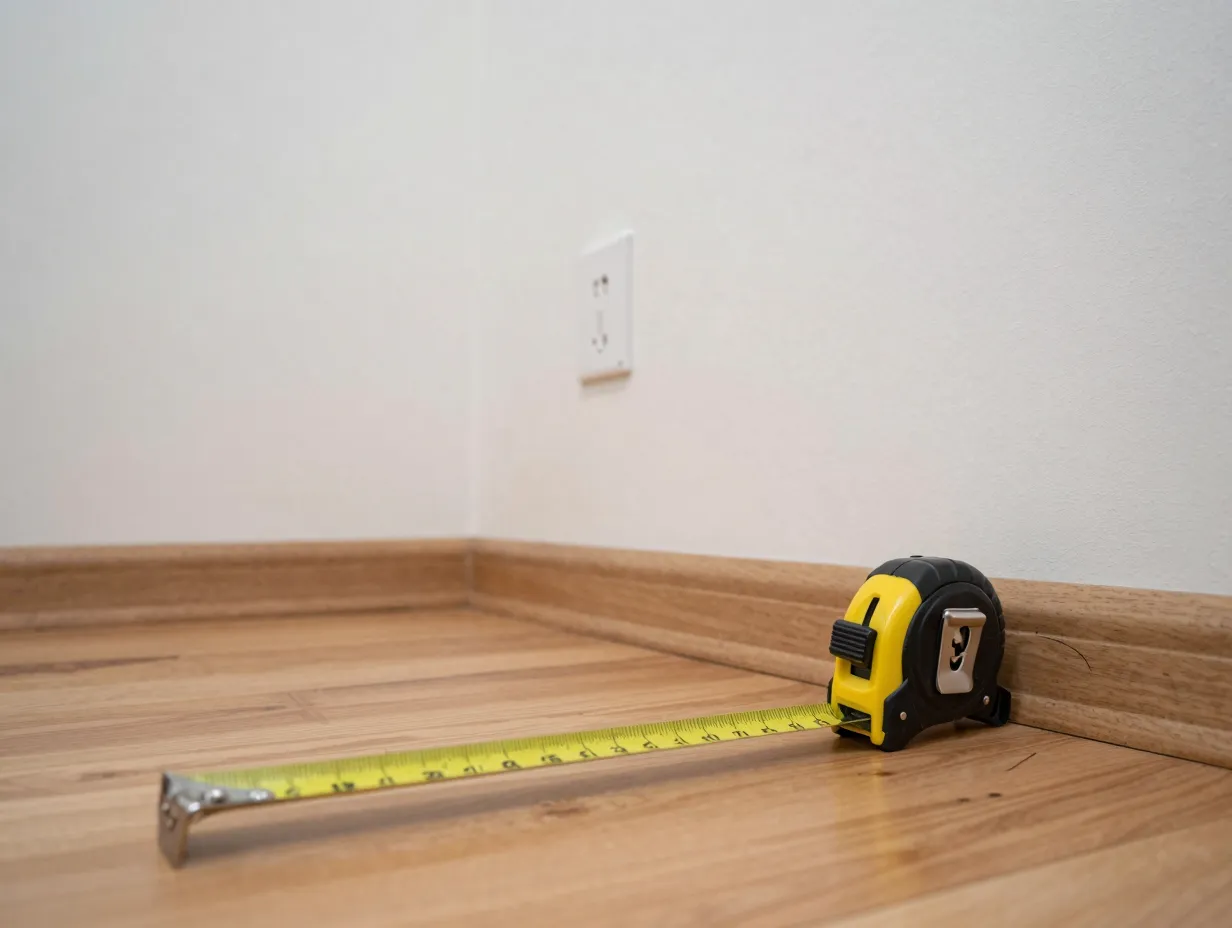
Before buying anything, measure the room. Modern gaming setup guides now specify minimum clearances with unusual precision. A dedicated gaming desk area should allow roughly three feet of clearance behind the chair for pulling out and standing, and at least two feet of side clearance where possible for movement and cable routing [1][4]. Ceiling height matters too, particularly for anyone considering a projector or overhead lighting rig, since low ceilings can create glare or shadow problems that undermine an otherwise solid setup [6].
Door swing direction, window placement relative to the monitor, and outlet locations should all be mapped before furniture arrives. Glare from a window behind or beside a monitor is one of the most common and easily avoidable mistakes in gaming room design [1][8]. If natural light cannot be blocked with blackout curtains or blinds, the desk should be repositioned so the window sits to the side rather than directly behind the screen.
Layout planning should also account for airflow. Placing a desk against a wall with no ventilation gap can trap heat around the PC case, especially in smaller rooms without strong air circulation [5][7]. A general rule is to leave at least four to six inches between the case and any wall or enclosed cabinet to allow intake and exhaust fans to breathe.
This foundational step is the one most often skipped, yet it is the one that prevents the most expensive future mistakes, such as buying a desk that does not fit or a chair that cannot fully recline because the wall is too close.
2. Anchor Your Budget In Ergonomic Furniture02
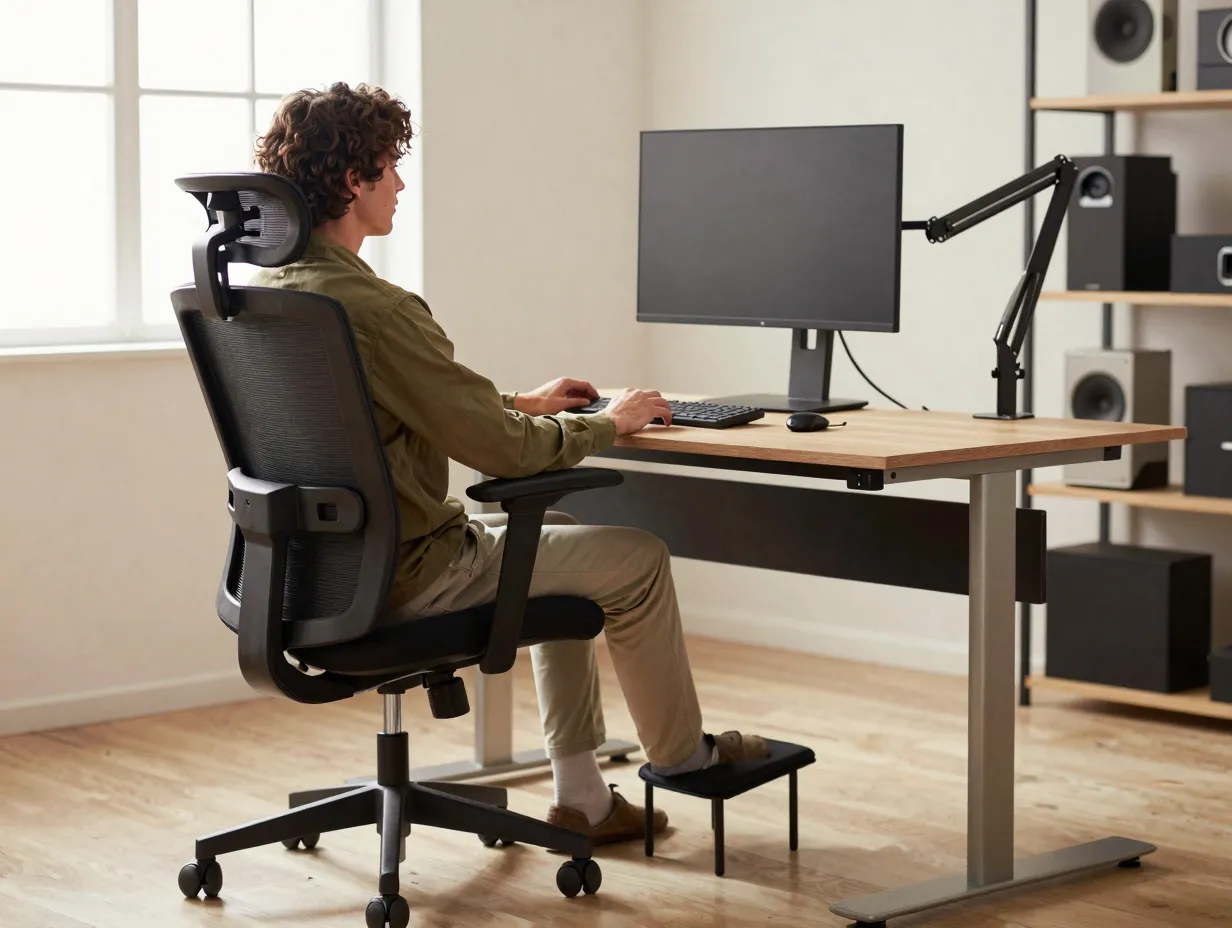
Furniture, not electronics, is now considered the primary budget anchor for a serious gaming room [2][6]. A high-refresh monitor loses much of its value if the player is slouched in an uncomfortable chair after two hours. Ergonomic guidelines recommend a chair with adjustable lumbar support, seat height, and armrest position, paired with a desk height that keeps forearms roughly parallel to the floor when typing or using a mouse [4][10].
Desk material and stability also matter more than most buyers expect. A desk that flexes or wobbles under keyboard use introduces small but real friction into fast-paced gameplay. Steel-frame or reinforced desks are generally recommended over lightweight particleboard options for anyone running multiple monitors or heavier peripherals [2][3].
A simple furniture priority checklist looks like this:
- Chair with adjustable lumbar support and seat depth
- Stable desk at the correct height for neutral wrist position
- Monitor arm or stand that allows height and tilt adjustment
- Footrest for users whose feet do not sit flat on the floor
- Wrist rest or padded desk edge for extended mouse use
Spending proportionally more here than on decorative items is one of the clearest patterns across current setup research [6][9]. A mid-range chair and desk combination will outperform a premium GPU in terms of long-term comfort and injury prevention.
3. Position Your Monitor And Prioritize Core Gaming Hardware03
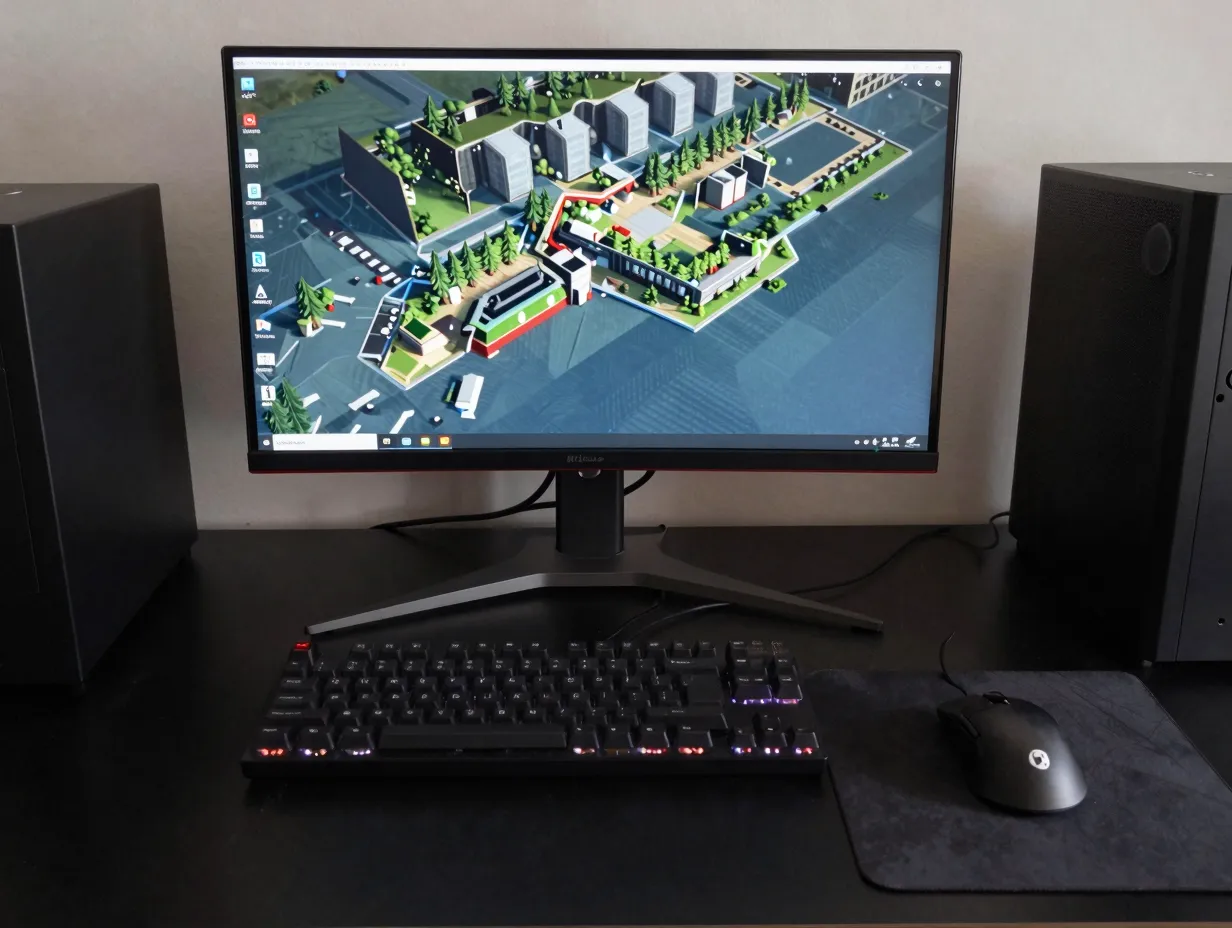
Once furniture is settled, attention shifts to the display and core peripherals. Monitor distance and positioning are now fairly standardized across gaming ergonomics guides: the top of the screen should sit roughly at or slightly below eye level, and viewing distance should typically fall between twenty and forty inches depending on screen size and resolution [1][4]. Curved monitors and larger ultrawide displays generally need to sit farther back to avoid distortion at the edges of the screen.
Refresh rate, response time, and panel type should be prioritized ahead of purely cosmetic upgrades such as case lighting or themed accessories. A high refresh rate monitor paired with a precise, low-latency mouse delivers a bigger competitive and comfort advantage than any amount of decorative gear [3][10]. Guides consistently rank display and mouse quality above keyboard aesthetics, RGB case fans, or wall art when budgets are limited [2][10].
A practical order for core hardware upgrades:
- Monitor: refresh rate, resolution, and panel type suited to the games played most
- Mouse: sensor accuracy, weight, and grip style matched to hand size
- Keyboard: switch type and layout suited to typing feel and game genre
- Headset or speakers: clarity and comfort for long sessions
- Chair-adjacent accessories such as monitor arms for fine positioning
Placing the monitor at the correct height and distance also reduces neck strain during long sessions, which compounds the benefits gained from the furniture step above.
4. Layer In Lighting For Comfort And Immersion04
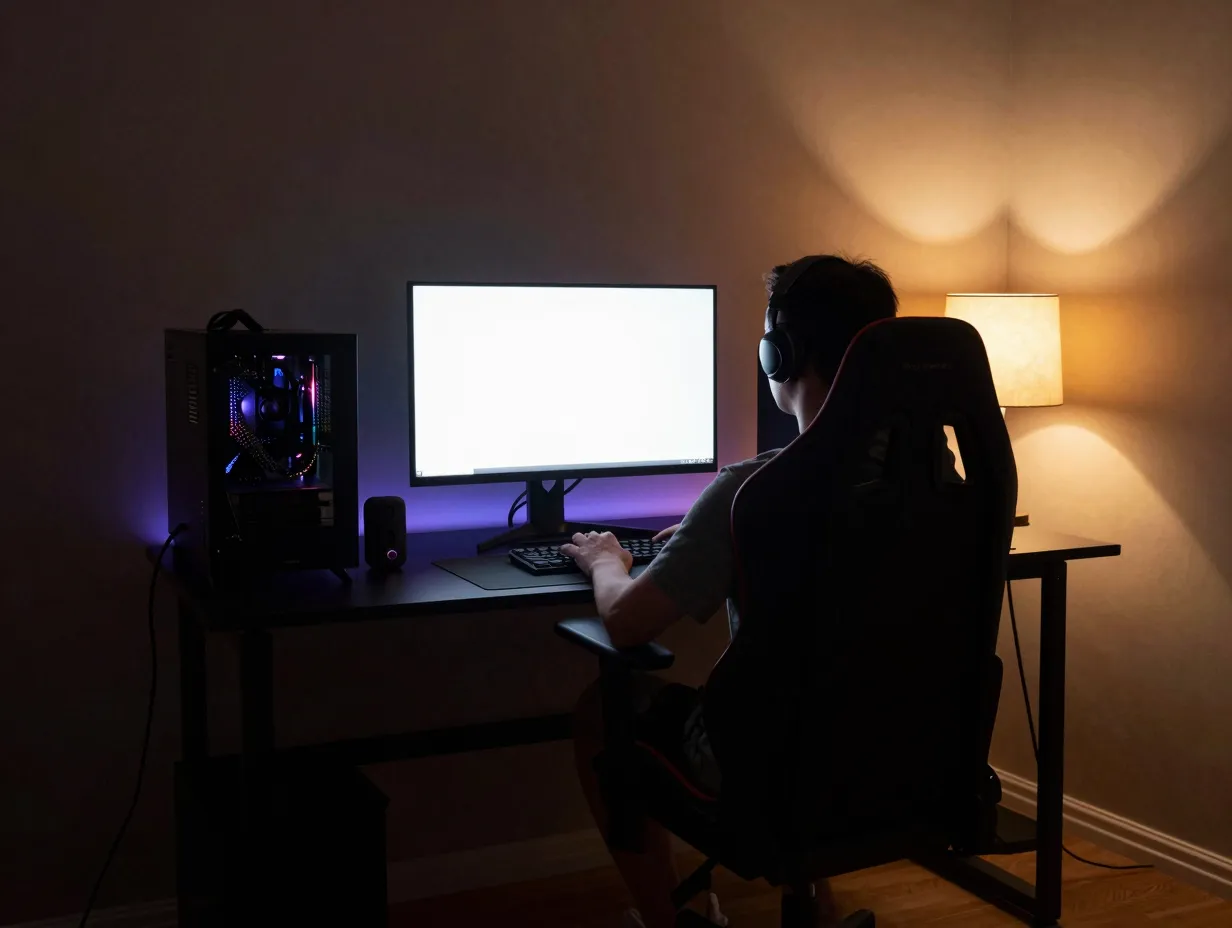
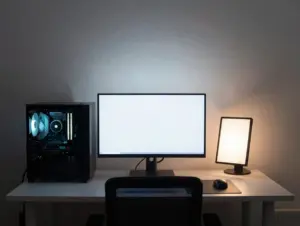
Lighting has moved well beyond decorative RGB strips. Bias lighting, a soft light placed behind or around the monitor, is now recommended specifically to reduce eye strain by balancing the contrast between a bright screen and a dark room [1][9]. Unlike harsh overhead lighting, bias lighting keeps the immediate surroundings gently lit without washing out screen colors or creating glare.
RGB lighting itself has become more sophisticated. Rather than static colors, many setups now sync lighting with in-game events or ambient audio, though guides note that latency-aware syncing matters, since laggy lighting effects can become a distraction rather than an enhancement [1][9]. Choosing lighting hardware with low input lag for sync features is now considered part of a thoughtful setup rather than a luxury detail.
A simple lighting layering approach works well for most rooms:
- Ambient layer: soft ceiling or floor lamp lighting for general room brightness
- Bias layer: light strip behind the monitor to reduce screen-to-room contrast
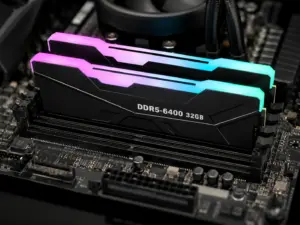
- Accent layer: RGB strips or under-desk lighting for mood and personalization
- Task layer: a focused desk lamp for non-gaming tasks like reading or streaming setup
Warm white or neutral tones are generally better for ambient and bias lighting, while accent RGB can carry more personality since it sits outside the direct field of view [4][8].
5. Master Cable Management And Power Planning05
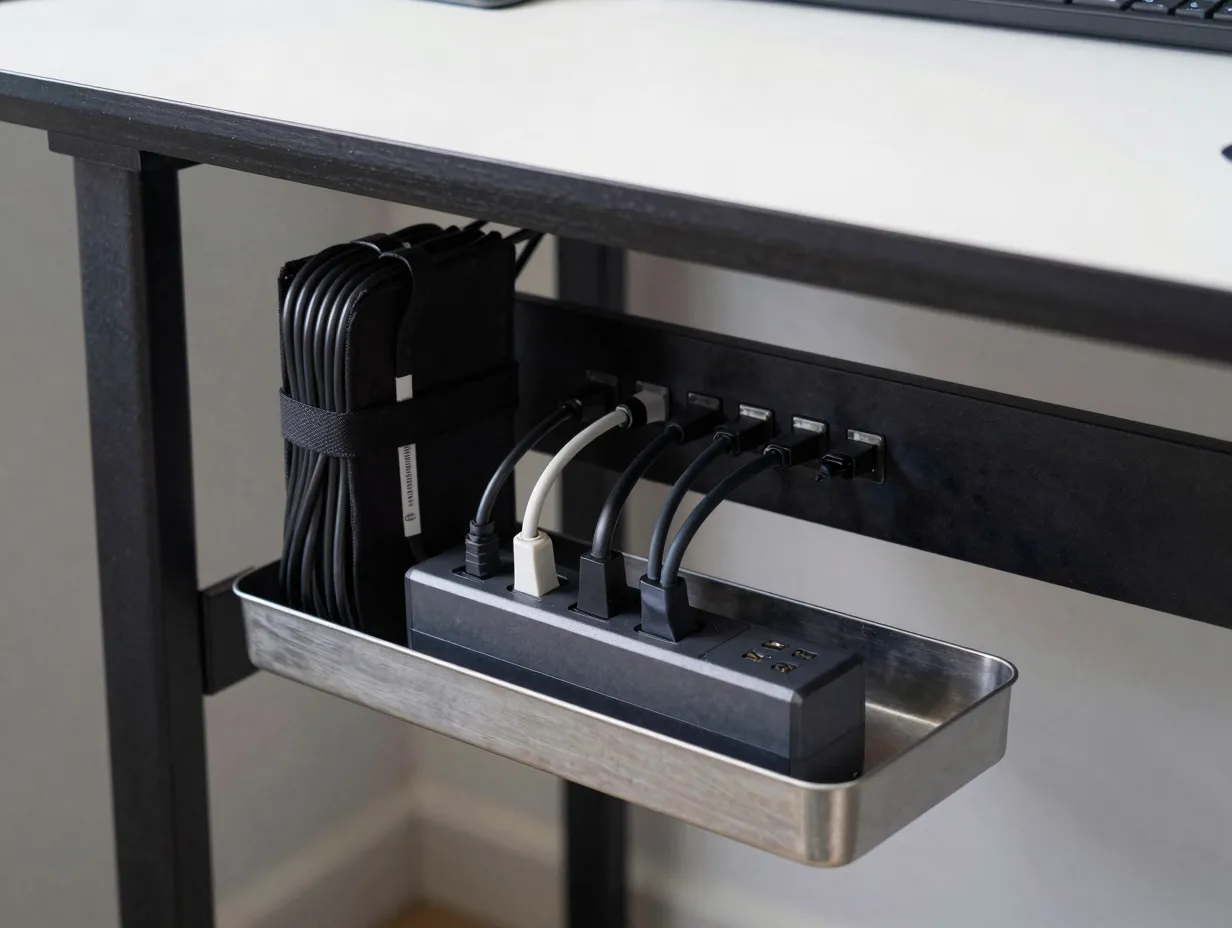
Cable management has shifted from a cosmetic nicety to a distinct planning step with its own checklist. Guides now recommend mapping every device’s power and data needs before cables are run, rather than improvising after everything is plugged in [5][7]. This includes counting outlets needed for the PC, monitor, speakers, lighting controllers, and any additional peripherals, then adding a margin for future upgrades.
A surge-protected power strip or dedicated power conditioner is recommended for setups with multiple monitors or high-wattage components, both to protect equipment and to keep voltage stable during demanding gaming sessions [5][9]. Under-desk cable trays, adhesive clips, and vertical cable sleeves are the standard tools for keeping runs tidy and away from foot traffic or airflow paths.
A basic cable planning sequence:
- List every device that needs power or a data connection
- Count and confirm available outlets, adding a surge protector if needed
- Route power cables along one side and data cables along the other to reduce interference
- Use cable trays or sleeves to lift cords off the floor
- Label cables at both ends for easy troubleshooting later
This step is easy to skip because it produces no visible reward on its own, but tangled or overloaded power setups are a common cause of both clutter and equipment strain in gaming rooms [7][8].
6. Control Your Environment And Add Finishing Touches06
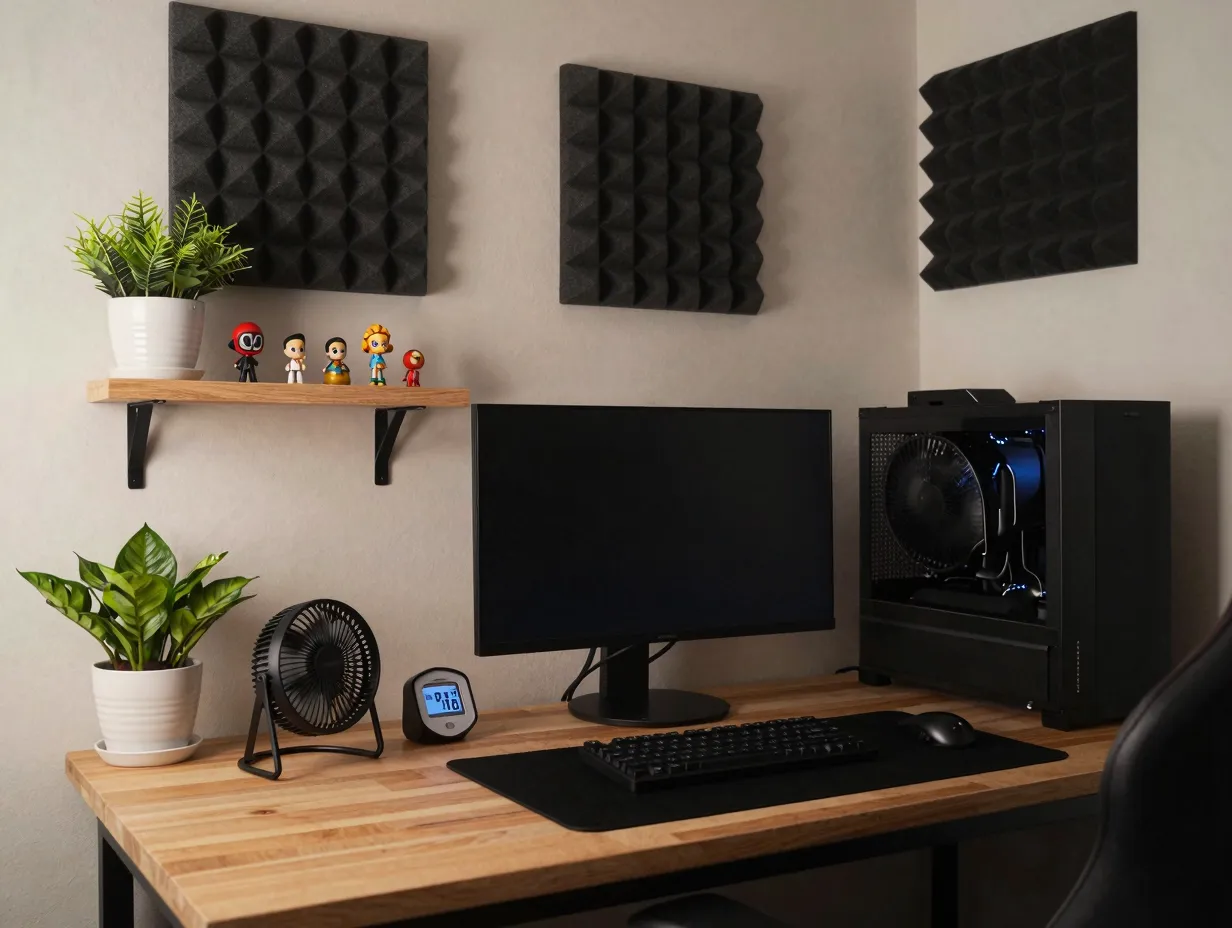
The final step covers the environmental factors that quietly affect how long someone can comfortably game: temperature, humidity, acoustics, and ventilation. Rooms that run too warm cause both physical discomfort and thermal throttling risk for the PC itself, so guides now recommend keeping ambient room temperature in a moderate range and ensuring at least one source of active airflow, whether that is a window, a fan, or a small HVAC vent [5][7].
Humidity control matters more than most people expect. Very dry air increases static risk around electronics, while overly humid rooms can contribute to component corrosion over time. A simple hygrometer can help track conditions in rooms without central climate control [7][8].
Acoustic treatment is another emerging priority, particularly for anyone using a headset with open-back drivers or planning to stream. Soft furnishings, rugs, and simple foam panels can reduce echo and improve both voice chat clarity and immersion in games with directional audio [4][6].
Finishing touches are where personality enters the sanctuary: shelving for collectibles, a themed wall panel, plants for air quality and visual softness, or a small speaker setup for ambient music. These additions matter, but they belong at the end of the sequence, after the functional layers are already solid [6][8].
Aesthetic Frameworks To Personalize Your Gaming Sanctuary
Once the six functional steps are complete, aesthetic direction becomes the layer of personalization that makes a room feel distinct. Several frameworks have become common reference points in current design guides.
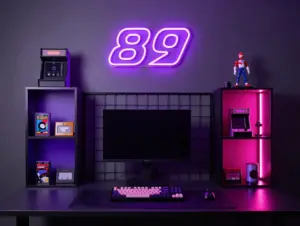
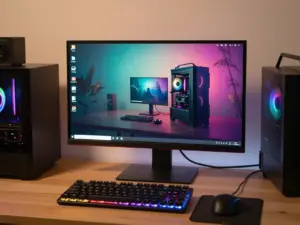
Organic Tech blends natural materials such as wood grain desks and plants with visible technology, softening the typically cold look of gaming hardware [8]. Stealth Minimal strips lighting and decoration down to a near-monochrome palette, favoring clean lines, hidden cables, and a single accent light source for a calm, focused environment [1][8]. Themed rooms, built around a favorite game, franchise, or color scheme, remain popular for players who want their space to feel like an extension of their gaming identity rather than a purely functional workstation [4][6].
| Aesthetic Framework | Core Idea | Best Suited For |
|---|---|---|
| Organic Tech | Wood, plants, and warm tones softening hardware | Players wanting a relaxed, less clinical feel |
| Stealth Minimal | Monochrome palette, hidden cables, single accent light | Competitive players who want low visual distraction |
| Themed Room | Color and decor tied to a favorite game or franchise | Players who want strong personal identity in the space |
Choosing a single framework, rather than mixing several loosely, tends to produce a more cohesive and calming result [4][8].
A gaming sanctuary is not defined by how much gear it contains, but by how well every element works together to support long, comfortable sessions.
Emerging And Speculative Trends Shaping Gaming Rooms
Several trends point toward where gaming room design is heading next. Wireless peripherals continue improving in latency performance, making fully cable-free desks more realistic without sacrificing competitive responsiveness [1][9]. Game-linked lighting, where RGB strips or ambient lamps react directly to in-game events such as health warnings or explosions, is expanding beyond niche enthusiast setups into mainstream lighting software [1][9].
Hybrid work-gaming spaces are also becoming more common, as remote work normalizes multi-purpose desks that switch between productivity tasks and gaming sessions using the same monitor and peripheral setup [5][9]. This trend reinforces why furniture ergonomics, covered in step two, deserves such a high budget priority: a desk and chair built for gaming comfort now often doubles as daily work infrastructure.
Common Mistakes To Avoid When Following These Steps
Even with a clear framework, a few recurring mistakes show up across gaming room projects.
- Buying decorative lighting before confirming outlet capacity and cable routing
- Choosing a desk based on looks rather than height and stability for the intended chair
- Placing the monitor too close or too far from the eyes without testing viewing distance
- Ignoring room airflow, leading to a hot, uncomfortable space during long sessions
- Mixing multiple aesthetic frameworks inconsistently, creating visual clutter instead of a cohesive sanctuary
Avoiding these pitfalls largely comes down to respecting the order of the six steps rather than jumping straight to the most exciting purchase.
Conclusion
Building a true gaming sanctuary is less about spending more and more about sequencing decisions correctly. Following the 6 PC Gaming Room Setup Steps To Create Your Ultimate Sanctuary in order, starting with room foundation and clearances, then furniture, core hardware, lighting, cable and power planning, and finally environmental control and finishing touches, prevents the costly rework that comes from buying gear before the room can actually support it.
The next practical move is simple: measure the room today, sketch the layout with clearances marked, and set a furniture budget before browsing any new hardware. Everything else in this framework builds on that first decision.
References
[1] Gaming Room Setup Guide 2026 – https://vega-gaming-pc.com/gaming-room-setup-guide-2026/
[2] Best Pc Gaming Setup 2026 – https://www.computergamingworld.eu/best-pc-gaming-setup-2026/
[3] Best Gaming Setup For Pc – https://gamingpcguru.com/best-gaming-setup-for-pc/
[4] Ultimate Gaming Room Setup Guide – https://www.playzonerog.com/blogs/ultimate-gaming-room-setup-guide
[5] Gaming Room Setup The Complete 2026 Guide To Creating Your Ultimate Gaming Space – https://shmorky.net/gaming-room-setup-the-complete-2026-guide-to-creating-your-ultimate-gaming-space/
[6] What Should My Gaming Room Must Have – https://www.benq.com/en-us/campaign/gaming-projector/resources/what-should-my-gaming-room-must-have.html
[7] How To Create A Gaming Space – https://www.geekextreme.com/how-to-create-a-gaming-space/
[8] Gaming Room Ideas – https://archmaster.app/blog/interior/gaming-room-ideas
[9] Gaming Setup Guide 2026 – https://gadget-words.com/en/news/gaming-setup-guide-2026/
[10] Best Setup For Gaming Computer – https://gamingpcguru.com/best-setup-for-gaming-computer/