6 Pro Tips for Shooting Incredible Green Screen Phone Video
Fewer than 15% of smartphone creators who attempt green screen video are happy with their first result, and the reason is almost never the phone itself. The gap between a muddy, spill-ridden key and a broadcast-quality composite comes down to a handful of controllable variables that most guides skip entirely. This article covers all 6 pro tips for shooting incredible green screen phone video, walking through each variable in the order it matters most, from backdrop selection to final app workflow.
Disclosure: This post contains affiliate links. As an Amazon Associate, we earn from qualifying purchases, and at no extra cost to you.
Key Takeaways
- Even, separate lighting for the backdrop and the subject is the single most important factor in a clean chroma key.
- Keeping the subject 3 to 6 feet from the green screen dramatically reduces color spill on skin and clothing.
- A smooth, wrinkle-free, non-reflective backdrop is not optional, it is foundational infrastructure.
- Shooting in 4K with the correct shutter speed gives editing software far more data to work with during keying.
- Stabilization and controlled movement are uniquely critical for phone sensors compared to larger cameras.
- On-device rough keying combined with desktop refinement produces the most reliable final result.
Why Green Screen Phone Video Fails (And How These Tips Fix It)
Green screen technology is no longer reserved for Hollywood studios. Portable, collapsible green screens designed specifically for phone creators have made the technique accessible to anyone with a modern smartphone [7]. Yet accessibility has not automatically translated into quality. The physics of chroma keying are unforgiving: any inconsistency in lighting, distance, or fabric texture creates artifacts that no app can fully repair after the fact.
The 6 pro tips for shooting incredible green screen phone video outlined here are not arbitrary. Each one addresses a specific failure mode that appears repeatedly in mobile green screen work. Understanding why each tip matters makes it far easier to apply consistently, even in a small home studio or a temporary on-location setup.
Modern phone sensors have improved dramatically, but they still process color information differently than large cinema sensors. Smaller sensors are more sensitive to noise in low-light conditions, and noise is the enemy of a clean key [4]. The tips below account for these sensor-specific limitations throughout.
The 6 Pro Tips for Shooting Incredible Green Screen Phone Video
1. Build a Lighting Setup That Treats the Screen and Subject Separately
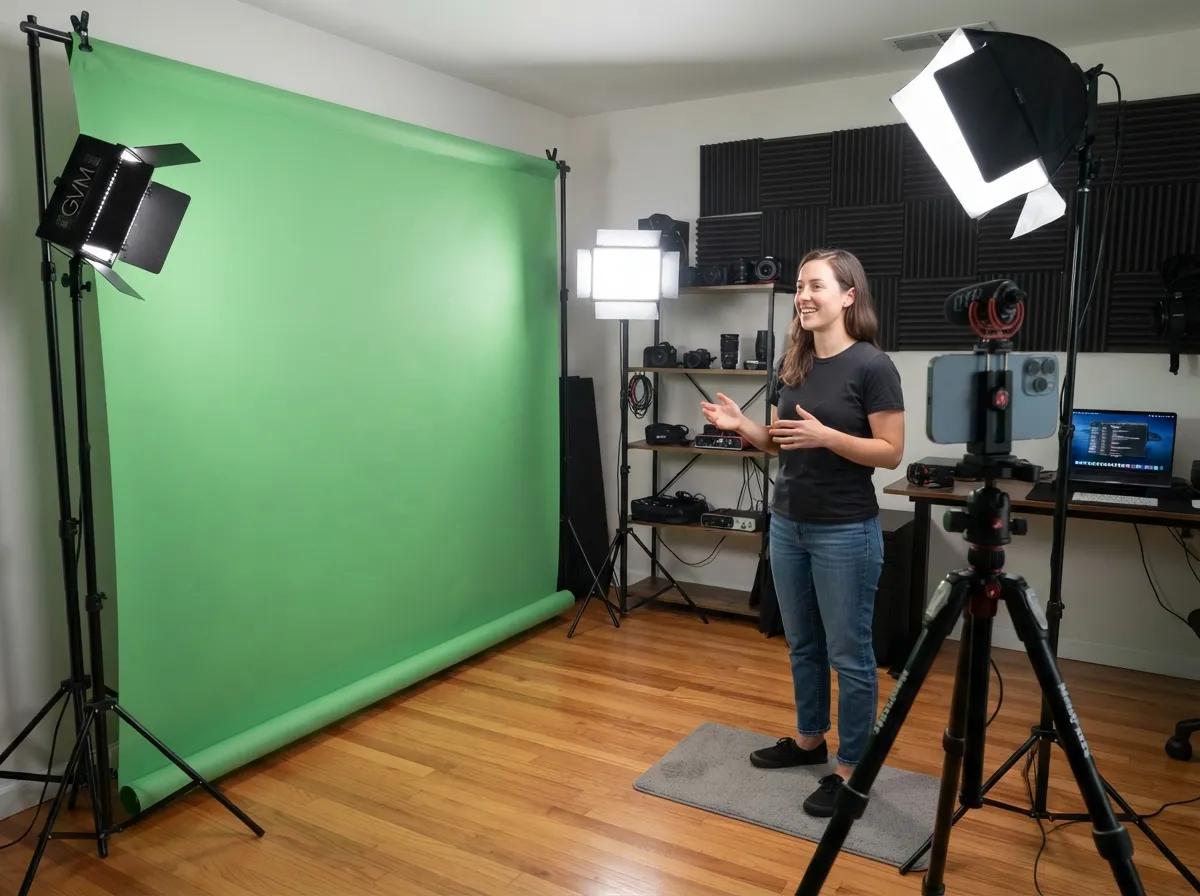
The single most common mistake in mobile green screen work is using one light source for both the backdrop and the subject. When the same light hits both, the green reflects off the screen and wraps around the subject’s edges, a problem called color spill, and the keying software cannot distinguish where the background ends and the subject begins [2].
The correct approach uses at least two dedicated light sources for the green screen and at least one or two separate sources for the subject. For the backdrop, position lights at roughly 45-degree angles on either side, close enough to produce even illumination across the entire surface without hotspots. A light meter app or the phone’s histogram can confirm evenness before recording begins.
For the subject, use a key light placed slightly above eye level and a fill light on the opposite side to reduce harsh shadows. Shadows falling onto the green screen are almost as damaging as color spill because they create dark green areas that key differently from the rest of the backdrop [9].
Practical lighting checklist:
- Two lights for the green screen, angled at 45 degrees from each side
- One key light and one fill light for the subject
- No single light source doing double duty
- Confirm even exposure on the backdrop before rolling
LED panel lights are the preferred tool for phone creators in 2026 because they run cool, are portable, and produce consistent color temperature [4]. Avoid mixing light sources with different color temperatures, such as a daylight LED and a tungsten bulb, because the resulting color cast makes accurate keying nearly impossible.
2. Position the Subject 3 to 6 Feet From the Backdrop
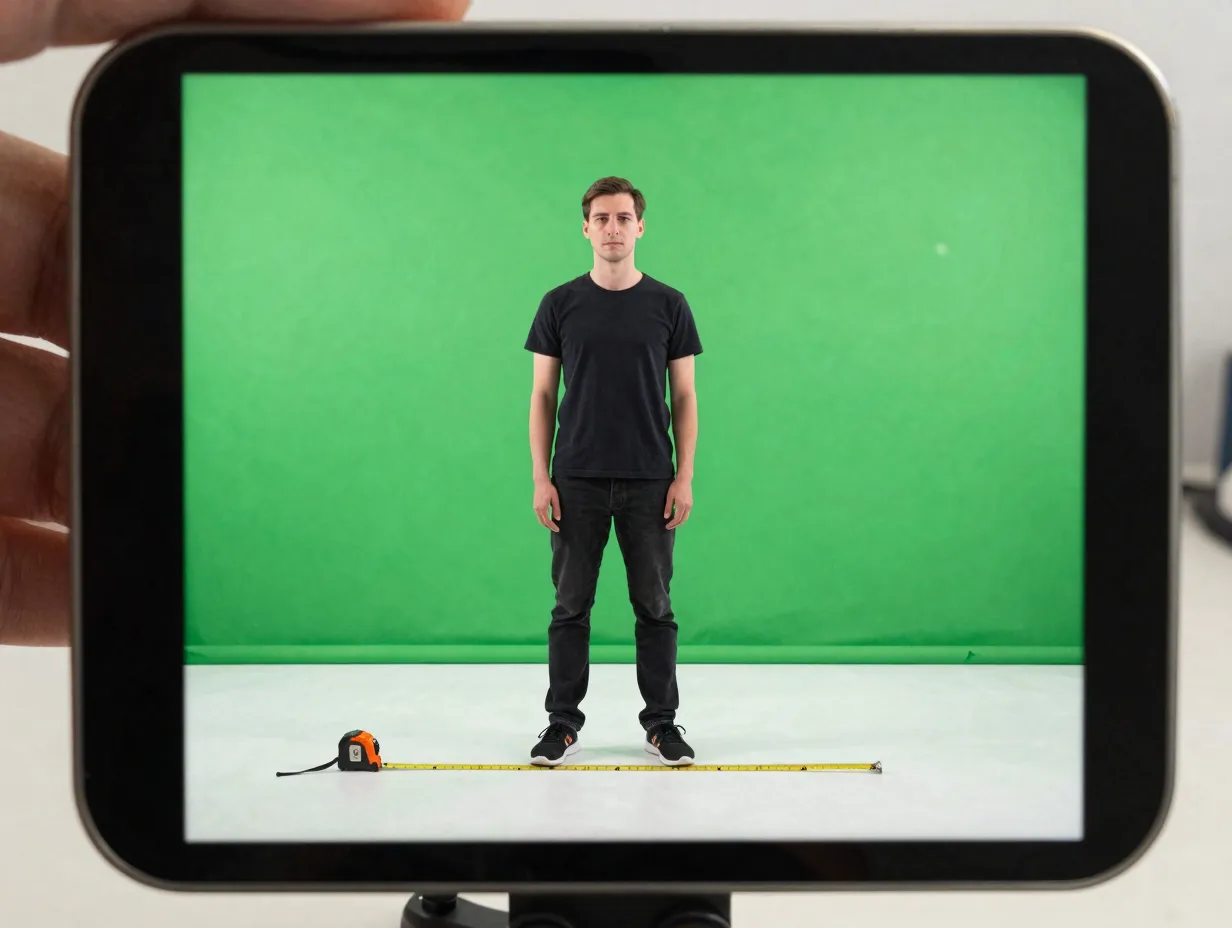
Distance is one of the most underestimated variables in mobile green screen work. The recommended subject distance has standardized around 3 to 6 feet for a clear reason: it is the range at which color spill from the backdrop becomes manageable while still keeping the subject close enough for a phone camera to capture sharp detail [5].
At less than 2 feet, green light bounces directly off the backdrop onto the subject’s face, hair, and clothing. Keying software can remove the background, but it cannot restore the natural color of skin or fabric that has been contaminated by spill. At more than 7 or 8 feet, the backdrop must be significantly larger to fill the frame, and maintaining even lighting across a larger surface becomes more difficult with portable gear [8].
“Distance is not just a composition choice, it is a technical control that determines how much color contamination the subject carries into the edit.”
For most phone shooting scenarios, 4 feet is a reliable default. It provides enough separation to minimize spill while keeping the subject within the natural focus range of a wide-to-normal focal length. If shooting a full-body frame, 5 to 6 feet is more appropriate to ensure the entire backdrop fills the background without the edges of the screen entering the shot.
3. Treat Backdrop Quality as Non-Negotiable Infrastructure
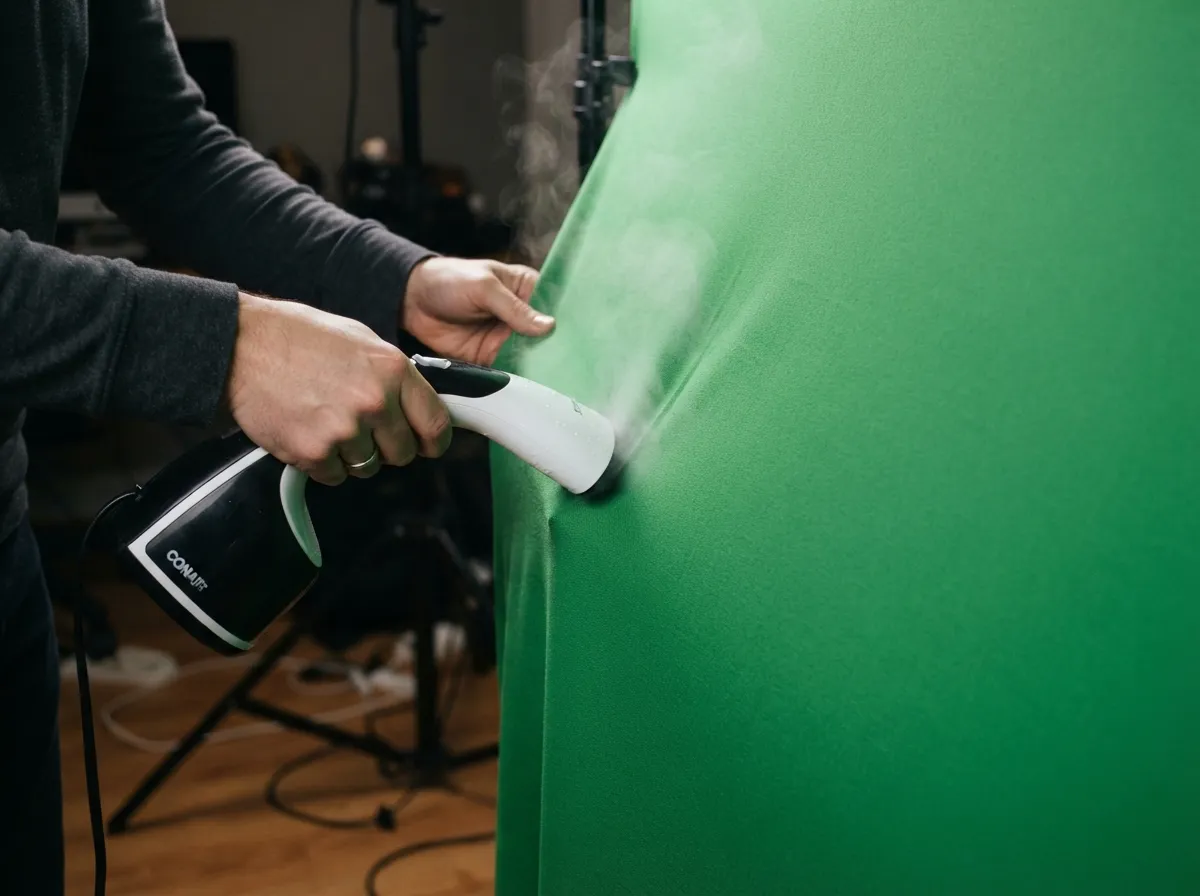
A green screen is only as good as its surface. Wrinkles, folds, and creases create shadows and uneven color that force the keying algorithm to work with multiple shades of green instead of one consistent hue. The result is a patchy key with holes and artifacts that require extensive manual correction [2].
For phone creators working from a home studio, a portable collapsible green screen is the most practical solution. These products are designed to spring open flat and pack down into a carry bag, making them suitable for both permanent setups and on-location shoots [7]. When using fabric backdrops, steaming or ironing before every session is not optional, it is part of the setup process.
Backdrop quality standards:
- Surface must be smooth and wrinkle-free before every shoot
- Material should be non-reflective to prevent hotspots under lights
- Color must be a consistent, saturated chroma green (not lime, not teal)
- Backdrop must be large enough to fill the frame at the chosen subject distance
Reflective surfaces are a separate but related problem. Glossy or semi-gloss green fabrics catch light differently across the surface, creating bright spots that key at a different luminance value than the rest of the backdrop. Matte-finish materials are strongly preferred [9].
For creators who travel or shoot in varied locations, a portable green screen that sets up in under a minute is now considered standard equipment rather than a luxury [7]. The investment pays back immediately in reduced editing time.
4. Record in 4K With Correct Frame Rate and Shutter Speed
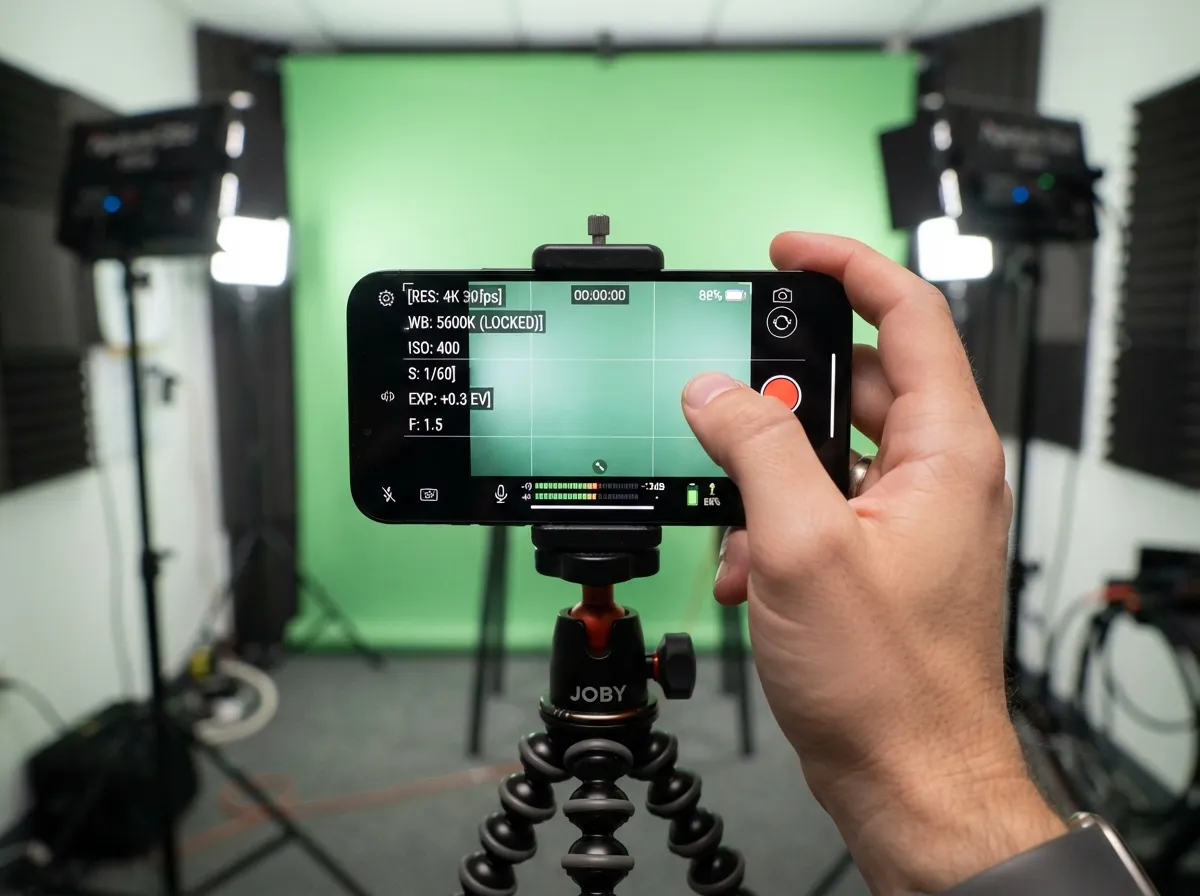
Camera settings have a direct and measurable impact on how well green screen footage keys in post-production. Shooting in 4K gives the editing software significantly more color and detail data to work with compared to 1080p, which means the algorithm can draw a more precise edge around the subject [4].
Frame rate and shutter speed are equally important. The standard recommendation for video is to set the shutter speed to double the frame rate, a principle known as the 180-degree shutter rule. For 24fps footage, that means a shutter speed of 1/48 (or 1/50 on most phones). For 30fps, the target is 1/60. This produces natural motion blur that matches how the human eye perceives movement, and it prevents the over-sharpened, flickering look that comes from using too fast a shutter [5].
| Frame Rate | Target Shutter Speed | Use Case |
|---|---|---|
| 24fps | 1/48 or 1/50 | Cinematic, narrative content |
| 30fps | 1/60 | Social media, talking-head video |
| 60fps | 1/120 | Slow-motion, high-action segments |
Most modern iPhones and Android flagship devices support manual or semi-manual control through third-party camera apps such as Filmic Pro, Blackmagic Camera, or the native pro mode on Samsung and Pixel devices. Using these controls to lock exposure, white balance, and shutter speed before recording prevents the automatic adjustments that introduce color shifts mid-take [10].
White balance deserves special attention. Auto white balance can drift during a take, changing the shade of green on the backdrop and making the key inconsistent from frame to frame. Lock white balance to a fixed Kelvin value that matches the lighting setup before pressing record [8].
5. Use Stabilization and Control Every Movement
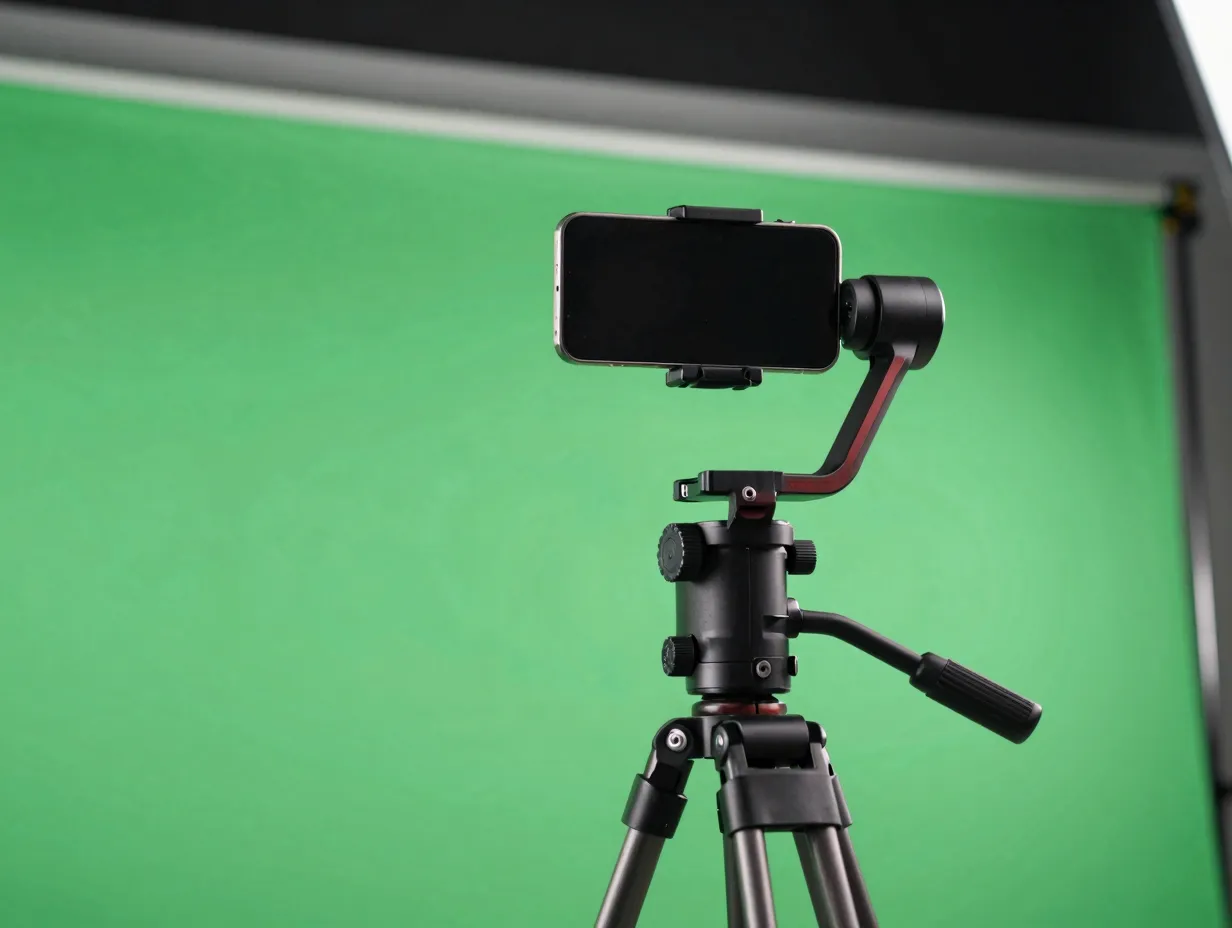
Phone cameras are more susceptible to motion-related artifacts in green screen work than larger cameras for a simple reason: the smaller sensor and shorter focal length make even minor camera shake visible at the pixel level, and that shake creates motion blur along the edges of the subject that keying algorithms struggle to handle cleanly [4].
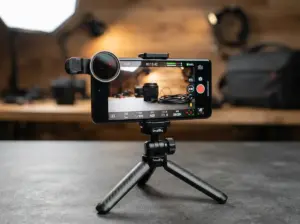
Stabilization for green screen phone video operates on two levels. The first is physical stabilization, using a tripod, a gimbal, or a dedicated phone rig to eliminate unintended camera movement. The second is intentional movement control, planning any deliberate camera moves so they are smooth, slow, and consistent [6].
Stabilization recommendations by scenario:
- Static talking-head video: a basic tripod with a phone mount is sufficient and produces the cleanest key.
- Slow pan or tilt: a fluid-head tripod or a motorized slider provides consistent speed that the keying software can track.
- Handheld movement: a 3-axis gimbal is the minimum requirement; even then, movement should be slow and deliberate.
- No movement: the most reliable option for beginners and for any setup where the background will be replaced with a complex composite.
In-phone electronic image stabilization (EIS) should generally be turned off when shooting green screen on a tripod. EIS crops the frame slightly and can introduce warping at the edges, exactly where the key line sits [5]. Optical image stabilization (OIS) is passive and does not cause the same problem.
Subject movement also matters. Fast hand gestures, loose hair, and clothing with fine detail (fringe, mesh, lace) all create edge complexity that increases keying difficulty. Coaching subjects to move deliberately and avoid fast lateral movements reduces cleanup time significantly [9].
6. Key Roughly on the Phone, Then Refine on Desktop
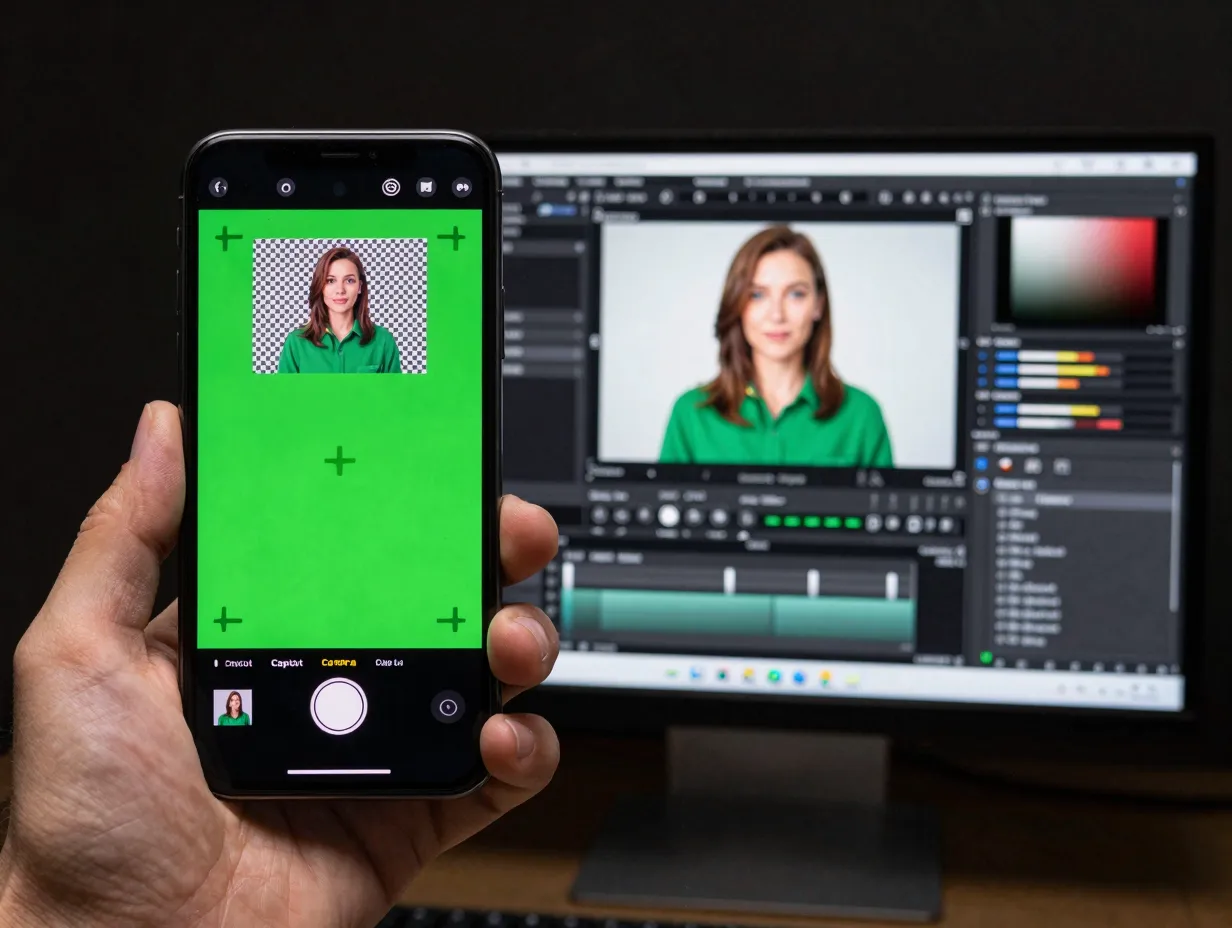
The workflow question, where to do the keying, has a clear best-practice answer in 2026: do a rough key on the phone to check the setup is working, then do the final refinement on a desktop application where processing power and color tools are far more capable [2].
Several mobile apps now offer real-time chroma key preview, including Kinemaster, LumaFusion (on iPad and iPhone), and CapCut. These tools are useful for confirming that the lighting and distance setup is producing a keyable image before committing to a full take. If the rough key on-device shows significant spill or edge artifacts, that is a signal to fix the physical setup rather than attempt to correct it in software [8].
For final output, desktop applications such as DaVinci Resolve (free version), Adobe Premiere Pro, or Final Cut Pro provide spill suppression tools, edge refinement controls, and color correction workflows that mobile apps cannot match. DaVinci Resolve’s Fusion module, in particular, offers node-based keying that handles difficult edges, fine hair, transparent fabric, motion blur, with a level of precision that is simply not available on a phone screen [10].
Recommended two-stage workflow:
- Shoot and do a real-time rough key check on the phone app to validate the physical setup.
- Transfer the 4K footage to a desktop editor for final keying, spill suppression, color grading, and background compositing.
- Export at the target platform’s recommended settings (1080p for most social platforms, 4K for archival or broadcast use).
Smartphone-ready green screen templates and background assets are increasingly available through platforms like Envato Elements and Motion Array, making it straightforward to drop a professionally designed background behind the keyed subject without building a composite from scratch [9].
One additional variable that belongs in the workflow discussion is clothing. Subjects should avoid wearing any shade of green, including olive, lime, or teal, because those colors will be partially removed during keying. Reflective jewelry, glasses with reflective lenses, and shiny fabrics all catch the green light from the backdrop and create small but noticeable keying artifacts. Matte, mid-tone clothing in colors that contrast with green, blues, reds, grays, earth tones, produces the cleanest results [2].
Putting the 6 Pro Tips for Shooting Incredible Green Screen Phone Video Into a Repeatable System
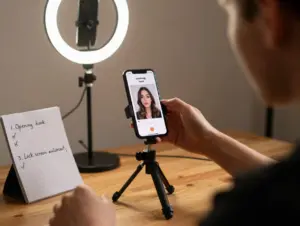
The most effective way to apply these tips consistently is to build them into a pre-shoot checklist rather than relying on memory. Professional green screen operators on broadcast sets use exactly this approach: a written setup sequence that is followed in the same order every time, regardless of how experienced the operator is.
Pre-shoot green screen checklist for phone creators:
- Set up and smooth the backdrop; steam or iron if any wrinkles are present.
- Position lights for the backdrop at 45-degree angles; confirm even illumination with the phone’s histogram.
- Set up subject lighting with a key and fill; ensure no shadows fall on the backdrop.
- Position the subject at 4 to 5 feet from the backdrop; adjust framing.
- Lock white balance, set frame rate, apply the 180-degree shutter rule, enable 4K recording.
- Mount the phone on a tripod or gimbal; disable EIS if shooting static.
- Run a 10-second test clip and check the rough key in the mobile app.
- Adjust any setup issues identified in the rough key check, then record the full take.
Following this sequence adds roughly 10 to 15 minutes to setup time and eliminates the majority of post-production problems that would otherwise take hours to fix, or prove impossible to fix entirely.
Conclusion
The 6 pro tips for shooting incredible green screen phone video covered here, separate lighting, controlled subject distance, high-quality backdrop, 4K recording with correct camera settings, stabilization, and a two-stage keying workflow, are not advanced techniques reserved for experienced filmmakers. They are foundational controls that any phone creator can implement with modest equipment and a disciplined setup process.
Actionable next steps:
- Audit the current lighting setup and confirm that the backdrop and subject are lit by separate sources.
- Measure the distance between the subject position and the backdrop; adjust to the 3-to-6-foot range if needed.
- Check the backdrop for wrinkles before every session and address them before lighting is finalized.
- Switch the phone camera app to manual mode and lock white balance, frame rate, and shutter speed.
- Mount the phone on a tripod for the next green screen session and disable EIS.
- Record a short test clip, run a rough key on the phone app, and use the result to diagnose any remaining setup issues before the full take.
Each of these steps is independent. Improving even one of them will produce a measurably better key. Improving all six transforms green screen phone video from a frustrating experiment into a reliable, repeatable production tool.
References
[1] Watch – https://www.youtube.com/watch?v=EtTj1gg5in0
[2] Mobile Videography Hacks Shooting And Editing With Chroma Key Green – https://www.finchley.co.uk/finchley-learning/mobile-videography-hacks-shooting-and-editing-with-chroma-key-green
[3] Watch – https://www.youtube.com/watch?v=zH8j7xcxAhc
[4] Best Practices For Green Screen In Mobile Filmmaking – https://www.finchley.co.uk/finchley-learning/best-practices-for-green-screen-in-mobile-filmmaking
[5] Mobile Videography Guide How To Use Green Screen Chroma Key On Your Phone – https://www.finchley.co.uk/finchley-learning/mobile-videography-guide-how-to-use-green-screen-chroma-key-on-your-phone
[6] Watch – https://www.youtube.com/watch?v=iwFc5kYbbws
[7] Portable Green Screen – https://www.avixa.org/explore/articles/portable-green-screen
[8] Mobile Videography Hack Using Chroma Key Green Screen On Your Smartphone – https://www.finchley.co.uk/finchley-learning/mobile-videography-hack-using-chroma-key-green-screen-on-your-smartphone
[9] Master Green Screen Techniques For Mobile Videos – https://www.finchley.co.uk/finchley-learning/master-green-screen-techniques-for-mobile-videos
[10] Iphone Green Screen – https://skylum.com/blog/iphone-green-screen