6 Tips for Shooting Amazing Video of People Using a Phone
Smartphones now account for more than 90% of all video content uploaded to social media platforms worldwide, yet the vast majority of that footage suffers from the same handful of avoidable mistakes. Whether the goal is a polished interview, a candid documentary moment, or a professional brand video, knowing the 6 tips for shooting amazing video of people using a phone can be the difference between footage that captivates and footage that gets scrolled past in under two seconds.
Disclosure: This post contains affiliate links. As an Amazon Associate, we earn from qualifying purchases, and at no extra cost to you.
This guide breaks down each technique with practical, actionable detail so any filmmaker, beginner or experienced, can immediately improve the quality of their people-focused smartphone videos.
Key Takeaways
- Stabilization, lighting, and lens cleanliness are the three fastest wins for better smartphone video of people
- Locking focus and exposure on the subject’s face prevents distracting auto-adjustments mid-shot
- Getting physically closer to the subject always beats using digital zoom
- Audio quality is often more important than video quality, poor sound kills engagement faster than a soft image
- Preparation before filming (battery, storage, notifications off) protects every shot
1. Master Your Phone’s Basic Settings Before You Press Record
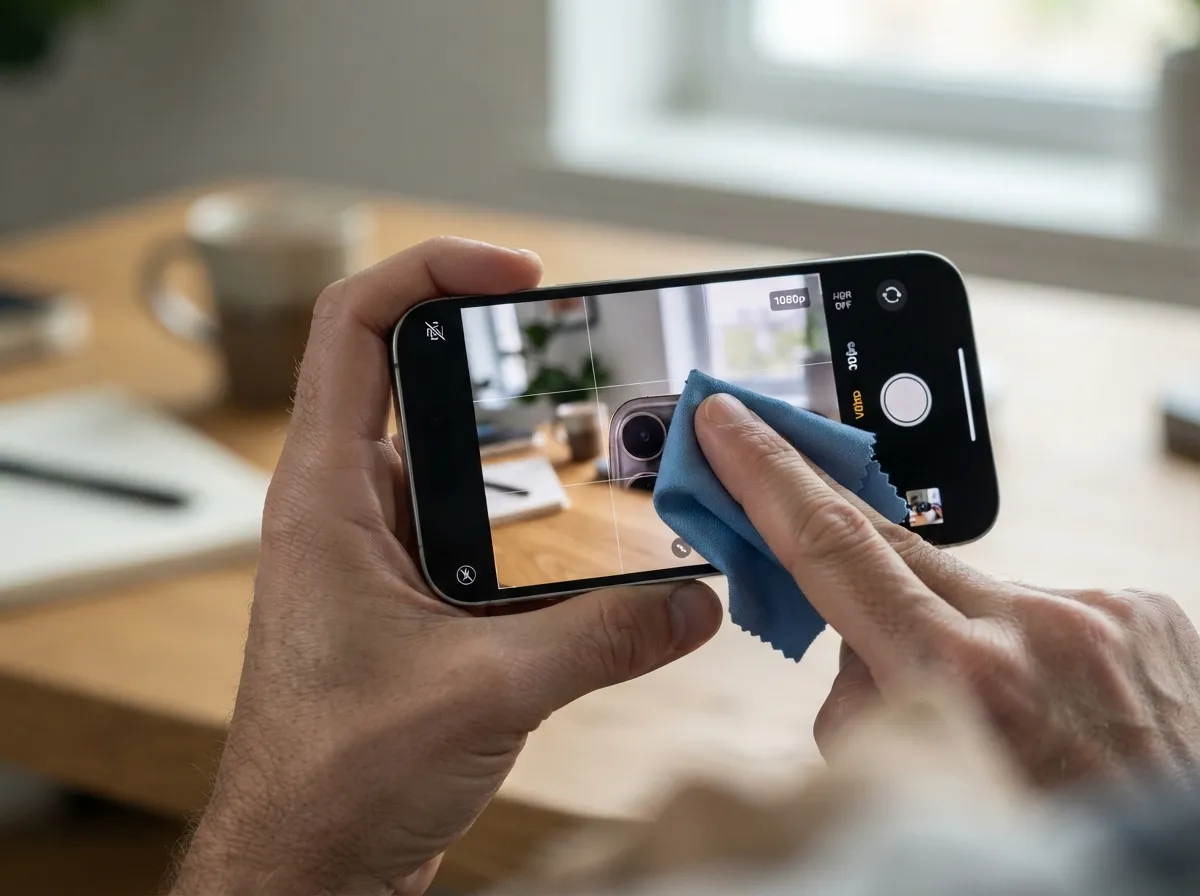
The single most overlooked step in smartphone videography is what happens before the camera app even opens. A dirty lens, wrong camera selection, or incorrect orientation can ruin footage that no amount of editing will fix.
Clean the Lens Every Single Time
A phone spends most of its life in pockets, bags, and hands. The result is a lens coated in oils and dust that scatter light and reduce sharpness. A quick wipe with a microfiber cloth takes three seconds and can dramatically improve image clarity [1]. This is especially noticeable when filming people in front of bright backgrounds, where smears cause distracting halos around faces.
Use the Rear Camera
The front-facing camera is convenient for selfie videos, but the rear camera almost always has a larger sensor, better optics, and superior low-light performance [2]. When filming another person, always default to the rear camera for the sharpest, most professional-looking result.
Shoot in Landscape (Horizontal) Orientation
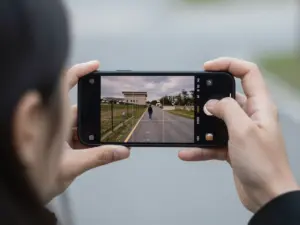
Vertical video made sense when mobile screens were the only destination. For any content that may appear on a television, laptop, or projected screen, or even full-screen on a tablet, landscape orientation is essential [3]. It also creates a more cinematic frame that flatters people by giving them room to breathe within the shot.
Choose the Right Resolution and Frame Rate
Most modern smartphones offer 4K recording, but 1080p at 30fps is often the smarter choice for people-focused video. It produces smaller file sizes, is easier to edit, and plays back smoothly on virtually every platform [6]. Reserve 4K for situations where the footage will be cropped or displayed on very large screens. For slow-motion people shots, 60fps or higher captures smooth detail in movement.
Pro tip: Turn off HDR video unless the platform specifically supports it. In 2026, the industry trend has shifted toward natural, human-friendly framing with HDR disabled for most social and web content, as HDR can produce unnatural skin tones on non-HDR displays.
2. Control Light to Make People Look Their Best
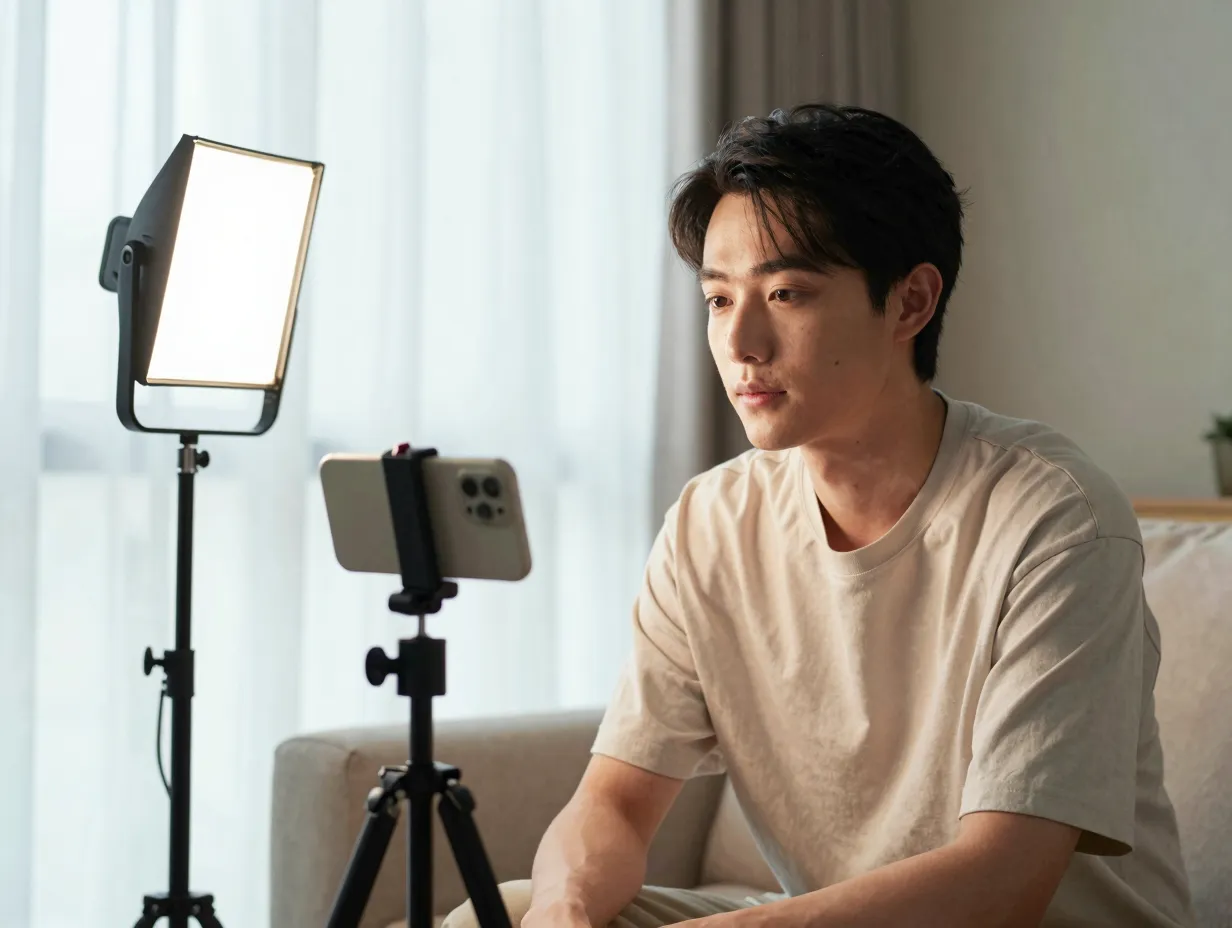
Good lighting is the single biggest factor separating amateur smartphone video from professional-looking footage. A technically perfect camera setup will still produce unflattering, unusable video if the light is wrong.
Find Soft, Directional Light
Soft light, the kind that comes from an overcast sky, a large window, or a diffused lamp, wraps around faces and minimizes harsh shadows. Direct sunlight or a bare overhead bulb creates unflattering shadows under the eyes and nose [8]. Position the light source to the side of the subject’s face at roughly a 45-degree angle for a classic, flattering look.
Never Shoot Into a Bright Background
Backlighting is one of the most common mistakes in people video. When a subject stands in front of a window or the sun, the phone’s exposure system tries to balance the bright background, which turns the person into a dark silhouette [9]. The fix is simple: reposition the subject so the light source is behind the camera, not behind the person.
Use Practical Lights and Reflectors
When natural light is unavailable or insufficient, practical solutions work well. A white foam board or even a white wall can bounce light back onto a subject’s face to fill in shadows. Small LED panel lights are affordable, portable, and attach to a phone or tripod. These tools make a significant difference in controlled indoor environments [5].
| Lighting Situation | Recommended Approach |
|---|---|
| Bright window behind subject | Move subject to face the window |
| Harsh midday sun outdoors | Find open shade or use a diffuser |
| Dark indoor room | Add a side-placed LED panel |
| Overcast outdoor scene | Shoot freely, ideal diffused light |
| Multiple mixed light sources | Turn off artificial lights, use one source |
3. Lock Focus and Exposure on the Subject’s Face
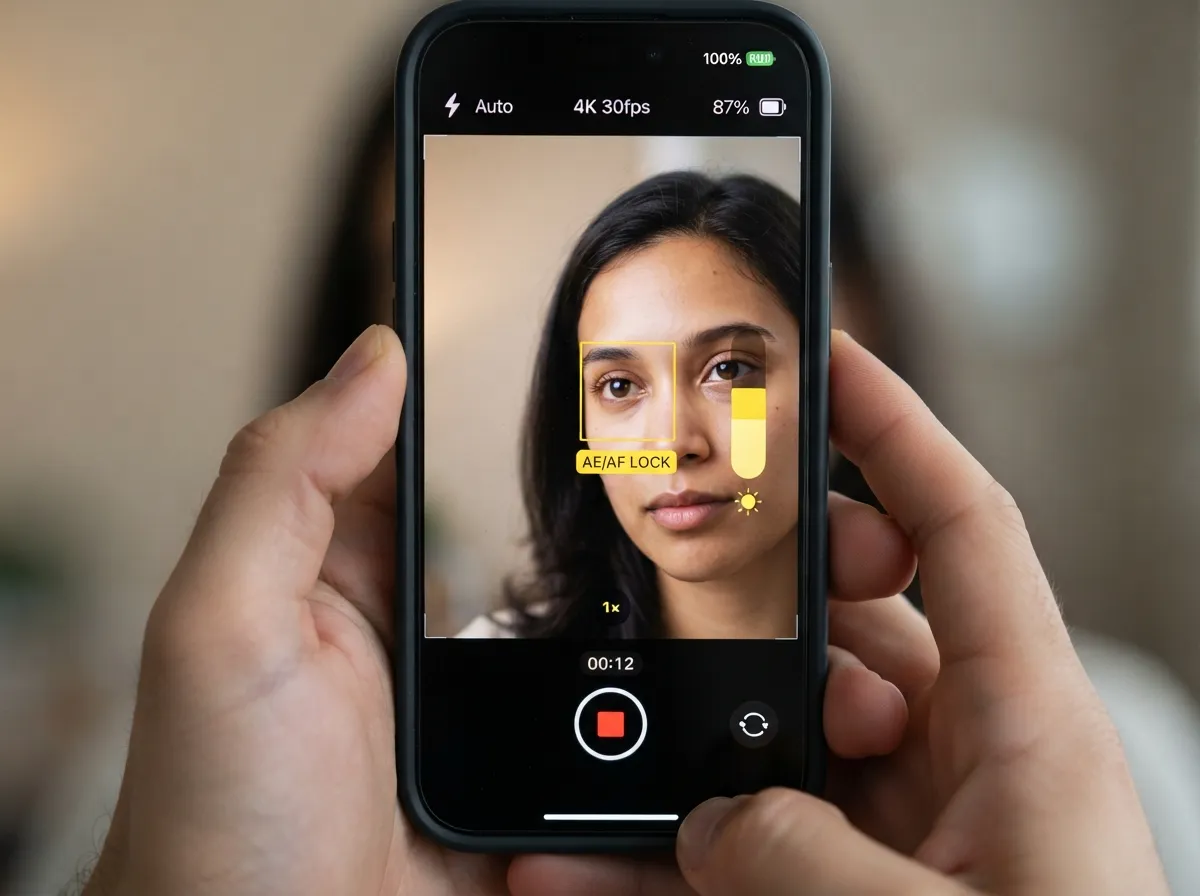
Auto-focus and auto-exposure are useful defaults, but they can cause distracting shifts mid-shot, especially when filming people. A hand moving across the frame or a background object catching the light can cause the camera to suddenly refocus or change brightness, ruining an otherwise perfect take.
How to Lock Focus and Exposure
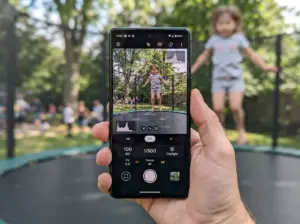
On both iOS and Android, pressing and holding on the subject’s face in the camera viewfinder activates the AE/AF lock, Auto Exposure and Auto Focus lock [7]. A yellow square (iOS) or a circle (Android) confirms the lock. From that point, the camera will not shift focus or exposure regardless of what moves in the frame.
This technique is especially critical when filming people who are speaking or moving slightly, as even small movements can trigger the auto-focus system to hunt for a new point of focus.
Manually Adjust Exposure After Locking
After locking focus, most camera apps allow a separate exposure adjustment, usually a sun icon or slider that appears next to the focus indicator. Slide it down slightly if the subject’s skin looks blown out (overexposed) or up if the face looks too dark [2]. Getting this right in-camera saves significant time in post-production.
“The difference between a professional-looking smartphone interview and an amateur one often comes down to a single tap-and-hold on the subject’s face before pressing record.”
4. Stabilize the Shot for Smooth, Professional People Video
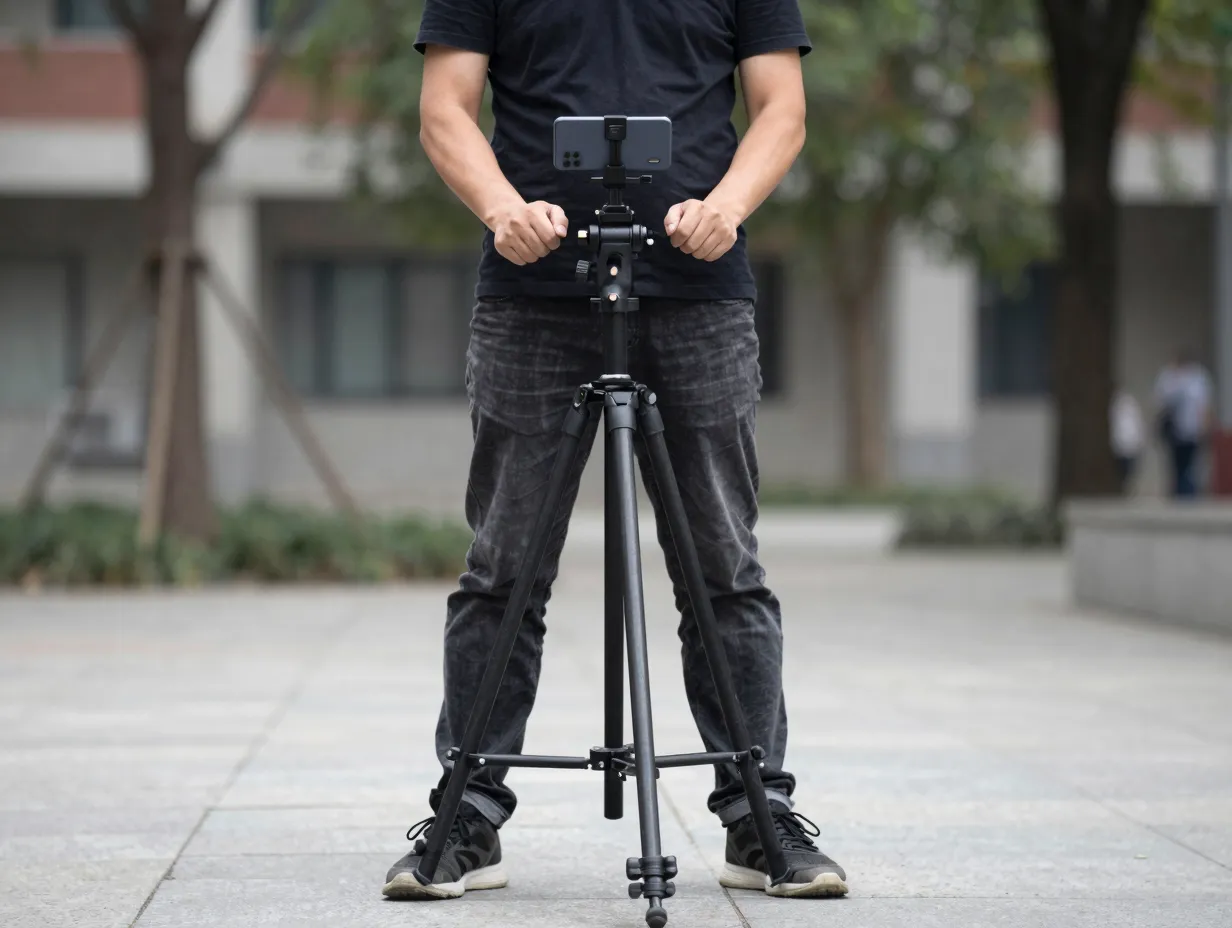
Shaky footage is one of the fastest ways to lose a viewer’s attention. The human eye is particularly sensitive to camera shake when watching other people on screen, because it creates a subconscious sense of unease that distracts from the subject.
Use Both Hands and Tuck Your Elbows
The most accessible stabilization method costs nothing. Hold the phone with both hands, tuck both elbows firmly against the body, and plant feet shoulder-width apart [1]. This human tripod technique eliminates the majority of micro-shake that comes from holding a phone with one hand.
For moving shots, bend the knees slightly and move from the hips rather than the shoulders. This absorbs footstep impact and produces a smoother, more cinematic glide.
Use a Tripod or Gimbal for Stationary and Moving Shots
For interviews, talking-head videos, or any scene where the camera stays in one place, a tripod is the single best investment a smartphone filmmaker can make [3]. A basic tripod with a phone mount costs very little and eliminates all camera movement entirely.
For moving shots that follow a person, a walking interview, a subject moving through a space, a gimbal (motorized stabilizer) produces results that rival professional camera rigs. Modern gimbals are lightweight, affordable, and compatible with most smartphones [9].
Hold Each Shot Long Enough
A common mistake is cutting shots too short in-camera. Editors need at least three to five seconds of stable footage at the start and end of each shot to have clean material to work with [6]. Hold the shot, count to three after the action ends, then stop recording. This simple habit dramatically improves the editing process.
5. Frame People Well and Get Physically Closer

Framing and proximity are the two compositional decisions that most directly affect how compelling a person looks on screen. Both are frequently mishandled in smartphone video.
Apply the Rule of Thirds
The rule of thirds divides the frame into a 3×3 grid. Placing the subject’s eyes on the upper horizontal line, rather than dead center, creates a more dynamic, visually interesting composition [7]. Most smartphone cameras have a grid overlay option in settings. Turn it on and use it until the framing becomes instinctive.
Critical framing rule: Never cut a person off at a joint, knees, elbows, ankles, or wrists. These cuts feel unnatural and distracting. If the full body is not in frame, cut at the mid-thigh, mid-torso, or just below the shoulders instead [8].
Get Physically Closer Instead of Zooming
Digital zoom on a smartphone degrades image quality significantly. Every time the zoom level increases beyond the optical zoom range (usually 1x or 2x on standard lenses), the camera is simply cropping and enlarging the sensor data, producing a softer, noisier image [5].
The professional solution is to physically move the camera closer to the subject. This produces sharper images, more flattering perspective, and a stronger sense of connection between the viewer and the person on screen. It also makes the subject’s voice cleaner for the microphone.
Vary Angles Creatively but Stay Flattering
Shooting from slightly below eye level can make a subject appear more authoritative. Shooting from eye level creates intimacy and connection. Shooting from above can feel condescending if overdone. For most people-focused video, eye level or very slightly above is the most universally flattering angle [4].
Experiment with over-the-shoulder angles, close-up detail shots of hands or expressions, and wide establishing shots to give editors variety and to make the final video more dynamic.
6. Optimize Audio and Prepare Thoroughly Before Every Shoot
Of all the 6 tips for shooting amazing video of people using a phone, this one is the most underestimated. Studies consistently show that viewers will tolerate imperfect video quality far longer than they will tolerate poor audio. Bad sound signals unprofessionalism immediately and causes viewers to disengage.
Keep the Microphone Close to the Person
The built-in microphone on a smartphone is omnidirectional, it picks up sound from all directions equally. The closer the phone is to the person speaking, the better the signal-to-noise ratio [3]. As a general rule, the microphone should be no more than three feet from the subject’s mouth for clean dialogue capture.
Reduce Background Noise
Before filming, listen carefully to the environment. Air conditioning hum, traffic noise, music from nearby spaces, and echoing rooms all degrade audio quality significantly [8]. Choose quieter locations, close windows and doors, and turn off fans or HVAC systems if possible. Soft furnishings, carpets, curtains, sofas, absorb echo and improve sound quality in indoor spaces.
Use an External Microphone
For any serious people video, interviews, testimonials, event coverage, an external microphone is a worthwhile investment [9]. Lavalier (clip-on) microphones attach to the subject’s clothing and capture clean, close dialogue even in noisy environments. Many connect directly to the phone’s headphone jack or USB-C port, and wireless options are now available at accessible price points.
Prepare the Phone Before Every Shoot
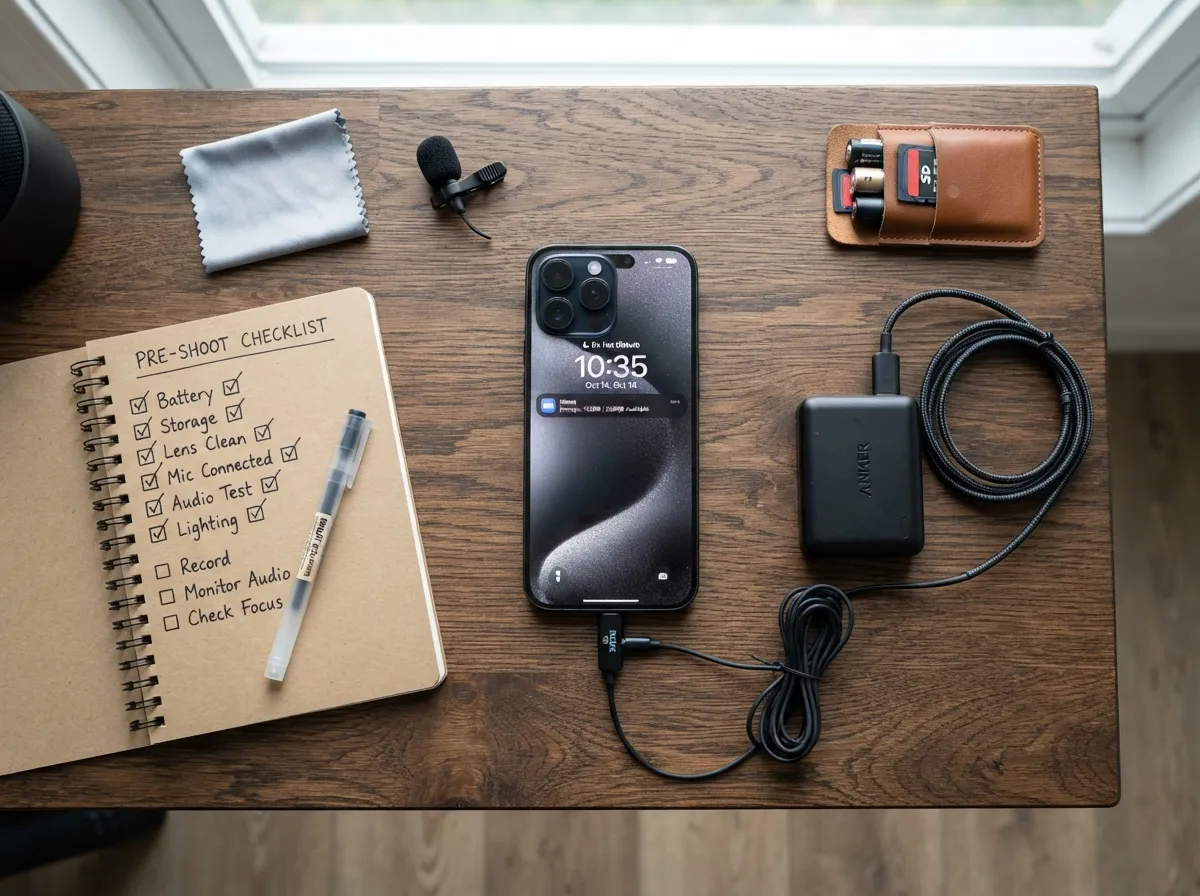
Technical failures during filming are almost always preventable. A standard pre-shoot checklist should include:
- Airplane mode or Do Not Disturb: Incoming calls and notifications interrupt recording and create audio artifacts [2]
- Battery: Charge to 100% before any shoot; carry a portable power bank as backup
- Storage: Delete unnecessary files or transfer them to free up space before filming
- Lens: Clean with a microfiber cloth (see Tip 1)
- Settings: Confirm resolution, frame rate, and stabilization settings match the shoot requirements
This preparation takes less than five minutes and prevents the most common causes of ruined footage.
Respect Privacy and Obtain Permission
When filming identifiable individuals in any professional or public-facing context, obtaining explicit consent is both an ethical obligation and, in many jurisdictions, a legal requirement. A simple verbal or written release protects both the filmmaker and the subject. For content that will be published online, written consent is strongly recommended [6].
Applying All 6 Tips for Shooting Amazing Video of People Using a Phone Together
The real power of these techniques emerges when they are applied as a system rather than in isolation. A well-lit shot with locked focus, stable framing, clean audio, and a fully prepared phone produces footage that is genuinely difficult to distinguish from professional camera work.
Here is how a complete people-video workflow looks when all six tips are integrated:
- Before the shoot: Clean the lens, charge the battery, free up storage, enable Do Not Disturb, confirm settings (landscape, 1080p/30fps, grid overlay on)
- On location: Assess the light source, position the subject facing the light, identify and minimize background noise
- Setting up the shot: Mount the phone on a tripod or use the two-handed grip, frame the subject using the rule of thirds, move physically closer rather than zooming
- Before pressing record: Tap and hold on the subject’s face to lock AE/AF, adjust exposure if needed, confirm audio levels
- During the shot: Hold steady, let the shot run three to five seconds beyond the action, move deliberately if panning
- After each take: Review the footage immediately for focus, exposure, framing, and audio quality before moving on
This workflow is repeatable, scalable, and produces consistent results regardless of the subject matter or environment.
Conclusion
The gap between forgettable smartphone video and footage that genuinely engages an audience is not about having the most expensive phone. It is about applying a consistent set of techniques that professional videographers use on every shoot. The 6 tips for shooting amazing video of people using a phone covered in this guide, mastering basic settings, controlling light, locking focus and exposure, stabilizing the shot, framing people well, and optimizing audio, address the most impactful variables in smartphone people-video production.
Actionable next steps:
- Practice locking AE/AF on a subject’s face before every single shot until it becomes automatic
- Invest in one piece of stabilization equipment, even a basic tripod, before the next shoot
- Record a two-minute test clip in a familiar location, then watch it back with headphones to audit audio quality
- Enable the camera’s grid overlay and consciously apply the rule of thirds on the next five shoots
- Build the pre-shoot checklist into a habit: lens, battery, storage, notifications, settings, every time
Consistent application of these techniques will produce a measurable improvement in video quality within the first few shoots. The phone in a pocket is already a capable production tool; the techniques in this guide are what unlock its full potential.
References
[1] Phone Video – https://cyberry.com.au/know-how/phone-video
[2] How To Record Better Video Selfies And Other Smartphone Filming Tips – https://www.vodafone.co.uk/newscentre/smart-living/how-to/how-to-record-better-video-selfies-and-other-smartphone-filming-tips/
[3] Lsu Creating Video By Mobile Device – https://www.lsu.edu/communications/files/video/lsu_creating_video_by_mobile_device.pdf
[4] Watch – https://www.youtube.com/watch?v=ZaqAkxHR-DM
[5] How Shoot High Quality Smartphone Videos 5 Easy Steps – https://www.bfi.org.uk/commercial-partnerships-consultancy/bfi-enterprise-news-highlights/how-shoot-high-quality-smartphone-videos-5-easy-steps
[6] Video Phone – https://distanceeducation.ehe.osu.edu/multimedia-for-learning/video-phone/
[7] 10 Tips For Shooting On Your Smartphone – https://www.dummies.com/article/academics-the-arts/performing-arts/film/10-tips-for-shooting-on-your-smartphone-266979/
[8] An At Home Guide To Content Creation Part I Tips For Shooting Smartphone Video – https://www.matternow.com/blog/an-at-home-guide-to-content-creation-part-i-tips-for-shooting-smartphone-video/
[9] 10 Tips For Shooting Better Video On Your Smartphone – https://www.techradar.com/how-to/phone-and-communications/mobile-phones/10-tips-for-shooting-better-video-on-your-smartphone-1316097
[10] Watch – https://www.youtube.com/watch?v=kxzXBcHTv1A