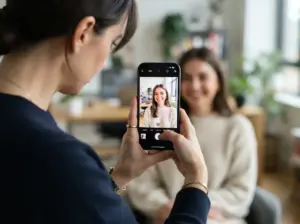
6 Creative Ideas for Photos of a Person Using a Phone
Smartphone cameras now account for over 92 percent of all photos taken worldwide, yet most images of people using their phones look identical, a flat, top-down shot of someone staring at a glowing screen. The gap between a forgettable snapshot and a compelling portrait is rarely about the camera itself. It comes down to light, composition, and creative intent. These 6 creative ideas for photos of a person using a phone give photographers at every level the tools to close that gap and produce images that feel deliberate, atmospheric, and genuinely interesting.
Disclosure: This post contains affiliate links. As an Amazon Associate, we earn from qualifying purchases, and at no extra cost to you.

Key Takeaways
- Natural light from windows or golden hour is the single most powerful upgrade for phone-use portraits
- Environmental context, café, commute, travel, adds storytelling depth that plain backgrounds cannot
- Reflections, shadows, and foreground props create visual complexity without expensive gear
- Dynamic gestures and burst mode capture authentic emotion rather than stiff, posed expressions
- Small technical habits, cleaning the lens, tapping to focus on the eye, avoiding digital zoom, separate polished results from average snapshots
Why Most Phone-Use Photos Fall Flat
Before exploring the 6 creative ideas for photos of a person using a phone, it helps to understand why so many attempts produce dull results. The most common mistake is treating the phone as the subject rather than as a prop that reveals something about the person holding it. A second mistake is ignoring light entirely, shooting wherever the subject happens to be standing under flat overhead fluorescent bulbs. A third is choosing a static, posed position that signals “I was asked to look at my phone” rather than “I am genuinely absorbed in something.”
Fixing these three problems does not require a new device or expensive accessories. It requires applying a handful of principles consistently. The ideas below address each problem in turn, moving from foundational lighting concepts through compositional strategies and into more experimental creative techniques.
1. Use Window Light for Flattering, Directional Portraits

Light quality determines more about a portrait’s mood than any other single variable. Placing a subject approximately three feet from a large window and turning them so the light strikes one side of the face at roughly a 45-degree angle produces soft, directional illumination that flatters skin tones and creates gentle shadow depth [1]. This setup works whether the subject is reading, scrolling, or video-calling on their device.
The key word is “soft.” Direct sunlight streaming through glass creates harsh, unflattering shadows. The goal is a window that faces away from direct sun, north-facing windows in the Northern Hemisphere are ideal, or a window covered by a sheer curtain that diffuses the light before it reaches the subject [1][9]. On overcast days, any window becomes a large, even light source.
Practical steps for window-light phone portraits:
- Position the subject so the window is to their side, not behind them (backlit subjects lose facial detail)
- Keep the subject roughly three feet from the glass to maintain soft, even coverage
- Ask the subject to hold their phone at a natural angle, as if actually using it
- Shoot from slightly above eye level to reduce unflattering upward shadows
- Tap on the subject’s face in the camera app to set exposure correctly before pressing the shutter
“The best portrait light is rarely the brightest light, it is the most directional light.”
This technique pairs especially well with Portrait mode on recent iPhone and Pixel models, which reads the directional light and produces more natural background separation [5]. Avoid pushing Portrait mode’s blur slider to its maximum setting; over-strong artificial blur looks unconvincing and can clip the edges of hair or the phone itself [11].
2. Shoot in Open Shade or During Golden Hour for Atmosphere
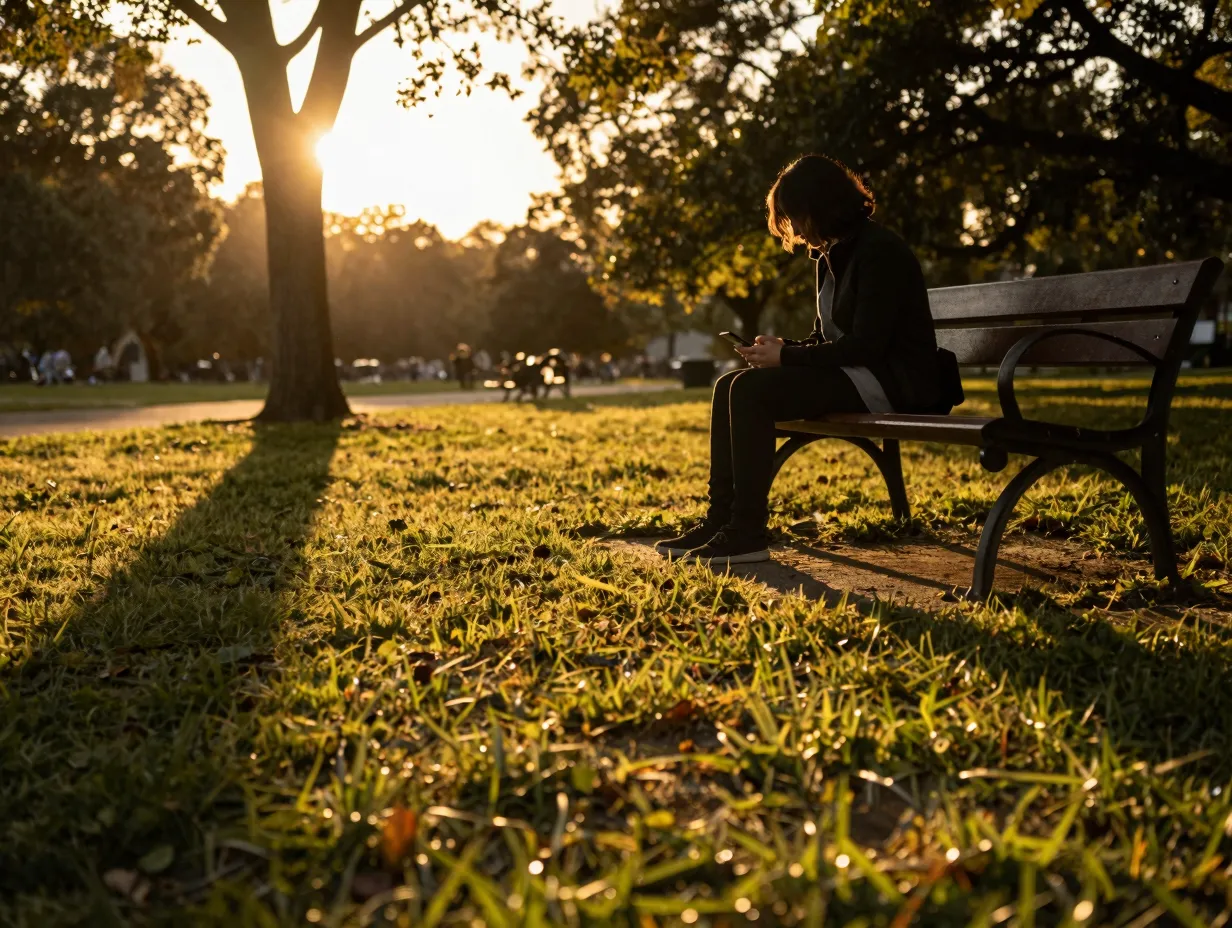
Outdoor light changes dramatically throughout the day, and the hours immediately after sunrise and before sunset, commonly called golden hour, transform an ordinary phone-use scene into something cinematic [1][9]. The low angle of the sun during these windows creates long, warm shadows and a quality of light that is almost impossible to replicate artificially.
For photographers who cannot schedule golden-hour sessions, open shade is the next best option. Positioning the subject in the shadow cast by a building, an awning, or a tree removes the harsh contrast of direct midday sun while still preserving the ambient color of the surrounding environment [1][9]. The subject’s face receives even, flattering light, and the background, still in direct sun, gains a natural, luminous quality.
Comparing outdoor lighting conditions for phone-use portraits:
| Condition | Best Time | Key Benefit | Watch Out For |
|---|---|---|---|
| Golden Hour | First/last hour of daylight | Warm, cinematic tones | Short window, fast-changing light |
| Open Shade | Any time of day | Even light, no harsh shadows | Can look slightly cool/blue |
| Overcast Sky | Cloudy days | Soft, diffused coverage | Flat contrast, needs editing lift |
| Direct Midday Sun | Noon to 2 PM | High energy, punchy colors | Harsh shadows under eyes and nose |
Recent mobile photography guides note that open shade and golden hour conditions allow Portrait mode to produce more natural background blur around a phone-using subject, because the camera’s depth sensors are not fighting extreme contrast between highlights and shadows [1][5][11].
3. Build Environmental Lifestyle Scenes With Leading Lines

Among the 6 creative ideas for photos of a person using a phone, this one has the strongest storytelling potential. A person using a phone in a café, on a commuter train, or at an airport gate tells a richer story than the same person posed against a blank wall. The environment provides context, and context creates meaning [3][9].
The compositional tool that makes environmental scenes work is the leading line, a visual element that guides the viewer’s eye toward the subject. Tables, countertops, train tracks, railings, and tiled floors all create natural lines that can be aligned to point directly at the person and their device [13][14]. Combining leading lines with the rule of thirds, placing the subject on one of the grid’s vertical lines rather than dead center, produces images that feel dynamic rather than static.
How to apply rule-of-thirds composition in phone-use scenes:
- Turn on the grid overlay in the camera app (Settings > Camera > Grid on most devices)
- Position the subject on the left or right vertical grid line, not in the center
- Look for a natural line in the environment, a table edge, a wall, a pathway, that runs toward the subject
- Ensure the phone screen or the subject’s gaze creates a second point of interest on the opposite grid line
- Shoot from a slightly lower angle to make environmental elements like ceilings or streets visible as framing layers [14]
“The environment is not a background, it is a co-author of the story the image tells.”
August 2026 mobile photography guidance emphasizes that lifestyle scenes work best when the subject appears genuinely absorbed in the phone rather than performing absorption [13]. Asking the subject to actually read a message, scroll a feed, or respond to a notification produces more convincing gestures than asking them to “pretend to look at your phone.”
4. Use Reflections to Create Layered, Doubled Portraits
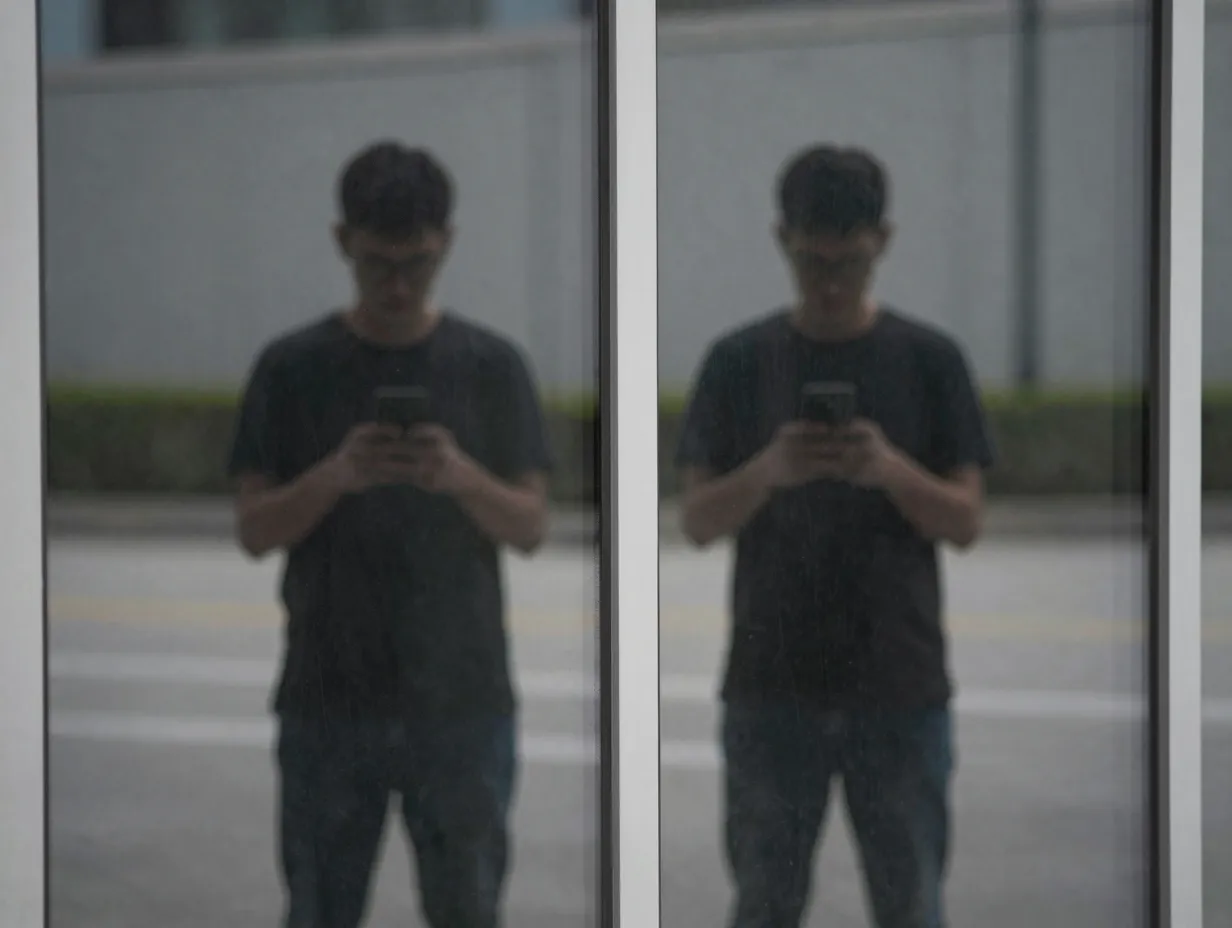
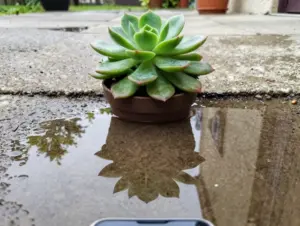
Reflective surfaces, glass doors, office windows, mirrors, puddles, and polished metal, offer one of the most visually distinctive techniques in creative phone photography [10][14]. Positioning the subject near a reflective surface and bringing the phone’s lens close to the glass captures both the person and their reflection simultaneously, producing a layered, doubled image that feels more like fine-art photography than a casual snapshot.
The technique requires a small amount of physical experimentation. Moving the phone slightly left or right, up or down, changes the relationship between the real subject and the reflection. Some positions produce near-perfect symmetry; others create an intentional offset that feels more dynamic [10]. Portrait mode can be used to blur background distractions while keeping both the person and their reflection in acceptable focus, though the blur effect should be applied lightly to avoid artificial-looking edges around the reflected image [10][15].
Key variables to adjust when shooting reflections:
- Distance from the surface: Closer creates more overlap between subject and reflection; farther creates more separation
- Angle of approach: Shooting straight on produces symmetry; shooting at an angle produces depth
- Background complexity: Busy backgrounds behind the glass add texture; plain backgrounds keep the focus on the subject
- Lighting direction: Light coming from the same side as the camera reduces glare on the reflective surface
A January-February 2026 wave of mobile portrait tutorials demonstrated rotating the phone to a portrait (vertical) orientation when shooting reflections in tall glass doors, which captures more of the subject’s body and creates a more dramatic vertical composition [10].
5. Add Props and Foreground Elements for Texture and Depth
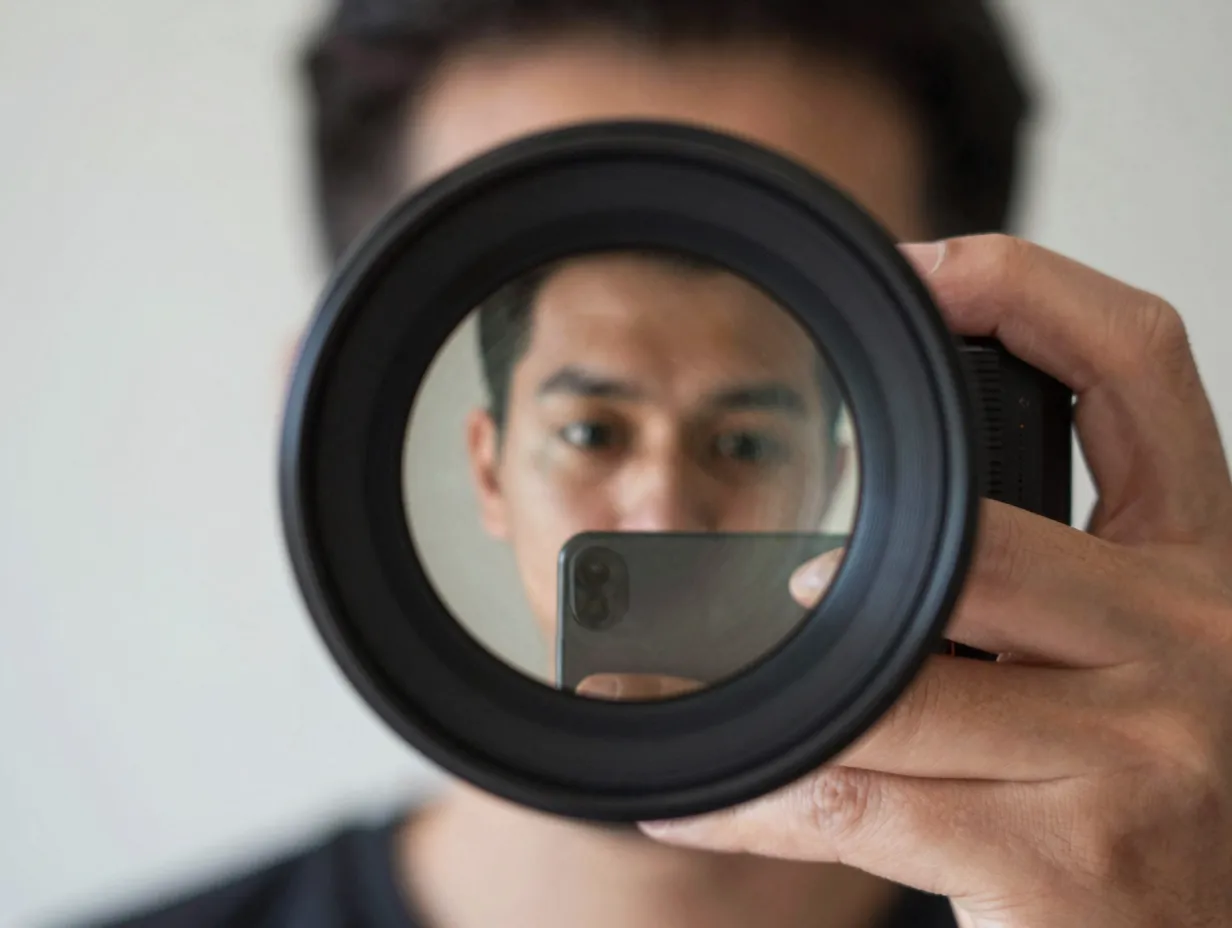
This is the most experimental entry in the 6 creative ideas for photos of a person using a phone, and it consistently produces the most visually surprising results. Placing a physical object, a spare camera lens, a piece of glass, a crystal, or even a sheet of clingfilm, in front of the phone’s camera before shooting introduces optical distortions, color fringing, and texture overlays that no editing app can fully replicate in post-production [8][14].
Holding a detached camera lens in front of the phone’s camera, for example, inverts the image of the subject within the lens while the background remains upright, creating a striking in-camera double exposure effect [8][3]. A prism held at different angles produces rainbow-tinted light streaks across the frame. Clingfilm stretched loosely over the lens creates a soft-focus, dreamy quality around the edges while keeping the center sharp.
Props that work well as foreground elements:
- A detached 50mm or 35mm camera lens, inverts and refracts the subject
- A triangular glass prism, splits light into rainbow streaks
- Clingfilm or a plastic bag, creates organic soft-focus edges
- A second phone screen, reflects colored light onto the subject’s face
- A piece of textured glass or a glass vase, distorts and fragments the background
The subject using their phone becomes a focal point within a visually complex frame, and the contrast between the familiar (a person looking at a screen) and the unfamiliar (the optical distortion surrounding them) creates immediate visual interest [8][9]. These effects work especially well in post-processing when combined with slight adjustments to contrast and saturation in apps like Lightroom Mobile or Snapseed [9][13].
6. Play With Shadows and Off-Camera Light for Moody Portraits
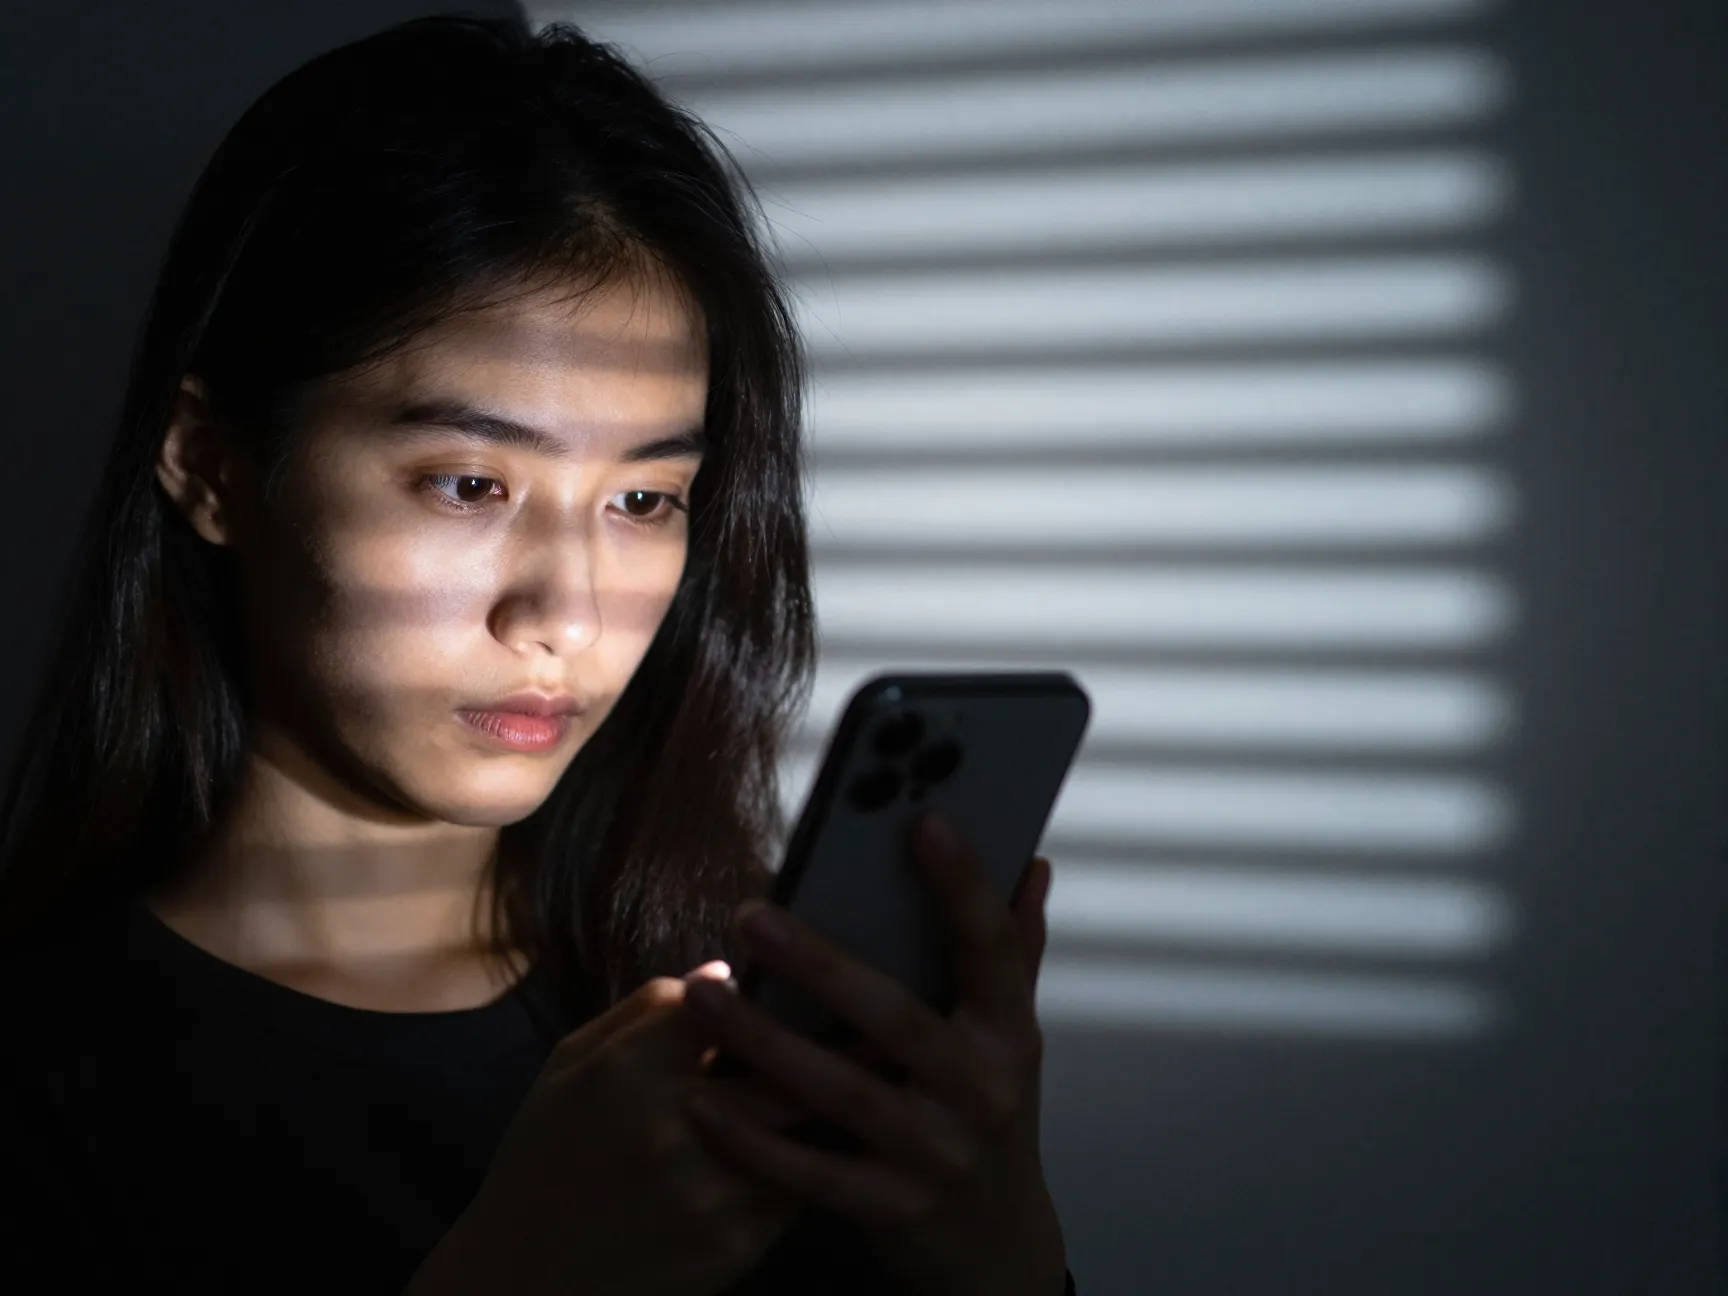
The final idea in this collection of 6 creative ideas for photos of a person using a phone draws on a technique more commonly associated with studio photography: deliberate shadow play. By positioning a torch, desk lamp, or LED panel behind a patterned object, a plant, a geometric screen, a slatted blind, and projecting the resulting shadow onto a wall or the subject themselves, photographers can transform a simple phone-use moment into a graphic, moody portrait [8][14].
The subject does not need to interact with the shadow directly. Positioning them so that the shadow pattern falls across their face, hands, or the phone screen creates a visual connection between the light source and the device, suggesting themes of surveillance, connectivity, or digital immersion without stating them explicitly [8][4]. Alternatively, the subject can be placed within the shadow so that only the phone’s screen provides visible illumination on their face, a technique that emphasizes the glow of the device and creates a strong contrast between warm screen light and cool ambient shadow.
Steps to set up a shadow-play phone portrait at home:
- Place a lamp or torch on a stable surface, aimed at a white or light-colored wall
- Position a plant, a geometric object, or a slatted screen between the light and the wall
- Adjust the distance between the light and the object to sharpen or soften the shadow’s edges
- Place the subject so the shadow falls across their face or body as they hold the phone
- Set the phone camera to manual or Pro mode, tap on the subject’s face to set exposure, and reduce exposure slightly to preserve shadow drama
- Use burst mode to capture several frames as the subject makes small, natural movements [1][9]
Recent mobile photography projects encourage using colored gels over torches or lamps to add a second layer of visual complexity, a blue gel on the ambient light and a warm lamp for the phone screen glow creates a cinematic, two-tone color palette that photographs extremely well [8][4].
Bonus technique: Combine shadow play with the self-portrait approach described in smartphone photography courses, where the subject is both the photographer and the person being photographed [4][6]. Using the front camera with a mirror allows the subject to monitor their own framing while the shadow pattern plays across their face. Tapping to focus on the eyes and pulling exposure down slightly ensures that highlights on skin remain controlled and the shadow detail is preserved [6][13].
Technical Habits That Elevate Every Shot
Regardless of which creative approach is used, a small set of technical habits separates consistently polished results from occasional lucky shots.
Before shooting:
- Wipe the phone lens with a soft cloth, oil and dust reduce sharpness and increase flare [1][9]
- Turn on the grid overlay to assist with composition [9][13]
- Check that HDR or Night mode is appropriate for the lighting conditions [9]
During shooting:
- Tap on the eye closest to the camera to set focus precisely [5][13]
- Avoid using digital zoom; move physically closer to the subject instead [5][11]
- Use burst mode (hold the shutter button) to capture authentic expressions and natural movement [1][9]
- Keep Portrait mode blur at a moderate level, over-strong blur looks artificial, especially around phone edges [11][13]
After shooting:
- Spend one to two minutes in Lightroom Mobile or Snapseed adjusting color temperature, contrast, and crop [9][13]
- Reduce highlights slightly if the phone screen has blown out any detail on the subject’s face
- Use the selective adjustment tool to brighten the eyes without affecting the rest of the frame
These habits apply equally to all 6 creative ideas for photos of a person using a phone and compound over time, photographers who apply them consistently develop an intuitive sense for light and composition that makes every session more productive [1][9][13].
Conclusion
The difference between a compelling portrait of someone using their phone and a forgettable snapshot comes down to intentional choices about light, composition, and creative technique. Starting with window light or golden-hour conditions establishes a strong foundation. Building environmental scenes with leading lines adds storytelling depth. Reflections, foreground props, and shadow play push the work into genuinely distinctive visual territory. Dynamic gestures and burst mode ensure the subject looks real rather than posed.
Actionable next steps:
- Choose one idea from this list and apply it in the next photography session, mastering one technique thoroughly produces better results than attempting all six at once
- Set a phone reminder to shoot during the next golden hour or to position a subject near a window on an overcast day
- Gather one foreground prop, a spare lens, a prism, or a piece of glass, and experiment with it before the next portrait session
- Download Lightroom Mobile or Snapseed and spend five minutes learning the basic adjustment sliders before the next shoot
- Review the sources below for deeper dives into specific techniques, particularly the mobile portrait and smartphone creativity guides
Every person using a phone is already engaged in a visually interesting act. The photographer’s job is simply to frame that act in a way that makes a viewer stop and look twice.
References
[1] How To Take Better Portrait Photos With Your Phone – https://mobileos.it/2026/07/how-to-take-better-portrait-photos-with-your-phone/
[3] Phone Photography Ideas – https://digital-photography-school.com/phone-photography-ideas/
[4] Mobile Photography Inspiration – https://www.myclickmagazine.com/mobile-photography-inspiration/
[5] Mobile Portrait Photography 10 Expert Tips For Stunning Shots – https://www.adaminsights.com/mobile-portrait-photography-10-expert-tips-for-stunning-shots/
[6] Self Portraits – https://uviclibraries.github.io/smartphone-photography/self-portraits.html
[8] 8 Fun Creative Smartphone Photography Tips You Can Easily Try At Home – https://www.ephotozine.com/article/8-fun—creative-smartphone-photography-tips-you-can-easily-try-at-home-31887
[9] How To Use Your Phone For Professional Photography Shoots – https://thedivinemagazine.com/how-to-use-your-phone-for-professional-photography-shoots/
[10] Watch – https://www.youtube.com/watch?v=20NzcpI-xJE
[11] Mobile Portrait Photography 10 Expert Tips For Stunning Shots – https://www.adaminsights.com/mobile-portrait-photography-10-expert-tips-for-stunning-shots/
[13] How To Use Your Phone For Professional Photography Shoots – https://thedivinemagazine.com/how-to-use-your-phone-for-professional-photography-shoots/
[14] Phone Photography Ideas – https://digital-photography-school.com/phone-photography-ideas/
[15] Self Portraits – https://uviclibraries.github.io/smartphone-photography/self-portraits.html