6 Creative Ways to Film a Scrolling Through Phone Video
Short-form video content now accounts for more than 82% of all consumer internet traffic, according to Cisco’s Visual Networking Index, and among the most replicated shots in that space is the humble scrolling phone video. Creators who master the 6 creative ways to film a scrolling through phone video consistently outperform those who rely on a single static setup, earning higher watch times, more saves, and stronger algorithmic reach. Whether the goal is a cinematic Instagram Reel, a fast-cut TikTok, or a polished brand story, the technique behind the scroll matters as much as the content on the screen.
Disclosure: This post contains affiliate links. As an Amazon Associate, we earn from qualifying purchases, and at no extra cost to you.
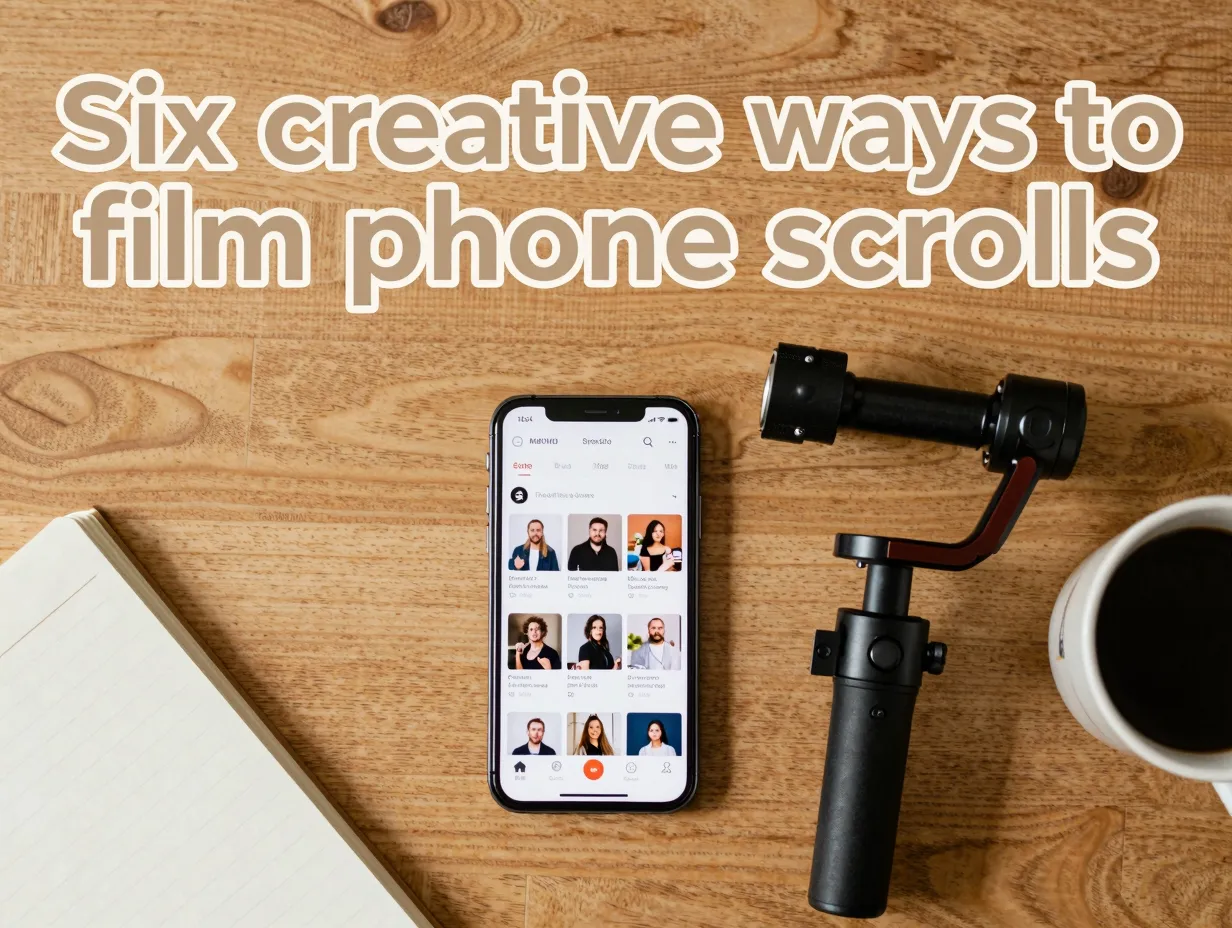
This guide breaks down each method with practical detail, covering everything from solo-creator rigs to gimbal-powered parallax shots, so any filmmaker, beginner or experienced, can elevate their next scrolling sequence.
Key Takeaways
- Hands-free and auto-scroll tools remove the need for a second operator and produce smoother, more consistent scroll footage.
- Multi-angle coverage (wide, medium, tight) transforms a simple phone scroll into a cinematic sequence.
- Vertical 9:16 framing and 3-to-5-second clip lengths are non-negotiable for Reels and TikTok performance.
- Foreground parallax tricks and match-cut transitions add production value with minimal extra equipment.
- AE/AF lock is the single most important technical setting for keeping phone screens sharp and properly exposed on camera.
The Technical Baselines That Underpin All 6 Approaches
Before exploring each creative method, it pays to understand the technical foundation that makes every scrolling phone video look professional. Skipping these fundamentals is the fastest way to produce footage that looks amateurish regardless of how creative the setup is.
Vertical 9:16 framing is the non-negotiable starting point. Reels, TikTok, and YouTube Shorts are all designed for vertical playback, and shooting in any other ratio forces awkward cropping later [9]. Set the recording camera, whether a second smartphone, a mirrorless, or a DSLR, to a vertical orientation from the start.
AE/AF lock (Auto Exposure / Auto Focus lock) is equally critical. Phone screens emit their own light, which constantly tricks a camera’s auto-exposure into hunting for the right setting. Tapping and holding on the phone screen in the camera app locks both focus and exposure, eliminating the flickering and blurring that ruins otherwise good scroll footage [8].
Clip length discipline matters for platform performance. Research into short-form content consistently shows that 3-to-5-second individual clips hold attention better than longer, uncut sequences when assembled in an edit. Plan each scrolling shot with that window in mind.
Lighting deserves a brief mention. Overhead or ring-light setups that illuminate the phone from above reduce glare on the screen and keep the display readable on camera. Avoid direct side lighting, which creates harsh reflections.
Frame rate selection also plays a role. Shooting at 60fps gives flexibility in post-production to slow the footage down to 24fps for a cinematic slow-motion effect without needing a dedicated slow-motion mode [6].
With these baselines locked in, the 6 creative ways to film a scrolling through phone video become far more achievable and consistent.
The 6 Creative Ways to Film a Scrolling Through Phone Video in Detail
The methods below are numbered in ascending order and progress from the most accessible solo setups to the more technically involved cinematic techniques. Each one can stand alone or be combined with others for a more complex edit.
1. Hands-Free Voice-Controlled Scrolling for Natural Endless-Scroll Shots
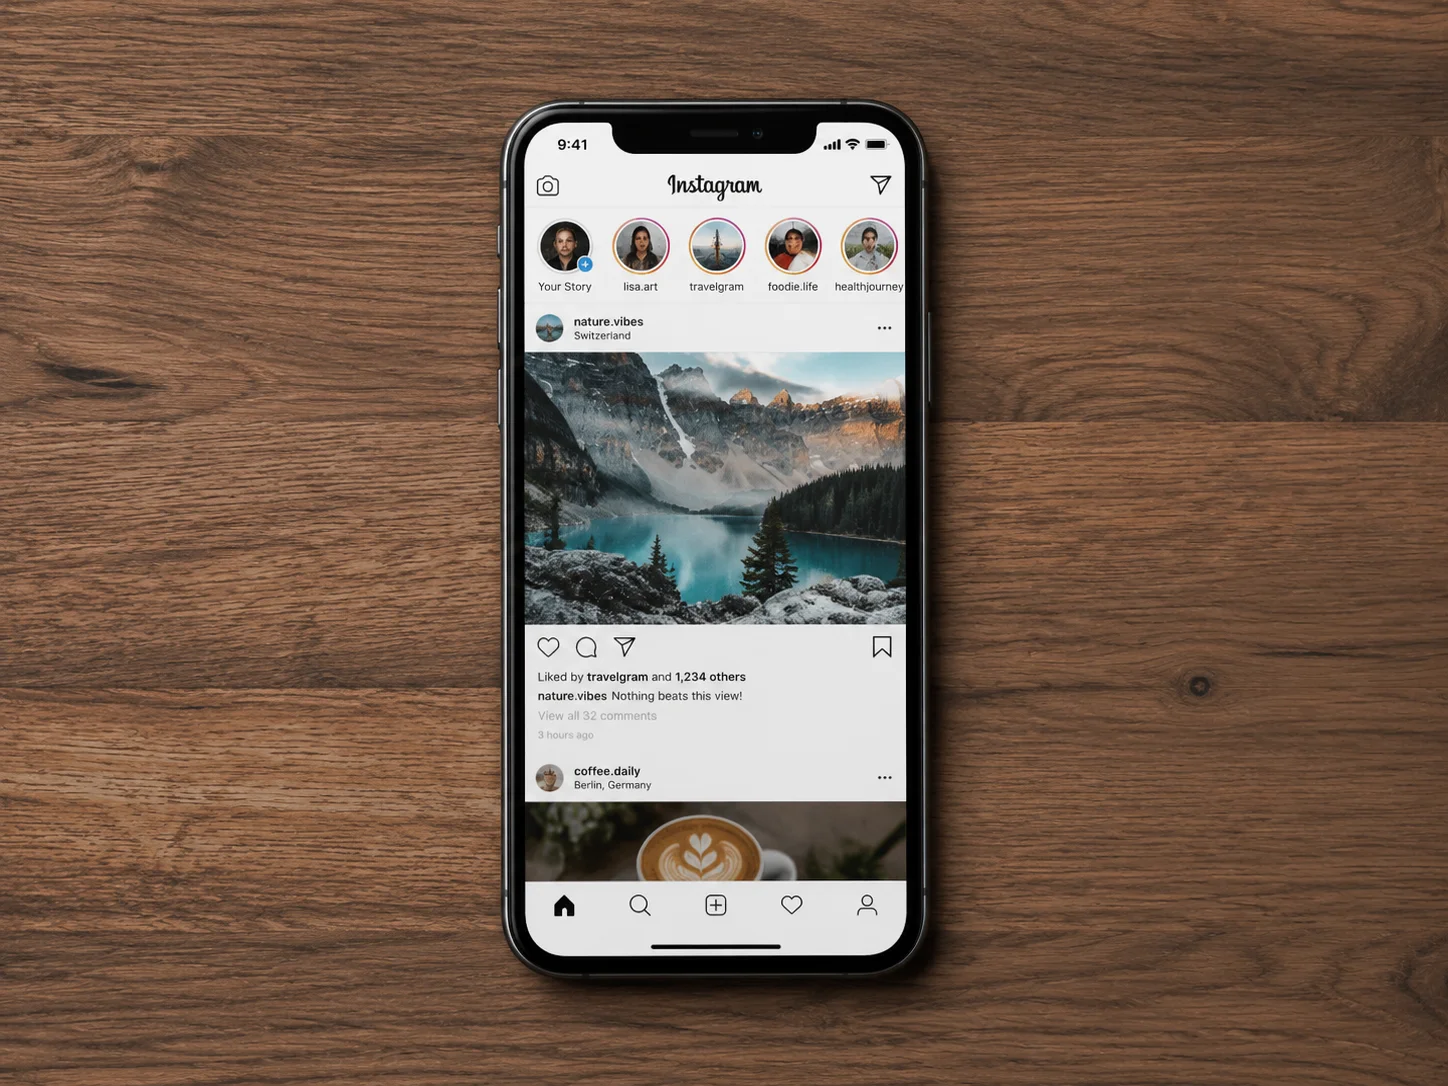
One of the most common problems in scrolling phone videos is the visible thumb. The moment a finger appears on screen, the shot loses its “ghost scroll” quality, that effortless sense that the feed is moving on its own.
Voice-controlled scrolling solves this cleanly. Both iOS and Android include accessibility features that respond to vocal commands or switch controls, allowing the phone to scroll without any physical contact. On iOS, the Voice Control feature (found under Accessibility settings) can be configured to scroll up or down on command. Android’s Voice Access app provides similar functionality.
The result is footage where the phone screen scrolls naturally while both of the creator’s hands remain free, or entirely out of frame. This technique is especially effective for over-the-head flat-lay shots where a hand would otherwise dominate the composition [4].
Setup checklist for hands-free scrolling:
- Enable Voice Control (iOS) or Voice Access (Android) before the shoot
- Test the scroll speed in the app being filmed, some apps respond faster than others
- Position the recording camera on a tripod directly above or in front of the phone
- Use a remote shutter or self-timer to start recording without camera shake
- Record a few practice passes to calibrate the scroll speed before the final take
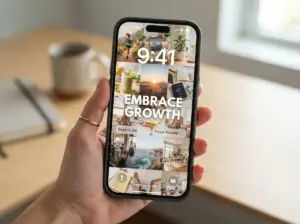
This method pairs exceptionally well with flat-lay aesthetics, where the phone rests on a textured surface, marble, a wooden desk, fabric, and the camera looks straight down. The lack of a visible hand keeps the composition clean and editorial.
2. Auto-Scroll Apps for Time-Lapse Style Super-Fast Scrolling Sequences
Where hands-free voice control produces natural-speed scrolling, auto-scroll apps unlock a completely different visual register: the hypnotic, almost dizzying effect of a feed racing past at superhuman speed [7].
Several third-party apps, and built-in accessibility scroll speed settings, can be configured to scroll continuously at a set pace. When combined with a time-lapse or hyperlapse recording mode on the camera, the result is a sequence that compresses what would be minutes of browsing into a few visually arresting seconds.
This technique works particularly well as an opening hook in a Reel or TikTok. A three-second hyperlapse of a feed scrolling at high speed immediately signals “social media content” to the viewer’s brain, creating instant context before the main message lands.
Recommended auto-scroll tools (as of 2026):
| Platform | Tool | Notes |
|---|---|---|
| iOS | Accessibility > Switch Control | Built-in, no download required |
| Android | Auto Scroll – Automatic Scroll | Free app, adjustable speed |
| Auto-scroll setting in Reels tab | Native, limited speed control [7] | |
| Any browser | Browser auto-scroll extensions | Useful for website scroll shots |
The key technical consideration here is shutter speed synchronization. When filming a fast-scrolling screen, a shutter speed that is too fast will capture the screen mid-refresh, producing a rolling shutter band across the display. A shutter speed of 1/50s or 1/60s (matching the screen’s refresh rate) typically eliminates this artifact.
3. Cinematic Multi-Angle Coverage: Wide, Medium, and Tight
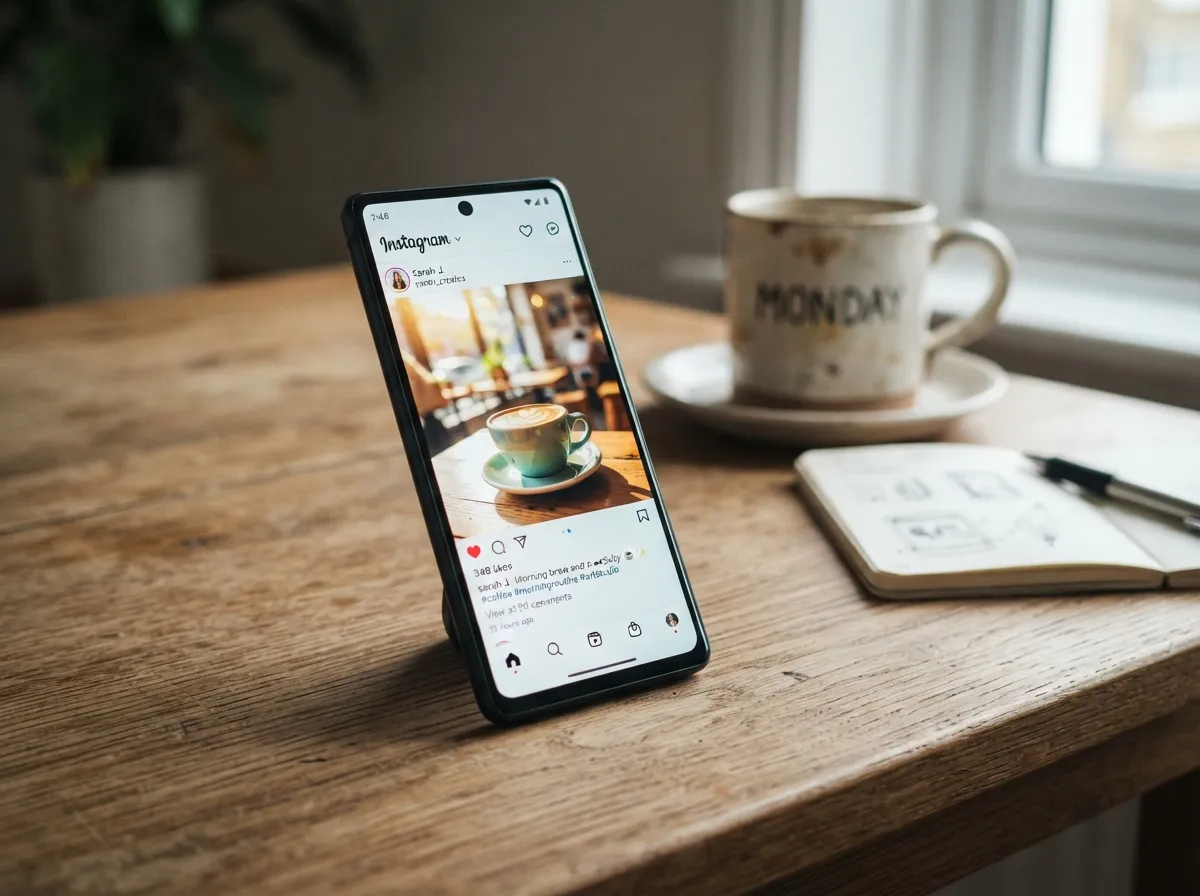
A single static shot of a phone screen is functional. A sequence that cuts between a wide establishing shot, a medium coverage angle, and a tight close-up of the screen is cinematic.
This approach borrows directly from traditional filmmaking’s coverage principles and applies them to the humble phone scroll [6]. The three angles serve distinct narrative purposes:
Wide shot: Shows the phone in its environment, on a desk, in someone’s hand, propped against a coffee cup. This establishes context and scale. The screen content may not be fully legible, but that is acceptable at this distance.
Medium shot: Frames the phone from roughly arm’s length, showing the full device with some surrounding context. This is the workhorse shot where screen content becomes readable.
Tight shot: A close-up of just the screen, filling the frame with the content being scrolled. This is where the viewer actually reads or processes what is on the phone.
Cutting between these three angles in a 9-to-15-second Reel creates a dynamic, professional rhythm that holds attention far better than a single locked-off shot [1]. The edit does not need to be complex, a simple wide-to-medium-to-tight progression, each clip 3-to-4 seconds long, is enough to transform the sequence.
Pro tip: Shoot all three angles in a single session without moving the phone. Only reposition the recording camera between takes. This keeps the screen content consistent across all three angles, making the edit seamless.
4. Foreground-Layer and Parallax Tricks Using Gimbals and Objects
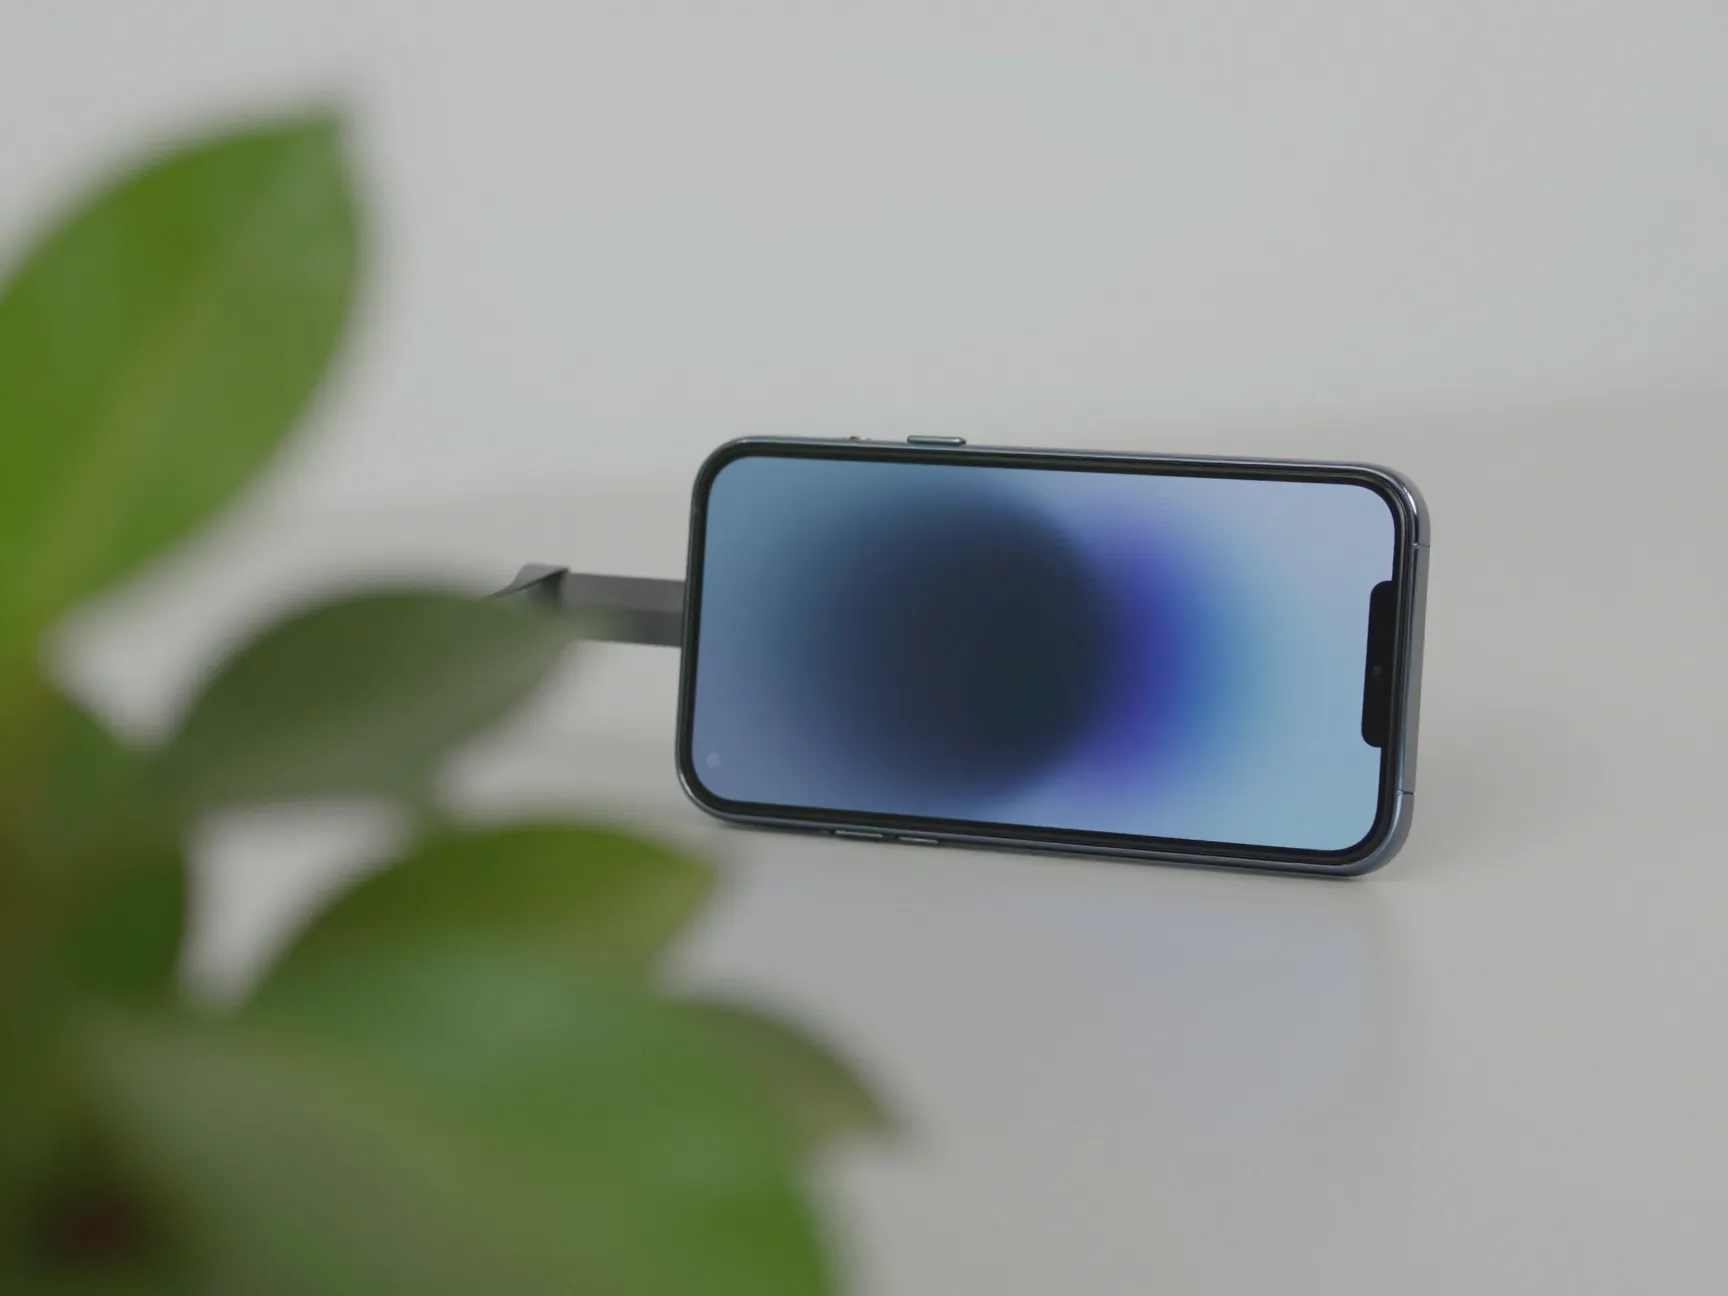
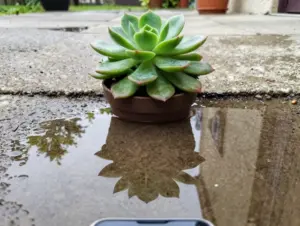
This is where scrolling phone videos cross from competent into genuinely impressive. The parallax effect, where a foreground object moves at a different speed than the background, creates a sense of depth and dimension that flat, static shots simply cannot replicate [6].
The technique requires two elements: a gimbal for smooth camera movement and a physical object placed between the camera and the phone.
How to execute a foreground parallax shot:
- Place the phone on a flat surface or in a phone holder at a fixed position.
- Position a foreground object, a plant, a coffee mug, a stack of books, between the camera and the phone.
- Mount the recording camera on a gimbal set to follow mode.
- Slowly move the camera laterally (left to right or right to left) while the phone scrolls.
- The foreground object will sweep across the frame faster than the phone in the background, creating natural parallax depth.
The gimbal’s stabilization ensures the movement is smooth rather than shaky, which is what separates this shot from a handheld attempt [6]. Even a budget gimbal in the $60-to-$100 range is sufficient for this technique.
A variation of this approach involves filming through a gap in the foreground object, for example, through the leaves of a plant or between two stacked books, so the phone screen is partially obscured and then revealed as the camera moves. This creates a reveal moment that is highly effective as a transition point in an edit [4].
5. Match-Cut Scroll Transitions Between Apps, Accounts, or Locations
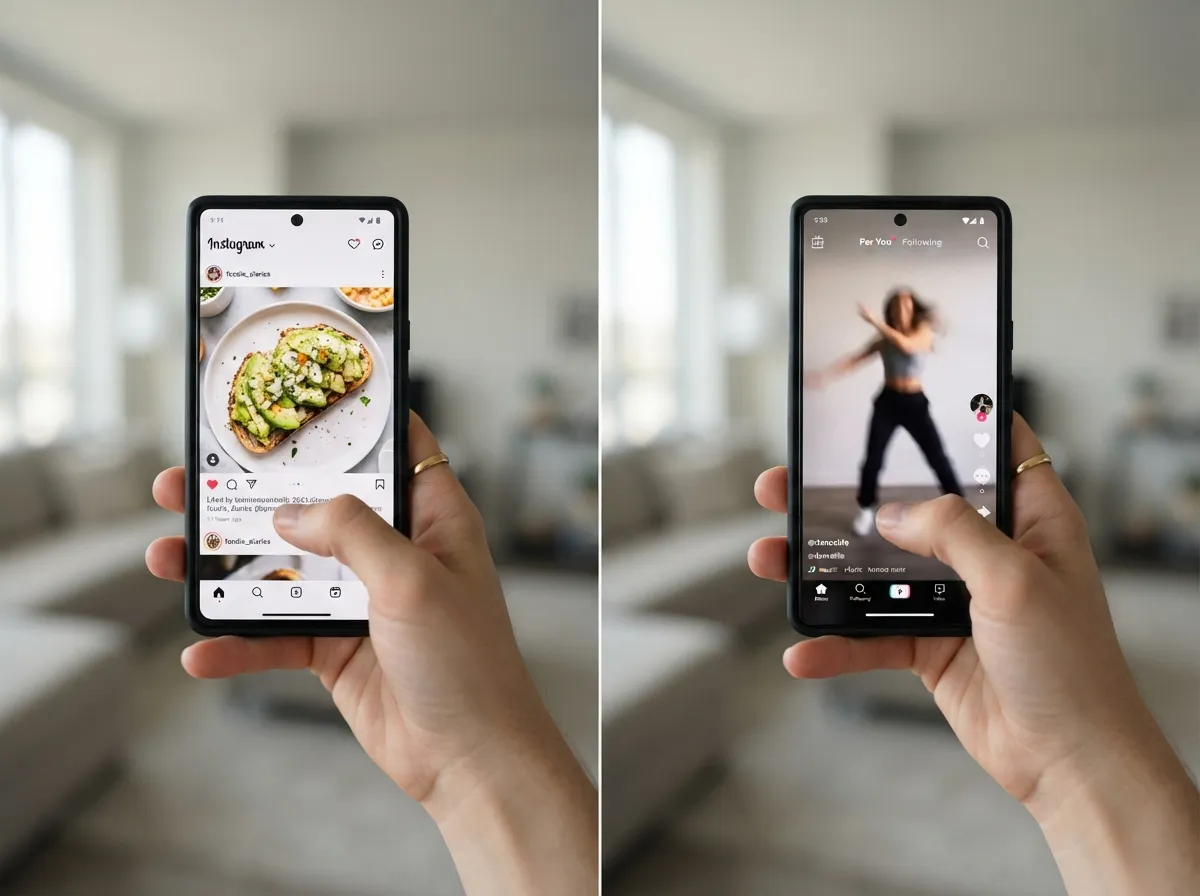
The match-cut is one of cinema’s most elegant editing tools, and it translates surprisingly well to scrolling phone videos. A match-cut transition connects two shots by matching a visual element, a movement, a shape, a color, across the cut, creating a seamless and satisfying visual bridge [2].
In the context of scrolling phone videos, match-cut transitions can be used to:
- Switch between apps: The scroll motion in Instagram continues seamlessly into a scroll in TikTok, suggesting the creator is always online.
- Switch between accounts: A scroll through one brand’s feed cuts to a scroll through a competitor’s, useful for comparison content.
- Switch between locations: The phone is being scrolled in a coffee shop, then the cut matches the same scroll gesture in a home office, communicating versatility or a lifestyle narrative.
Executing a match-cut scroll transition:
The key is matching the direction and speed of the scroll across both shots. If the feed is scrolling upward in Shot A, it must also be scrolling upward at the same apparent speed in Shot B. This requires planning the edit before shooting, not after.
In practice, this means:
- Shooting both clips with the same camera angle and framing
- Matching the scroll speed as closely as possible during filming
- Using editing software‘s speed adjustment tools to fine-tune the match in post
This technique is particularly effective in content that tells a story about social media itself, a “day in my life” format, a brand awareness campaign, or a tutorial about navigating a specific platform [5].
6. Over-the-Shoulder POV With AE/AF Lock for Professional-Looking Screens
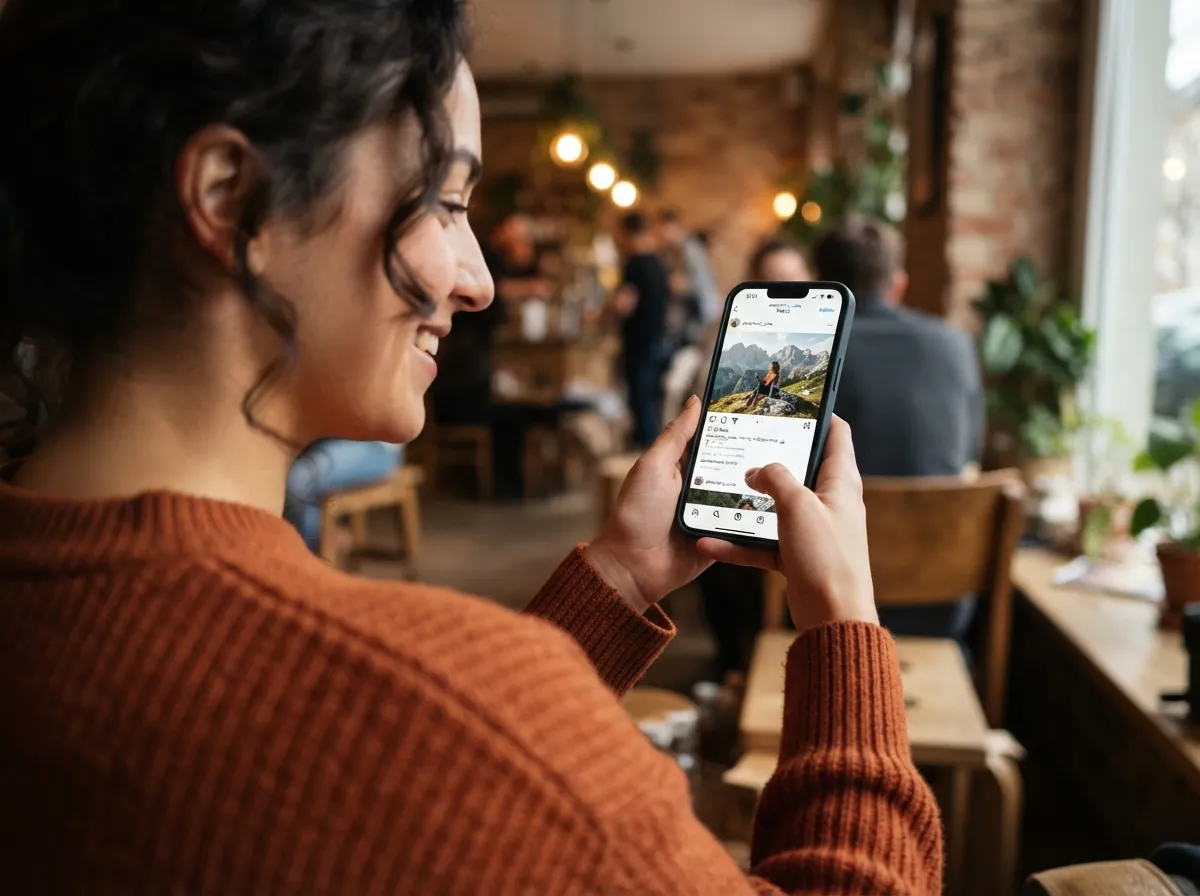
The over-the-shoulder (OTS) point-of-view shot is arguably the most versatile of all the 6 creative ways to film a scrolling through phone video. It places the viewer in the position of the person holding the phone, creating an immediate sense of immersion and relatability [8].
The shot frames the subject from behind and slightly to one side, with the phone held in front of them and the screen visible to the camera. The viewer sees both the person and the content they are consuming, a powerful combination for content that wants to demonstrate a reaction or a discovery moment.
The critical technical requirement for this shot is AE/AF lock. Phone screens are bright relative to the surrounding environment, and without locking exposure, the camera will constantly readjust, causing the screen to flicker between overexposed and correctly exposed. Tapping and holding on the phone screen in the recording camera’s viewfinder locks both focus and exposure to the screen, producing stable, readable footage [8].
Step-by-step OTS scroll setup:
- Position the subject holding their phone at a natural, slightly downward angle.
- Place the recording camera on a tripod or gimbal at shoulder height, slightly behind and to the side of the subject.
- Frame the shot so the subject’s shoulder and partial profile are visible in the lower portion of the frame, with the phone screen occupying the upper two-thirds.
- Tap and hold on the phone screen in the recording camera’s viewfinder to engage AE/AF lock.
- Begin recording, then signal the subject to start scrolling.
For solo creators without a second camera operator, this shot can be achieved using a secondary phone or camera on a flexible tripod arm positioned behind the shoulder. Several creators use articulating monitor arms clamped to a desk or shelf to achieve the exact angle needed without an assistant [3].
The OTS shot also pairs naturally with slow-motion recording. Shooting at 120fps or 240fps and slowing the footage to 24fps in post creates a dreamy, deliberate quality that makes even casual scrolling look intentional and stylized.
Stylistic Enhancements That Elevate Every Scrolling Shot
Regardless of which of the 6 creative ways to film a scrolling through phone video is being used, a set of stylistic enhancements can push the final result from good to exceptional.
Slow motion is the most accessible enhancement. Most modern smartphones shoot at 120fps or 240fps in slow-motion mode, and using this for the recording camera (not the phone being filmed) creates a fluid, high-production quality to the scroll movement itself [6].
Hyperlapse sits at the opposite end of the speed spectrum. Recording a scrolling sequence in hyperlapse mode compresses time, turning a long browsing session into a visually dynamic few seconds. This works especially well as an intro or transition shot [7].
Sound design is frequently overlooked but has an outsized impact on perceived production quality. Adding a subtle whoosh sound effect timed to the scroll movement, or a satisfying tap sound when the finger makes contact with the screen, creates an ASMR-adjacent quality that increases watch time. Many top-performing Reels use custom sound design layered over the native audio of the video [4].
Color grading the phone screen footage requires a light touch. Heavy LUTs (Look-Up Tables) can shift the color of the phone screen itself, making it look unnatural. A subtle warm or cool grade applied to the surrounding environment while leaving the screen relatively neutral tends to produce the most professional results.
Text overlays timed to the scroll can direct the viewer’s attention to specific content on the screen without requiring them to read every post. A simple arrow or highlight box appearing over a specific piece of content for 1-to-2 seconds is enough to guide the eye.
Solo-Creator Setups: Achieving Pro-Looking Shots Without a Camera Operator
A recurring challenge for independent creators is executing complex shots, particularly the OTS and parallax techniques, without a second person to operate the camera. Several practical solutions make this achievable [3].
Flexible tripod arms (sometimes called “magic arms” or “articulating arms”) can be clamped to a desk, shelf, or light stand and positioned to replicate almost any camera angle. Combined with a remote shutter trigger or a camera’s self-timer, these allow a solo creator to set the shot, step into position, and trigger the recording without touching the camera.
Phone holder rigs that attach to a gimbal allow the recording camera and the subject phone to be mounted on the same rig, ensuring consistent relative positioning between the two across multiple takes.
Wireless remote shutters (available for most mirrorless cameras and many smartphones) allow the creator to start and stop recording without camera contact, eliminating the micro-shake that comes from pressing the record button manually.
Mirror or monitor setups, using a small external monitor or even a second phone running a camera preview app, allow the creator to see the frame they are shooting from the subject’s position, making it possible to check composition without walking back to the camera between every take.
The investment required for a functional solo-creator scrolling phone video rig is modest. A basic setup, flexible tripod arm, wireless shutter, and a budget gimbal, can be assembled for under $150 and covers the majority of the techniques described in this guide.
Conclusion
The 6 creative ways to film a scrolling through phone video outlined in this guide represent a complete toolkit for any creator looking to elevate their short-form content in 2026. From the accessibility of hands-free voice-controlled scrolling to the cinematic depth of gimbal-powered parallax shots, each method offers a distinct visual register that can be matched to the tone and purpose of any project.
Actionable next steps:
- Start with the OTS shot using AE/AF lock, it requires the least equipment and produces immediately professional results.
- Add the multi-angle coverage approach to the next project by shooting wide, medium, and tight versions of the same scroll sequence.
- Experiment with one auto-scroll or hyperlapse sequence as an opening hook in the next Reel or TikTok.
- Invest in a basic gimbal and practice the foreground parallax technique before committing it to a final project.
- Build a match-cut transition into an upcoming piece of comparison or storytelling content.
Mastering these techniques does not require expensive equipment or a large crew. It requires deliberate practice, an understanding of the technical baselines, and the willingness to plan shots before pressing record. Creators who apply even two or three of these methods consistently will notice a measurable difference in their content’s visual quality and audience engagement.
References
[1] Watch – https://www.youtube.com/watch?v=c5BP7d4S5yg
[2] Watch – https://www.youtube.com/watch?v=P9lLbIqh5t4
[3] Watch – https://www.youtube.com/watch?v=NMzfCKfpG4Q
[4] Instagram B Roll Ideas – https://creatorflow.so/guides/instagram-b-roll-ideas
[5] Watch – https://www.youtube.com/watch?v=zhIFgsUkz5M&vl=de
[6] Cinematic B Roll Shots Phone Gimbal Tutorial – https://store.hohem.com/blogs/news/cinematic-b-roll-shots-phone-gimbal-tutorial
[7] Auto Scroll Instagram Reel Videos – https://gadgetstouse.com/blog/2023/08/18/auto-scroll-instagram-reel-videos/
[8] Watch – https://www.youtube.com/watch?v=97qL1-IQAmI
[9] How To Use Instagram Reels Tutorial – https://later.com/resources/videos/how-to-use-instagram-reels-tutorial/
[10] Watch – https://www.youtube.com/watch?v=r6wtG3g7aoU