6 Flattering Poses for a Person with a Phone in Photos
Nearly 93 billion photos are taken on smartphones every single day, yet most people freeze the moment they realize a camera is pointed at them. The difference between a photo that looks effortless and one that looks stiff almost always comes down to pose. Knowing the 6 flattering poses for a person with a phone in photos is not about memorizing rigid rules; it is about understanding a handful of body mechanics that consistently produce results across face shapes, body types, and lighting conditions. This guide breaks down each pose with the precision of a professional shoot and the accessibility of a casual scroll session.
Disclosure: This post contains affiliate links. As an Amazon Associate, we earn from qualifying purchases, and at no extra cost to you.
Key Takeaways
- Holding the phone slightly above eye level and tilting the chin down sharpens the jawline and keeps the eyes as the focal point [4]
- Over-the-shoulder poses visually narrow the waist and add a candid, lifestyle quality to any phone photo [8]
- Lying-down poses are among the most forgiving angles, minimizing double chin and emphasizing eye brightness [8]
- Natural hand grip and relaxed wrist position are just as important as overall body posture [15]
- Environmental framing, golden-hour light, sheer curtains, or styled props, elevates any of the six poses from ordinary to editorial [8]
Why Pose Matters More Than the Phone You Use
Most photography advice focuses on camera specs, lighting gear, and editing apps. Pose is the variable that gets the least attention, and the most impact. A mid-range smartphone paired with a well-executed pose will consistently outperform a flagship device used by someone standing rigid and straight-on.
Visual trend analyses in stock-photo libraries confirm this shift. Phone-pose imagery is now dominated by natural, lifestyle aesthetics: shallow depth of field, neutral tones, and relaxed body language that reads as genuine rather than staged [9]. One major royalty-free collection lists more than 304,000 “pose with phone” images, reflecting enormous demand for realistic, relatable phone-in-hand visuals [9].
The six poses covered in this guide appear repeatedly across 2026 selfie-pose roundups precisely because they work for the widest range of people. Each one addresses a specific visual challenge, whether that is minimizing a double chin, elongating the legs, or keeping the phone from becoming a visual distraction [4][8].
The 6 Flattering Poses for a Person with a Phone in Photos
1. The Classic Above-Eye-Level Selfie Angle
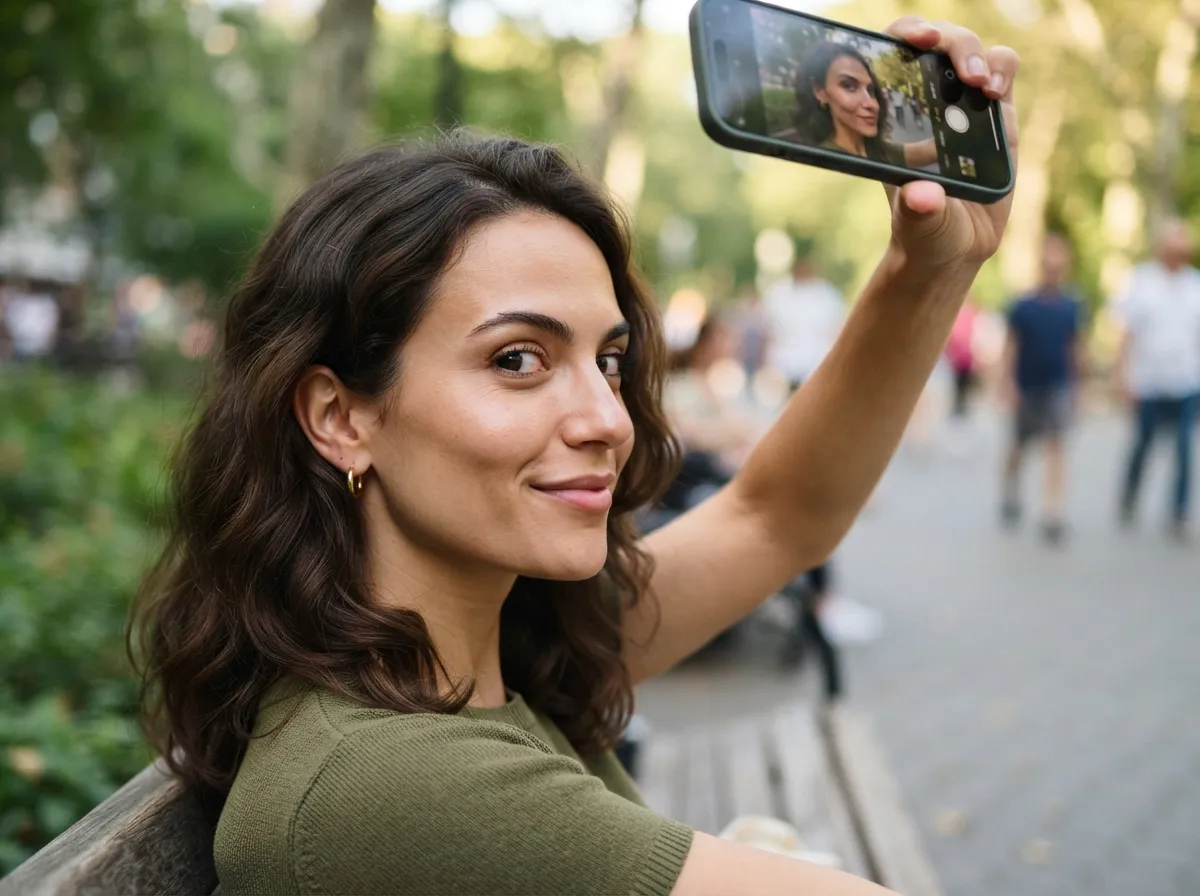
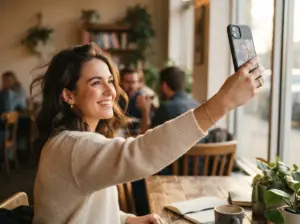
This is the single most universally recommended phone pose in current guides, and for good reason. The mechanics are simple: hold the phone slightly above eye level, roughly 10 to 15 degrees above the horizontal, tilt the chin down slightly, and turn the face about 45 degrees to one side before looking back toward the lens [4].
Why it works:
- The downward chin angle sharpens the jawline by creating a natural shadow beneath it
- The slight turn brings one cheekbone forward, adding dimension to the face
- The above-eye-level camera position makes the eyes appear larger and more expressive
- The phone stays visible as a natural prop without dominating the frame
This pose is described in current guides as the default flattering angle for selfies regardless of gender or face shape [4]. It requires no special environment, no second photographer, and no additional equipment. The only adjustment needed is finding the exact height and angle that works best for each individual face, a process that takes fewer than five test shots.
Pro tip: Avoid holding the phone too high. Beyond about 20 degrees above eye level, the forehead becomes disproportionately large and the nose appears foreshortened.
2. The Over-the-Shoulder Glance
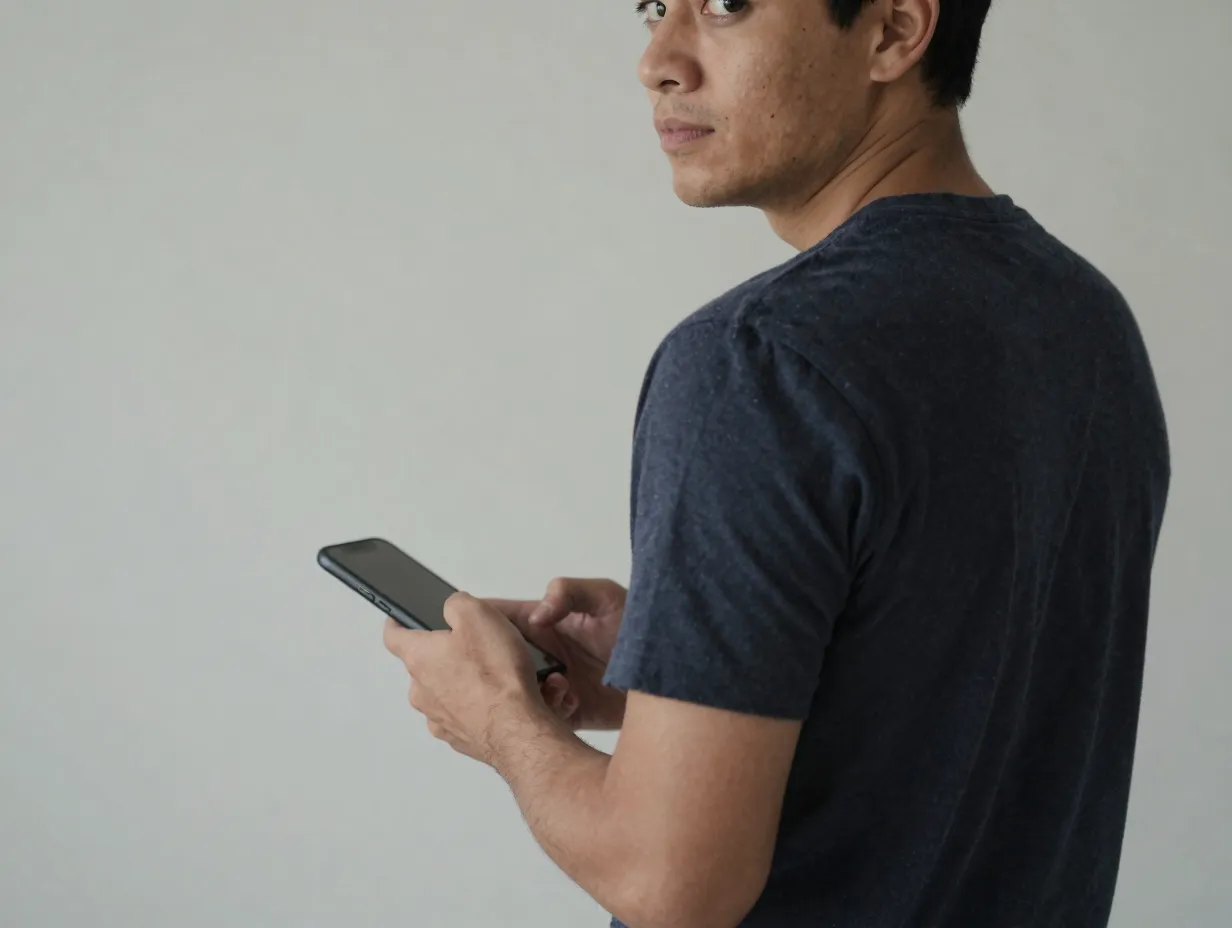
Turn slightly away from the camera, hold the phone so it is visible at roughly hip or waist height, then glance back over one shoulder toward the lens. This pose is consistently highlighted in 2026 aesthetic-selfie collections as one of the most universally flattering options available [8][3].
What this pose accomplishes:
- The turned body visually narrows the waist by presenting a three-quarter profile rather than a flat frontal view
- The neck lengthens naturally when the head turns back over the shoulder
- The phone becomes a secondary prop rather than the focal point, giving the image a candid, “caught in the moment” quality
- The eye contact, delayed by the turn, reads as confident and relaxed simultaneously
This pose is a staple in short-form video and Snapchat pose compilations because it conveys a casual, lifestyle vibe that resonates with everyday content audiences [3][8]. It scales from a quick mirror selfie to a fully styled brand shoot without changing the fundamental mechanics.
Variation: For a slightly more dynamic version, step one foot forward as the glance happens. The micro-movement adds energy and prevents the pose from looking rehearsed [6].
3. The Seated Chin-on-Hand Portrait
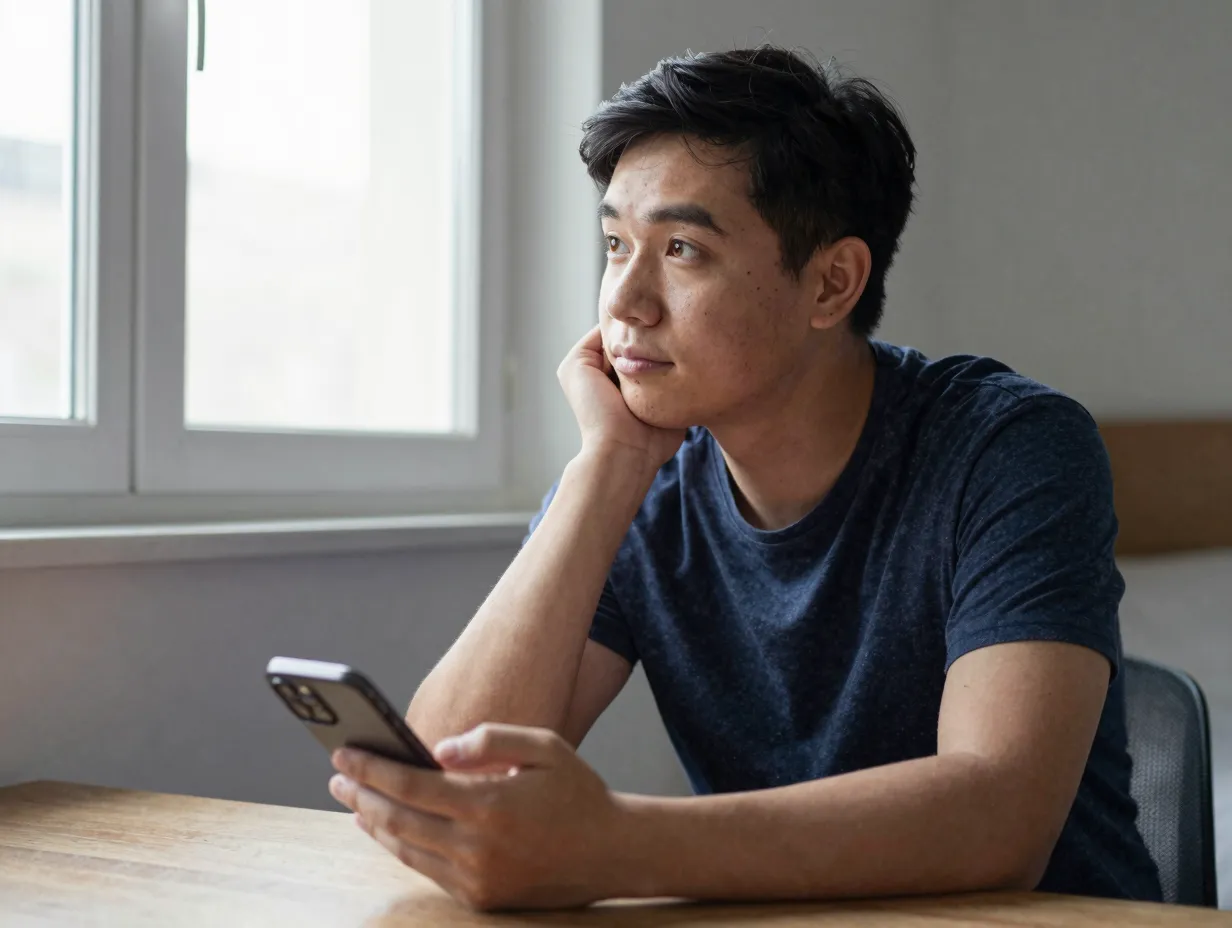
Sit at a desk, bed edge, or armrest. Rest one elbow on the surface, place the chin lightly on the back of the hand or fingers, and hold the phone low or to the side with the other hand. This pose is recommended in multiple 2026 guides as especially flattering for portrait-style phone photos [4][8].
Key adjustments that change the result:
| Adjustment | Visual Effect |
|---|---|
| Raise the elbow higher | Lifts the face, elongates the neck |
| Tilt the head toward the hand | Adds softness and approachability |
| Angle the body toward the window | Creates natural highlight on the near cheek |
| Hold phone lower and to the side | Keeps the phone visible without blocking features |
Small variations in elbow height and head tilt can dramatically change which facial features are emphasized. Guides recommend taking three to four shots with slight adjustments between each to find the version that best defines the jaw and cheekbones for a specific face [4][8].
4. The Lying-Down Phone-Above Shot
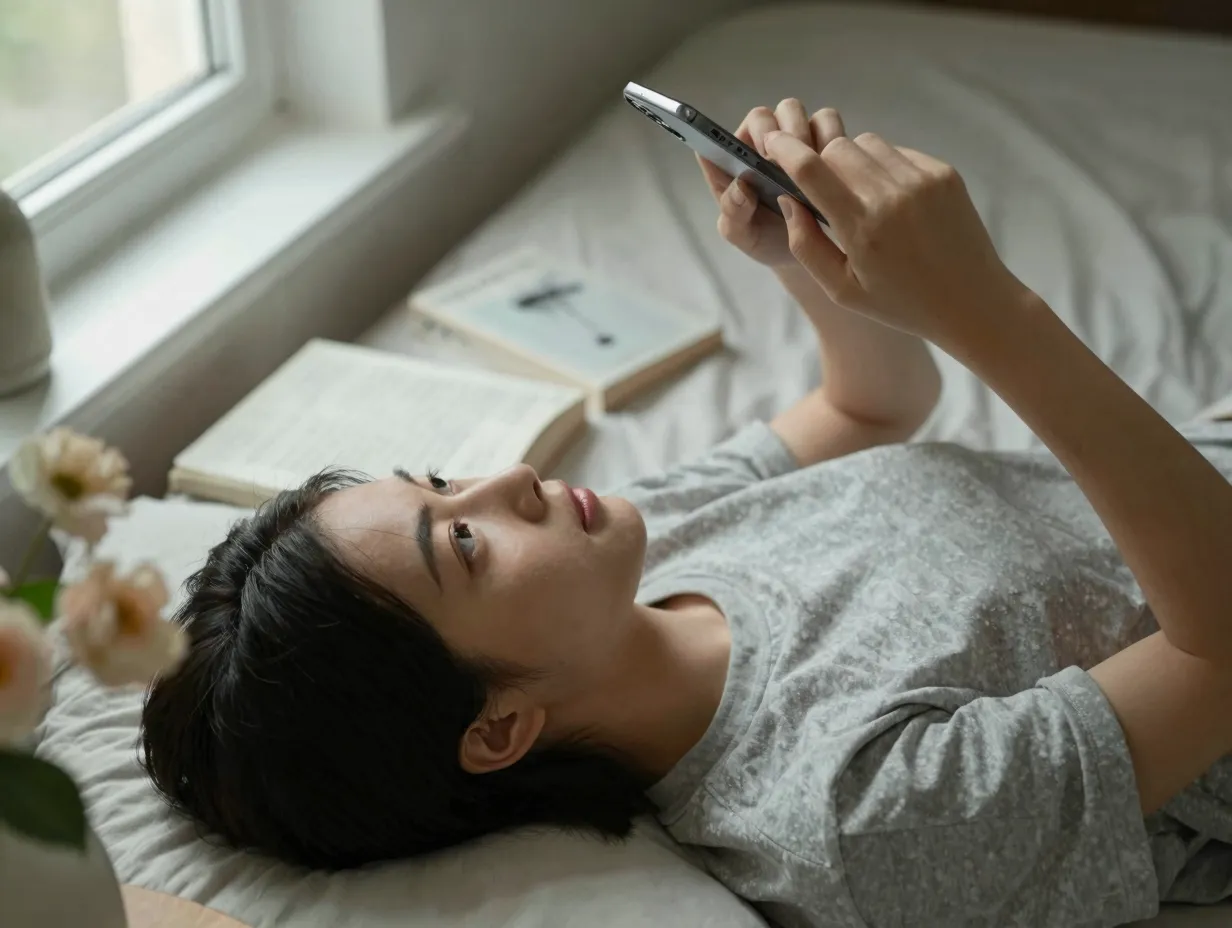
Lie on a bed, couch, or blanket. Hold the phone directly above the face or slightly to one side. Look toward the main light source, a window, a lamp, or natural daylight, to create bright, reflective eyes and soft, even shadows [8][4].
This position is one of the most forgiving angles in phone photography for several reasons:
- Gravity naturally pulls facial skin upward, reducing the appearance of a double chin
- The overhead angle emphasizes the eyes, which become the dominant feature in the frame
- Soft, diffused light from a nearby window creates a dreamy, editorial quality without any additional equipment
- Props placed around the subject, books, flowers, a coffee cup, add context and visual interest without requiring the person to interact with them awkwardly
2026 pose articles note that this position works particularly well for “cozy” or lifestyle content, especially when the background is styled with intention [8]. The phone can be held at a slight angle rather than perfectly vertical to introduce a subtle sense of movement and avoid the overly symmetrical look that can feel flat.
Common mistake to avoid: Looking straight up at the phone creates a flat, expressionless result. Instead, shift the gaze slightly toward the light source or let the eyes drift just off-lens for a more natural, candid quality [15][8].
5. The Crouched Mirror Pose
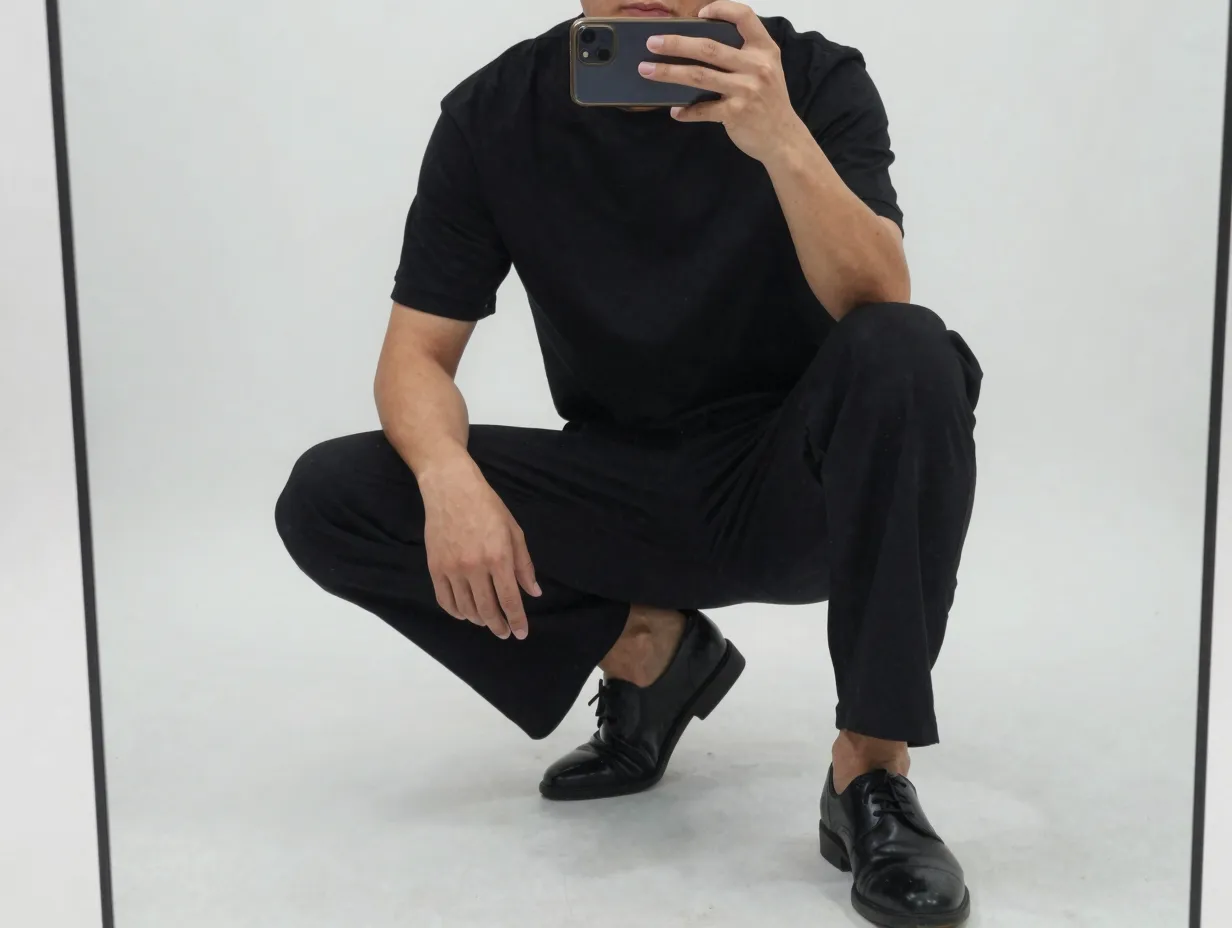
Stand in front of a full-length mirror, then crouch down. Hold the phone low and angled slightly upward, and rest one elbow on a knee or keep the phone mid-air for a nonchalant look [4][8].
Why this pose trends in 2026:
- The low camera angle elongates the legs visually, a consistent priority in current posing guides
- The crouched position adds depth and dimension to the composition that a standing mirror selfie cannot achieve
- The slight upward angle of the phone creates a dynamic, editorial quality
- The mirror element allows the full outfit to be visible while keeping the face prominent
The most important technical detail is weight distribution. Guides stress placing most of the body weight on one leg rather than distributing it evenly, which prevents the stiff, symmetrical look that makes mirror selfies appear flat [4][8]. Keeping the phone from covering the face entirely is equally critical, the phone should be visible as a prop, not a mask.
Styling note: A clean, uncluttered background behind the mirror amplifies the elongating effect. Busy backgrounds compete with the subject and reduce the visual impact of the leg-lengthening angle.
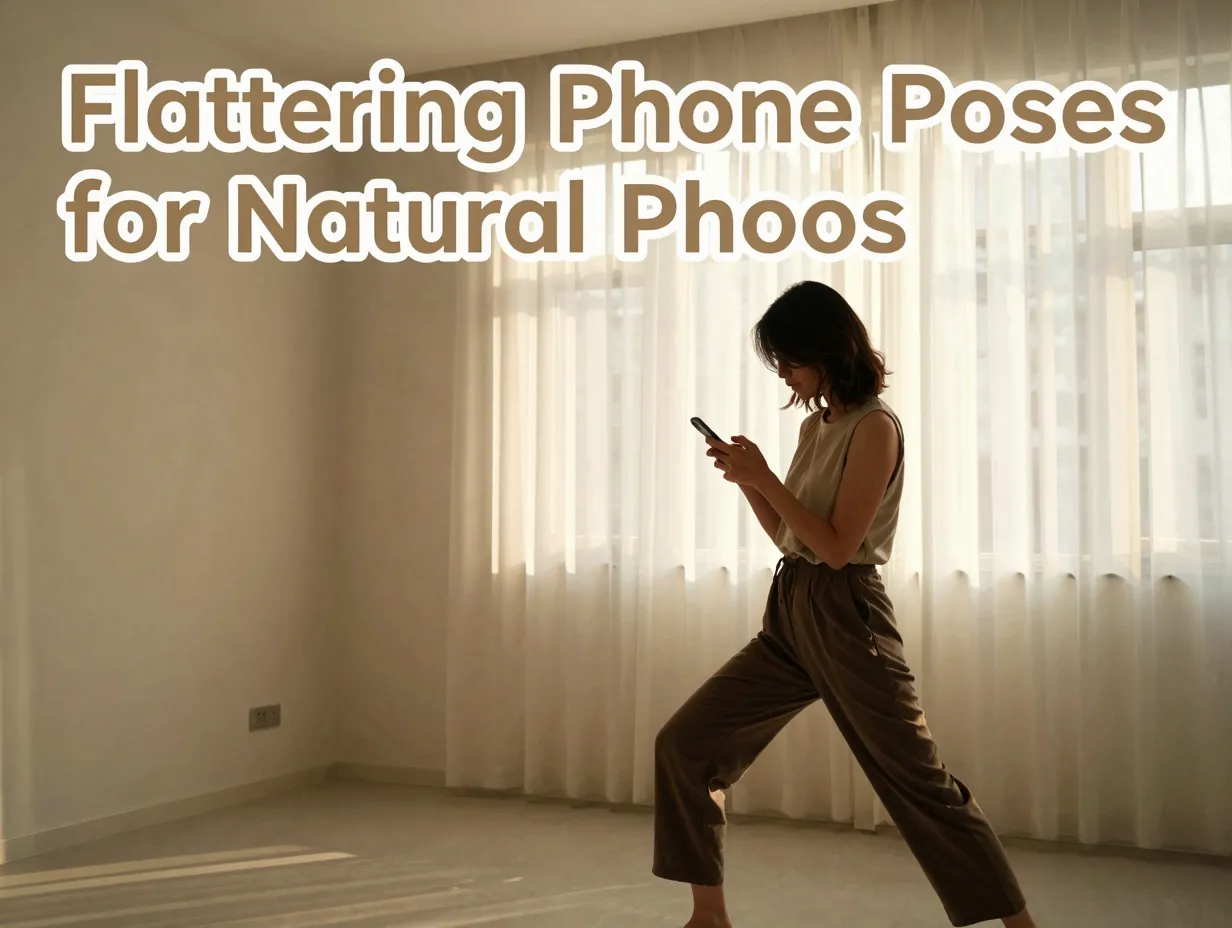
6. The Golden-Hour Window Pose
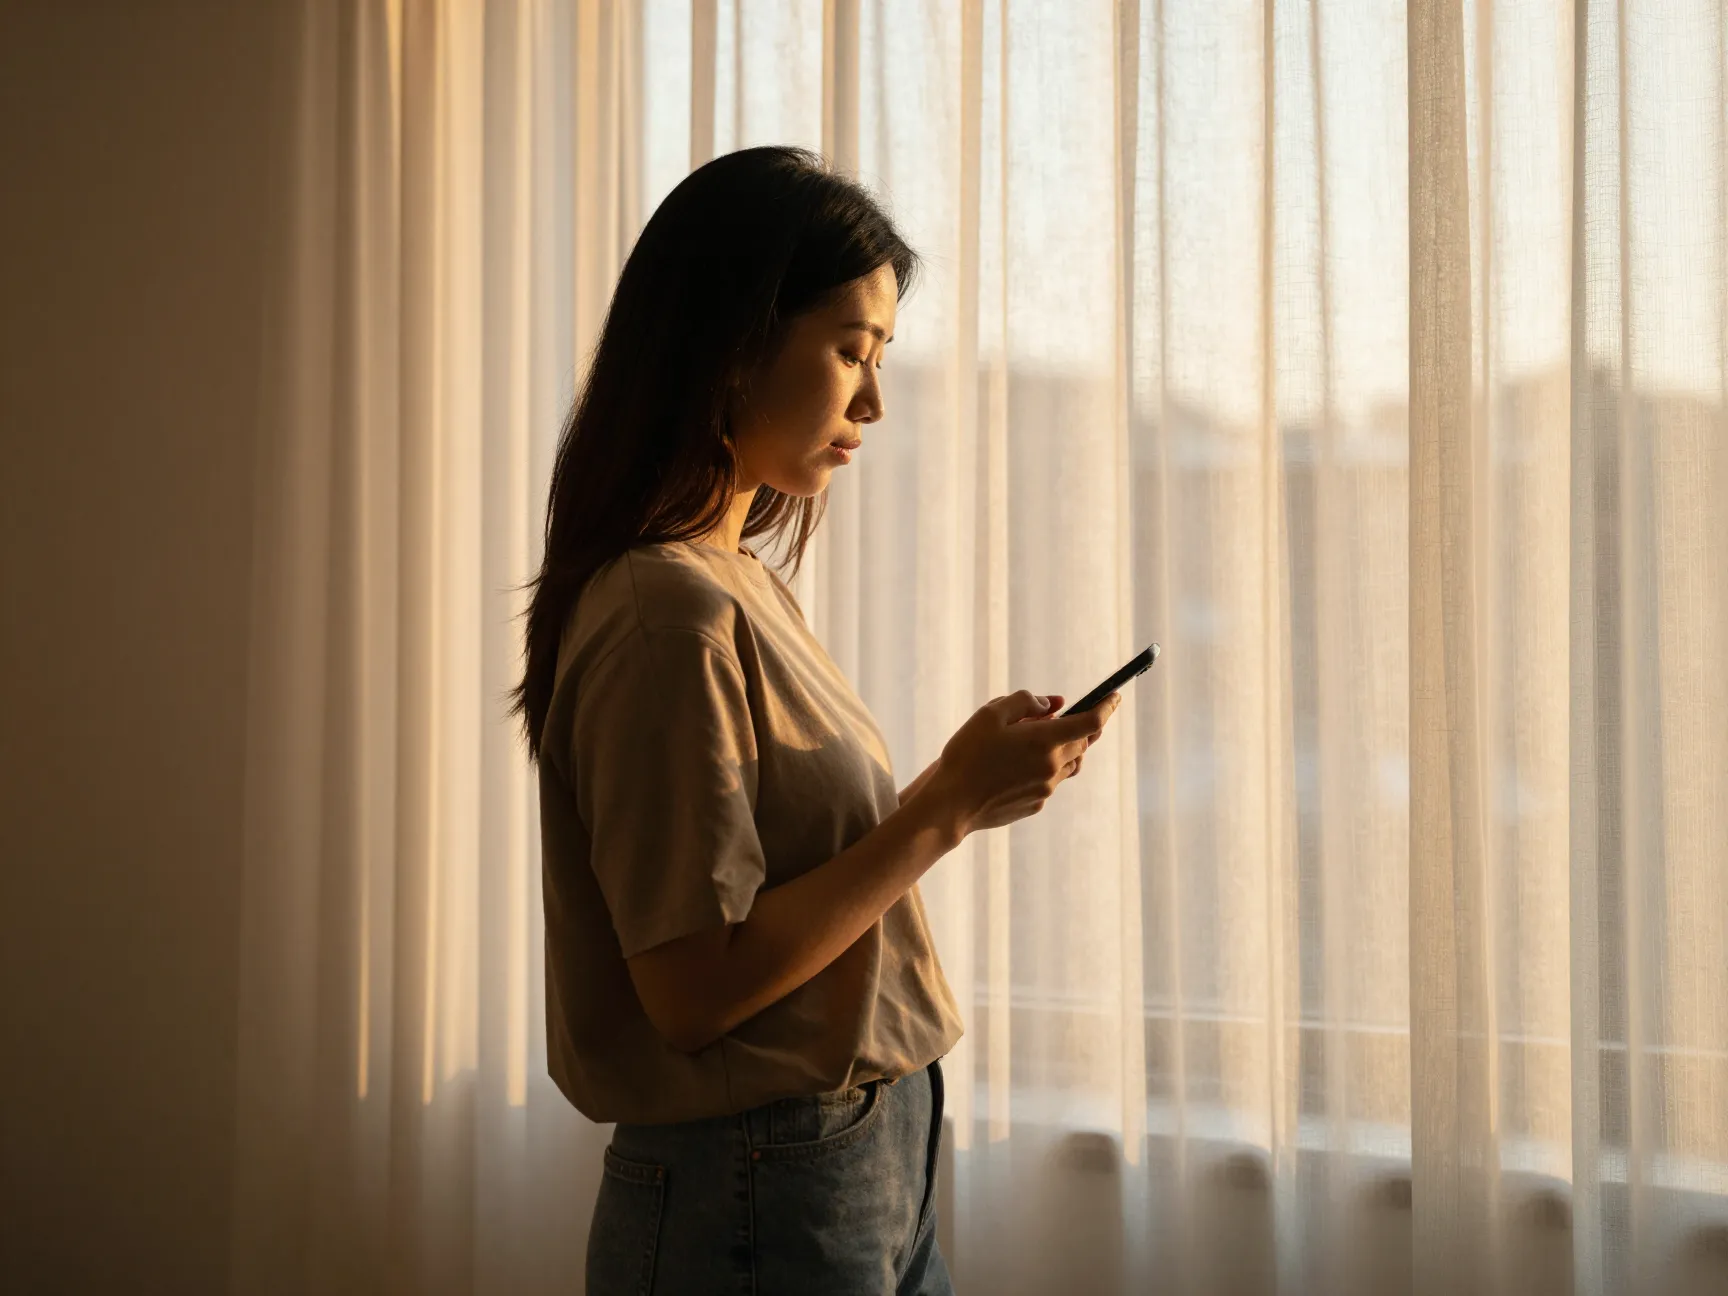
Stand sideways next to a window during golden hour, the 30 to 60 minutes after sunrise or before sunset. Hold the phone at a natural, relaxed angle. Let the warm, directional light wrap around the near side of the face while the far side falls into gentle shadow [8][4].
This pose combines environmental framing with flattering light physics:
- Warm directional light sculpts the face with natural highlights and shadows, eliminating the need for ring lights or flash
- The sideways stance presents a three-quarter profile, which is more dimensional than a straight-on view
- Sheer curtains diffuse harsh sunlight into soft, even illumination that is forgiving for all skin tones
- The phone as prop can be held at the hip, raised to the ear, or held loosely at the side, each variation tells a slightly different story
Multiple 2026 resources recommend using the environment to frame phone poses rather than relying on plain, harshly lit backgrounds [8][4]. The golden-hour window pose is the clearest example of this principle: the light does most of the flattering work, and the pose simply positions the subject to receive it optimally.
Practical execution: Face the window directly first to find the light’s exact angle, then rotate 90 degrees to stand sideways. This ensures the face receives the maximum amount of warm sidelight rather than flat frontal illumination.
Mastering Hand Grip and Eye Direction Across All 6 Poses
Understanding the 6 flattering poses for a person with a phone in photos is only part of the equation. Two details, hand grip and eye direction, affect the quality of every pose on this list.
Hand and Grip Aesthetics
Tense hands are one of the most common problems in phone photos. 2026 pose advice specifically addresses grip mechanics: fingers should curve naturally around the phone, the thumb should support without pressing hard, and the wrist should be gently bent in line with the phone rather than locked straight [15].
Grip checklist:
- Curve the fingers naturally, avoid a “clawed” grip
- Let the phone’s weight rest across the fingers rather than being squeezed
- Keep the wrist slightly bent, not rigid
- Switch hands between shots to find the more relaxed side
- Vary finger placement slightly to discover which position looks most natural for each individual
These adjustments take seconds but produce a measurable difference in how relaxed and intentional the pose reads [15].
Eye Direction
Looking directly into the lens works well for bold, deliberate portraits. For everyday content, however, candid eye direction, looking at the phone screen, slightly off to the side, or out a window, reduces stiffness and reads as “caught mid-moment,” which most viewers find more flattering [15][8].
Current guides advise reserving direct eye contact for intentional, high-impact shots and using side glances or soft focus for lifestyle and casual content [15][8]. This single adjustment can transform a stiff pose into one that feels completely natural.
Using Technology to Refine the 6 Flattering Poses for a Person with a Phone in Photos
A notable development in 2026 is the rise of AI-powered pose-suggestion tools. SnapPose, a free app available on both iPhone and Android, allows users to photograph their scene and then receive pose suggestions based on the location’s light, background, and mood [7]. The app traces a chosen pose outline onto the live camera feed, allowing the subject to match their body position to the guide before taking the shot [7].
This technology removes the guesswork from pose execution, particularly for people who struggle to translate a reference image into their own body position. For anyone working through the six poses in this guide, a tool like SnapPose can accelerate the learning curve significantly [7].
Professional phone photography guides also recommend incorporating subtle movement into poses: stepping forward, adjusting jewelry, fixing hair, or leaning slightly [6]. These micro-motions make the subject appear more natural and engaged compared to rigid, static stances. Dynamic poses of this kind scale well from casual Instagram posts to brand shoots, making them a cornerstone of current professional recommendations [6].
Conclusion
The 6 flattering poses for a person with a phone in photos, the above-eye-level selfie angle, the over-the-shoulder glance, the seated chin-on-hand portrait, the lying-down overhead shot, the crouched mirror pose, and the golden-hour window pose, cover the full range of everyday phone photography scenarios. Each pose addresses a specific visual challenge, from minimizing double chin to elongating the legs, and each can be adapted with small adjustments to suit different face shapes, body types, and environments.
Actionable next steps:
- Practice one pose per day for six days, taking three to five shots per session to identify the most flattering personal variation
- Apply the hand-grip checklist to every session, relaxed hands elevate any pose immediately
- Experiment with eye direction in each pose: direct gaze for bold portraits, side glance for lifestyle content
- Use the golden-hour window pose as a default whenever natural light is available, it requires no equipment and produces consistently flattering results
- Consider downloading SnapPose to overlay pose guides onto a live camera feed for faster, more accurate execution [7]
Consistency matters more than perfection. Returning to these six poses regularly builds the muscle memory that eventually makes every phone photo look effortless.
References
[4] Selfie Poses Guide – https://poseoverlay.com/blog/selfie-poses-guide/
[8] Aesthetic Selfie Poses – https://focalfun.com/aesthetic-selfie-poses/
[3] Phone Pose Ideas – https://www.snapchat.com/topic/phone-pose-ideas
[6] How To Use Your Phone For Professional Photography Shoots – https://thedivinemagazine.com/how-to-use-your-phone-for-professional-photography-shoots/
[7] snappose.app – https://snappose.app/
[9] Phone Posing – https://www.shutterstock.com/search/phone-posing?page=5
[15] (Hand and grip aesthetics source referenced in research material)