6 Ways to Transform Your Mobile Phone Images from Basic to Brilliant
Over 1.4 trillion photos are taken on smartphones every year, yet the vast majority never rise above the level of a forgettable snapshot. The gap between a mediocre mobile photo and a stunning one rarely comes down to the phone itself. It comes down to technique, settings, and a few deliberate habits that most people skip entirely.
Disclosure: This post contains affiliate links. As an Amazon Associate, we earn from qualifying purchases, and at no extra cost to you.
This guide covers the 6 Ways to Transform Your Mobile Phone Images from Basic to Brilliant, walking through every major lever available to any smartphone photographer, from the moment before pressing the shutter to the final edit ready for sharing. Whether shooting portraits, landscapes, food, or street scenes, these methods apply universally and deliver measurable results fast.
Key Takeaways
- Cleaning the lens and stabilizing the phone are the two fastest, most overlooked fixes for blurry, hazy images
- Natural light is the single most powerful tool available to any smartphone photographer, learning to read and position it changes everything
- Composition rules like the rule of thirds and leading lines transform ordinary scenes into visually compelling images
- Shooting in RAW or at maximum resolution, and using Pro/Manual mode, gives far more control in post-processing
- Systematic editing, exposure first, then contrast, color, and sharpness, produces consistent, professional-looking results
1. Start With the Basics, Lens, Grip, and Stability
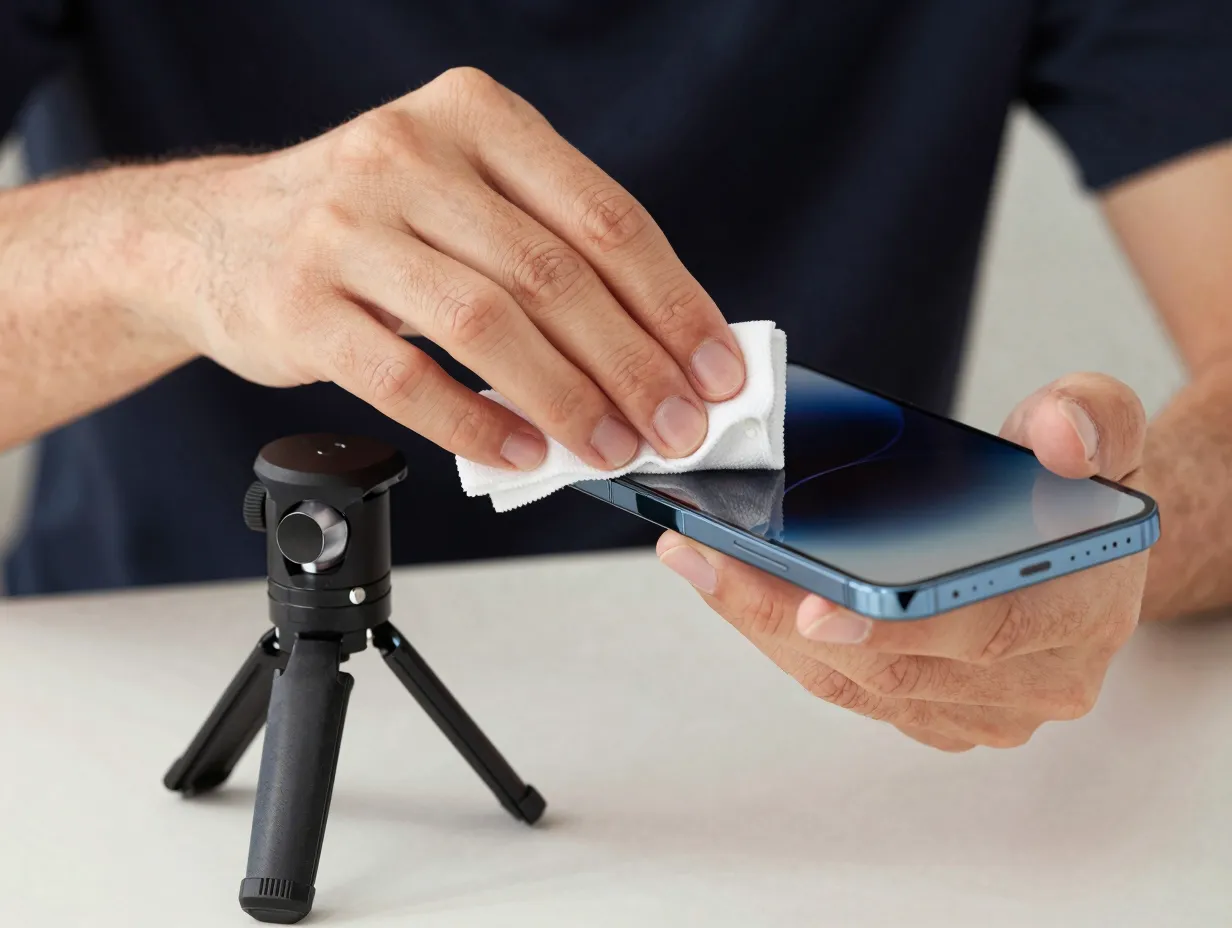
Before touching a single setting, the physical fundamentals matter more than most photographers realize. A smudged lens is the number-one silent killer of smartphone image quality. Fingerprints, pocket lint, and skin oils scatter light across the sensor, creating haze, reducing contrast, and softening detail in ways that no editing app can fully reverse [1]. A quick wipe with a clean microfiber cloth before every session costs nothing and improves every shot.
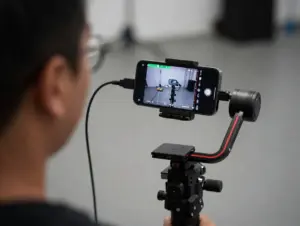
Grip and stabilization are equally critical. Camera shake at the moment of capture introduces blur that cannot be recovered in post-processing. The most reliable technique is to hold the phone with both hands, tuck elbows against the body, and press the volume button rather than tapping the screen, tapping creates micro-vibrations that blur the frame [3]. For low-light situations, a small tripod or a gorilla-style flexible mount is not a luxury; it is a necessity.
Practical stabilization checklist:
- Use both hands and brace elbows against the torso
- Press the volume button or use a Bluetooth shutter remote
- Rest the phone against a wall, railing, or table when possible
- Use a mini tripod for night shots, long exposures, or video
- Enable optical image stabilization (OIS) in camera settings if available [6]
Burst mode is another underused tool. By holding the shutter down to fire a rapid sequence of frames, the best sharp image can be selected from the burst, particularly useful for moving subjects, children, or sports [9]. The cost is storage space, but the gain in keeper rate is significant.
“The best camera in the world cannot compensate for a dirty lens or a shaking hand. Fix the physical first, then worry about settings.”
Keeping the camera app and phone firmware updated is also part of this foundational layer. Manufacturers regularly push computational photography improvements, new stabilization algorithms, and bug fixes through software updates, and missing these means leaving real image quality on the table [5].
2. Master Light, The Most Powerful Tool in Mobile Photography
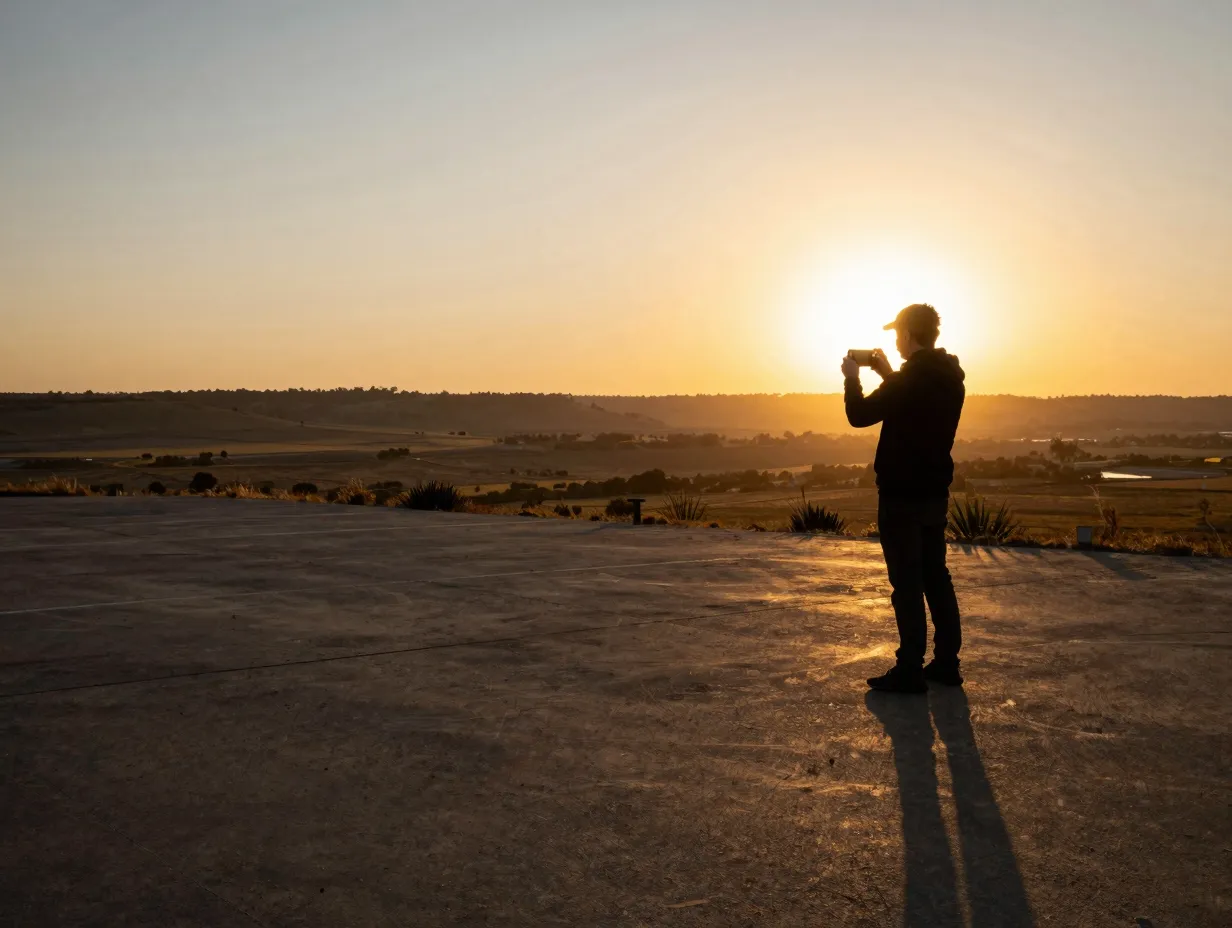
Light is not just a component of a photograph. Light IS the photograph. Every other technique in the 6 Ways to Transform Your Mobile Phone Images from Basic to Brilliant framework depends on how well the photographer reads and uses available light.
Natural light versus artificial light
Natural light, particularly during the golden hour, the 30 to 60 minutes after sunrise and before sunset, produces warm, directional, flattering illumination that flatters virtually every subject [2]. The light is soft, the shadows are long and interesting, and colors appear rich without oversaturation.
Harsh midday sun is the opposite. It creates deep, unflattering shadows under eyes and chins in portraits, blows out highlights on reflective surfaces, and flattens the sense of depth in landscapes. Whenever possible, move subjects into open shade during midday, the light is still bright but diffused and even [10].
| Light Condition | Best For | Avoid When |
|---|---|---|
| Golden Hour | Portraits, landscapes, architecture | Fast-moving subjects (low shutter speed) |
| Open Shade | Portraits, product shots | Scenes needing dramatic directional light |
| Overcast Sky | Even lighting, detail shots, macro | Landscapes needing sky drama |
| Harsh Midday Sun | High-contrast abstract shots | Portraits, food, most general subjects |
| Window Light (indoors) | Portraits, food, still life | Subjects needing even, omnidirectional light |
When shooting indoors, positioning the subject close to a large window produces results that rival studio lighting setups. The key is to have the light source to the side rather than directly behind the subject (which creates silhouettes) or directly in front (which flattens features) [4].
Smart HDR is a valuable tool in mixed-light situations. When enabled, the phone captures multiple exposures simultaneously and blends them to preserve detail in both highlights and shadows, a particularly useful feature for scenes with bright windows and darker interiors [1].
3. Compose Deliberately, Rules That Elevate Every Frame
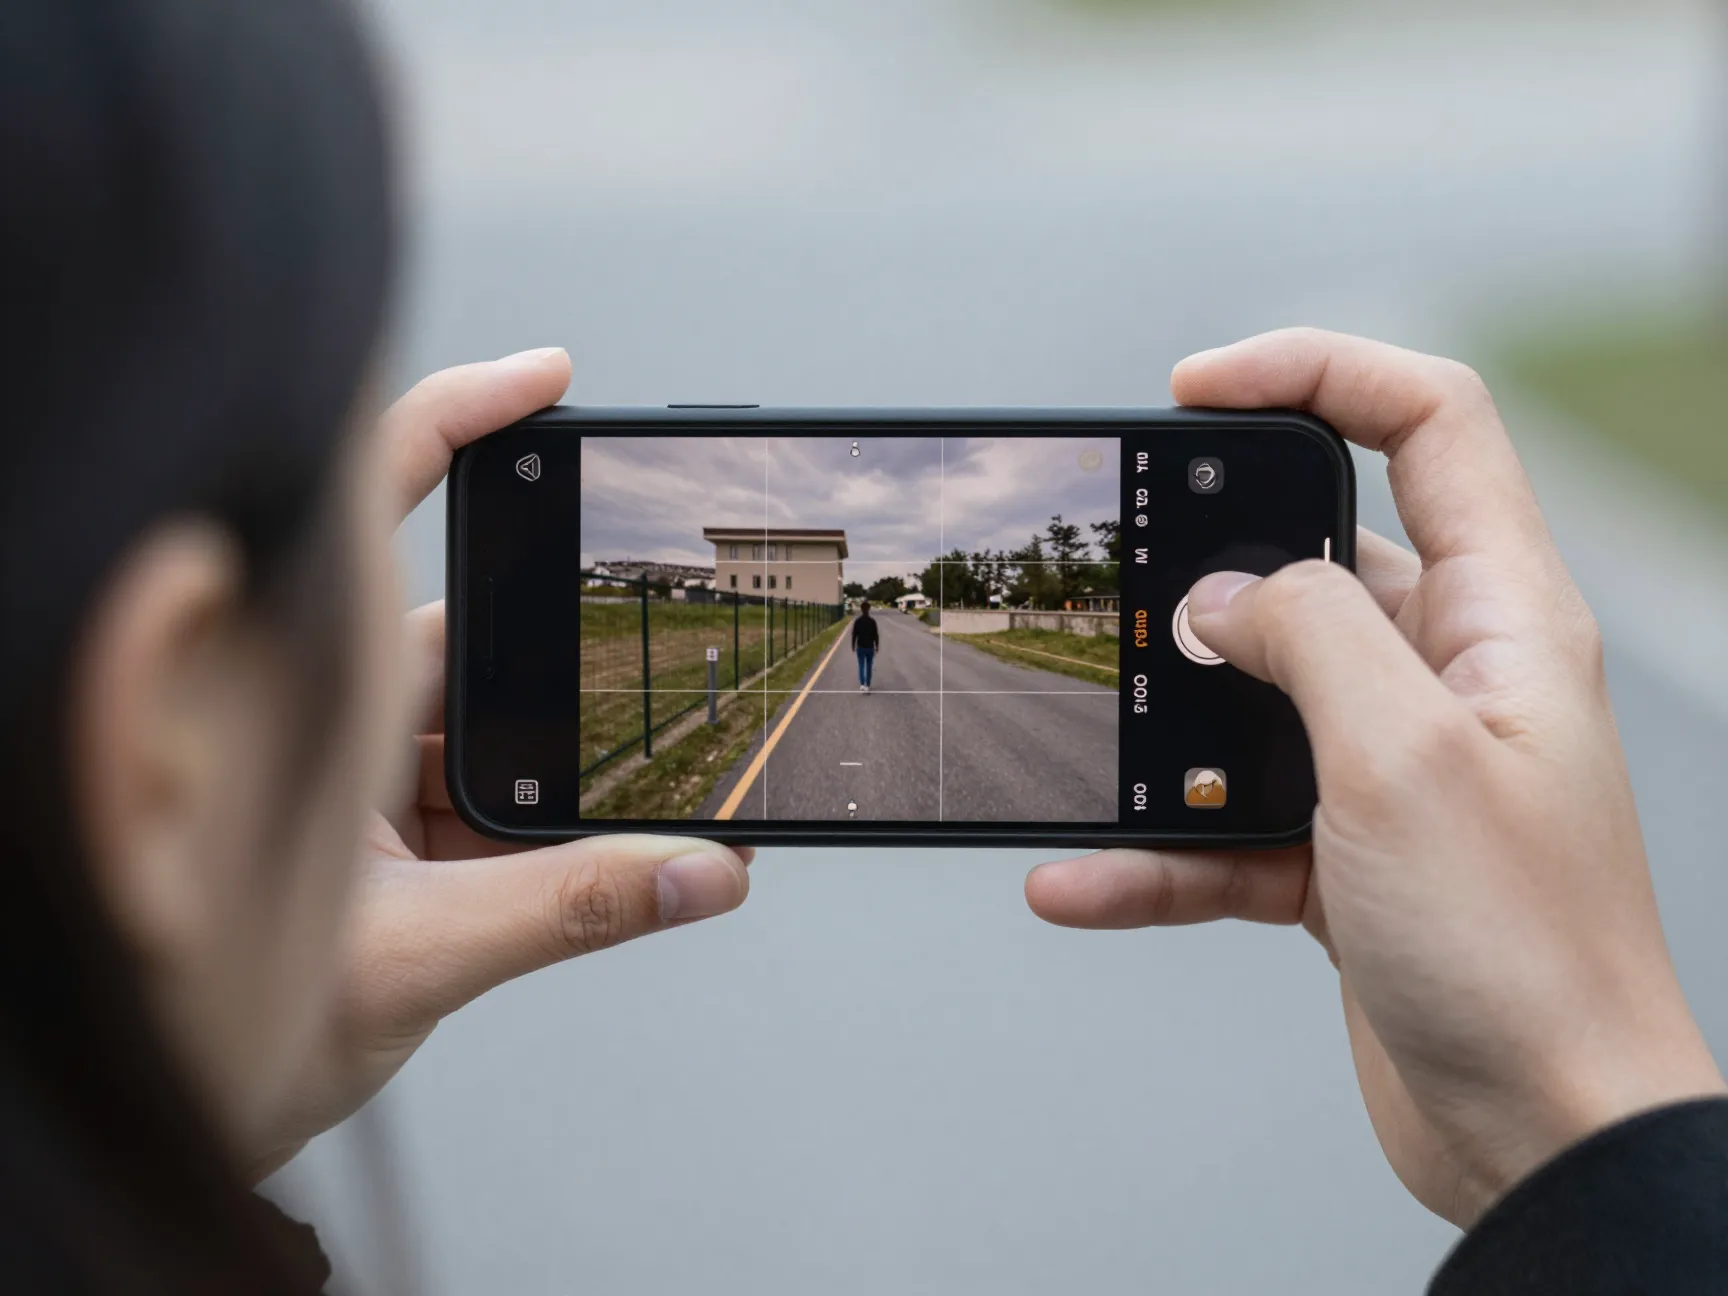
Composition is where many smartphone photographers leave the most value on the table. Pointing the camera at a subject and pressing the shutter produces a record. Applying compositional principles produces a photograph.
The rule of thirds
Enabling the grid overlay in the camera app divides the frame into nine equal sections with two horizontal and two vertical lines. Placing the main subject at one of the four intersection points, rather than dead center, creates a more dynamic, visually engaging image [6]. This single change, applied consistently, is one of the fastest ways to elevate mobile photography.
Leading lines
Roads, fences, rivers, staircases, and architectural edges naturally draw the viewer’s eye through the frame. Positioning the phone so that a leading line moves from a corner toward the main subject adds depth and narrative to an otherwise flat image [3]. This technique works particularly well in urban photography and landscapes.
Depth and layering
Including a foreground element, a flower, a rock, a person, in front of the main subject creates a sense of three-dimensional depth that flat smartphone sensors often struggle to convey [4]. The foreground does not need to be in sharp focus; even a soft, blurred element in the near field creates the perception of depth.
Practical composition tips:
- Always enable the grid overlay before shooting
- Look for natural frames within the scene: doorways, arches, overhanging branches
- Vary shooting height, crouch down or raise the phone above head level for a fresh perspective
- Use negative space intentionally; empty sky or a plain wall can make a subject pop
- Rotate the phone to portrait orientation for tall subjects, landscape for wide scenes [10]
The portrait mode available on most modern smartphones uses computational depth mapping to simulate a shallow depth of field, blurring the background and isolating the subject. Used appropriately, for people, pets, and products, it dramatically increases the professional appearance of the image [7].
4. Optimize Camera Settings for Maximum Quality
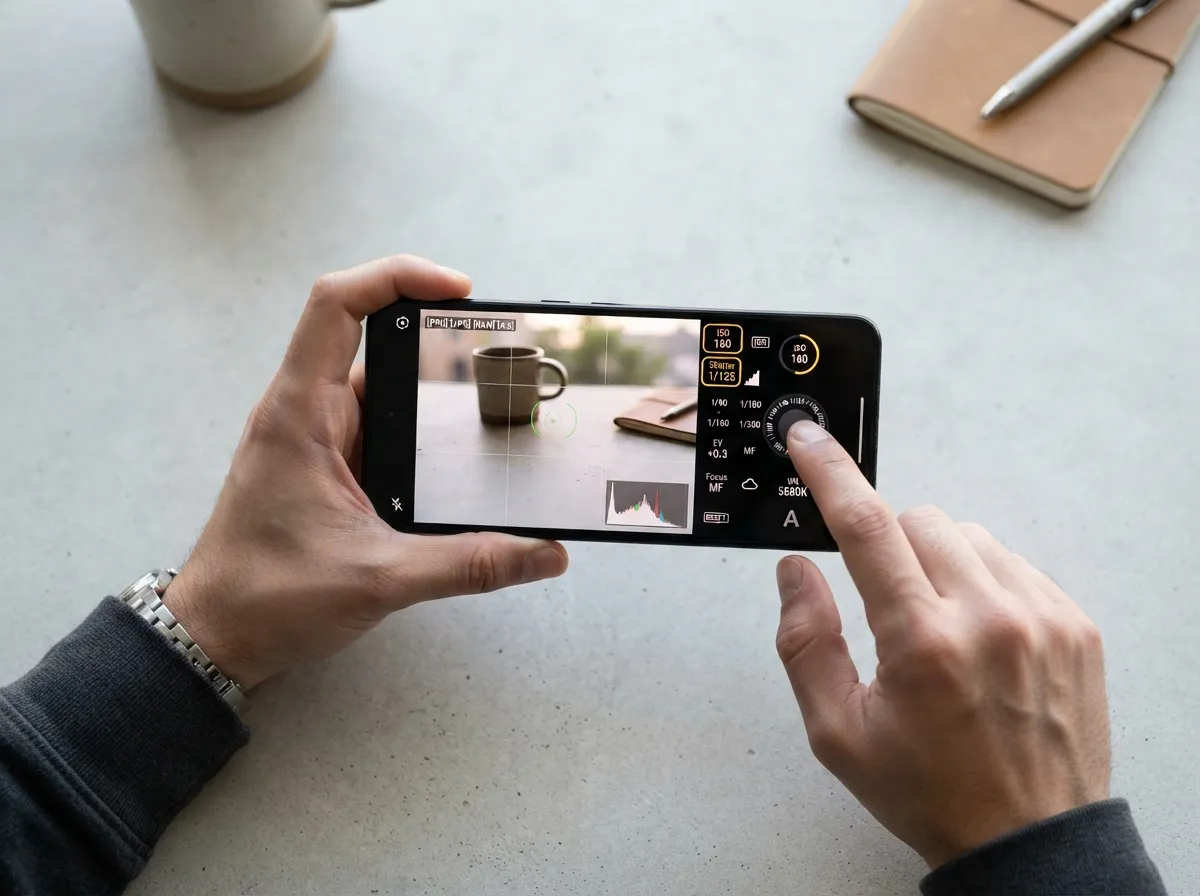
This is where the 6 Ways to Transform Your Mobile Phone Images from Basic to Brilliant framework moves from instinct to deliberate technical control. Default camera settings are optimized for speed and convenience, not maximum image quality. A few targeted adjustments change the output significantly.
Resolution and format
Always shoot at the highest available resolution. Many phones default to a compressed or lower-resolution setting to save storage space, switching to maximum resolution preserves far more detail for cropping and editing [5]. For photographers willing to invest time in post-processing, shooting in RAW format (available in Pro or Manual mode on most flagship phones) captures uncompressed sensor data, giving editing software far more latitude to recover highlights, lift shadows, and adjust color without degradation [9].
Pro/Manual mode settings
| Setting | Recommended Range | Why It Matters |
|---|---|---|
| ISO | 50-400 (daylight), up to 800 (indoors) | Higher ISO = more noise/grain |
| Shutter Speed | 1/500s+ (moving subjects), 1/60s (static) | Slower = more blur risk |
| White Balance | Set manually to match light source | Prevents color casts in editing |
| Exposure Compensation | Adjust to protect highlights | Easier to lift shadows than recover blown highlights |
Avoiding heavy digital zoom is critical. Unlike optical zoom (which uses a physically separate telephoto lens), digital zoom simply crops and enlarges the image, reducing resolution and introducing pixelation [1]. On phones with multiple lenses, switching to the 2x or 3x optical lens rather than pinching to zoom produces dramatically sharper results.
Matching modes to scenes
- Night Mode: Use for any low-light scene; it captures multiple frames and stacks them to reduce noise
- HDR: Use for high-contrast scenes with bright skies and darker foregrounds
- Portrait Mode: Use for subjects within 1-3 meters; disable for wide scenes
- Standard Mode: Use for most daylight scenes where computational processing may over-sharpen [2]
For video, shooting at 4K resolution rather than 1080p provides significantly more detail and allows for cropping in post-production without visible quality loss [7].
5. Edit Systematically, From Capture to Polished Final Image
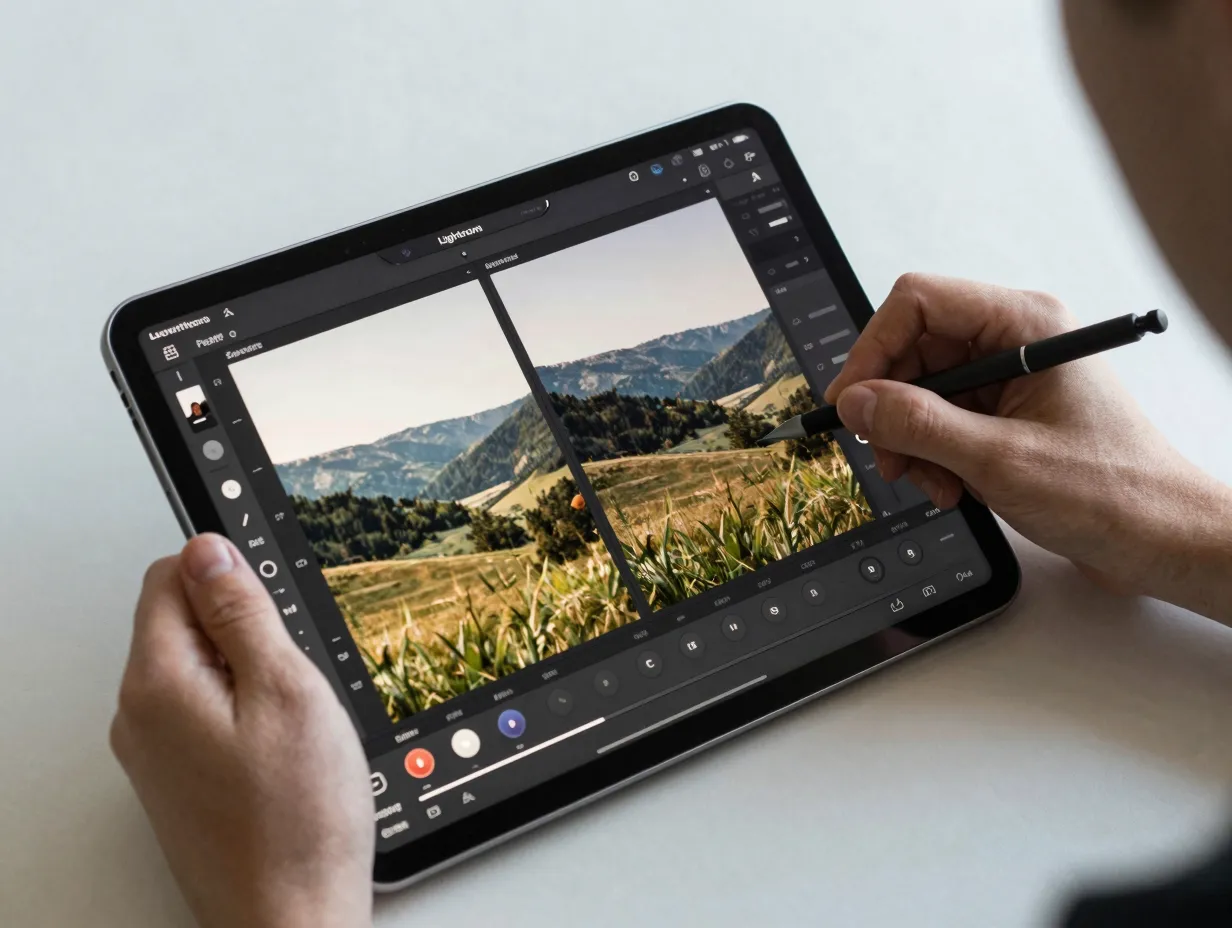
Capturing a great image is only half the process. Editing, done quickly and systematically, is what separates a good shot from a brilliant one. The key word is systematically: working through adjustments in a consistent order prevents over-editing and keeps results looking natural.
The editing sequence
- Straighten and crop, Fix horizon lines and remove distracting edges before any tonal adjustments
- Exposure, Bring the overall brightness to the correct level first
- Highlights and shadows, Recover blown highlights by pulling down; lift shadow detail by pushing up
- Contrast, Add contrast after exposure is set; it affects the relationship between tones, not overall brightness
- White balance/temperature, Correct any color casts from artificial light or shade
- Saturation and vibrance, Vibrance is gentler than saturation; it boosts muted colors without oversaturating skin tones
- Clarity and sharpness, Apply last; over-sharpening on an incorrectly exposed image amplifies noise [8]
Recommended editing apps for 2026:
- Lightroom Mobile: Industry standard for RAW editing, with powerful masking tools
- Snapseed: Free, intuitive, excellent selective adjustment tools
- VSCO: Strong film-style presets with fine-tuning controls
- Adobe Camera Raw (via Lightroom): Best for RAW file processing [5]
A common mistake is editing on a phone screen with brightness set too high or too low, which leads to images that look different on other screens. Calibrating screen brightness to a midpoint and editing in consistent lighting conditions produces more reliable results [6].
“Editing is not about fixing a bad photo, it is about revealing the full potential of a good one.”
For social media use specifically, reviewing images on a second device before posting catches color and exposure issues that are not visible on the capture device [8]. Consistency in editing style, using the same preset or following the same sequence, also builds a recognizable visual identity across a feed.
6. Optimize for Output, Social Media, Sharing, and Staying Current

The final stage of the 6 Ways to Transform Your Mobile Phone Images from Basic to Brilliant process is ensuring that the finished image performs as well in its intended context as it did on the editing screen.
Social media optimization
Different platforms compress images differently. Instagram, for example, applies aggressive compression to images that do not meet its preferred specifications. Exporting at the platform’s recommended dimensions, rather than uploading the raw full-resolution file, reduces compression artifacts and preserves the quality of the edit [8].
Key platform considerations for 2026:
- Instagram Feed: 1080 x 1350px (portrait) or 1080 x 1080px (square) at maximum quality JPEG
- Instagram Stories/Reels: 1080 x 1920px
- Facebook: 1200 x 630px for shared links; 1080 x 1080px for feed posts
- LinkedIn: 1200 x 627px for articles and posts
- Pinterest: 1000 x 1500px (2:3 ratio) performs best [7]
Background and context
A cluttered background undermines even a technically perfect image. Before pressing the shutter, scan the entire frame for distracting elements: power lines, strangers walking through the shot, trash, or busy patterns that compete with the subject [2]. Moving the subject or changing the shooting angle by even half a meter can eliminate most background distractions without any editing.
Keeping tools and knowledge current
Smartphone camera technology evolves faster than almost any other consumer technology category. In 2026, computational photography features, including AI-assisted scene recognition, multi-frame noise reduction, and semantic segmentation for portrait backgrounds, have become standard on mid-range and flagship devices [5]. Keeping the camera app updated ensures access to the latest algorithmic improvements without any hardware change.
Looking ahead, late 2026 and beyond are expected to bring further advances in on-device AI processing, including real-time RAW editing previews and more sophisticated low-light reconstruction. These are speculative developments based on current industry trajectories, but the underlying principle is clear: staying informed and updating both knowledge and software is itself a technique [7].
Final optimization habits:
- Review images on a second screen before posting to catch color issues
- Delete blurry or redundant frames immediately to maintain a curated library
- Back up RAW files to cloud storage before editing to preserve originals
- Use consistent editing presets to build a recognizable visual style
- Revisit and re-edit older images as editing skills improve [9]
Conclusion
The 6 Ways to Transform Your Mobile Phone Images from Basic to Brilliant are not about buying better equipment. They are about applying deliberate technique to the device already in hand. Every smartphone photographer, regardless of experience level, can produce noticeably better images by cleaning the lens before shooting, reading and positioning light thoughtfully, applying compositional principles, adjusting settings beyond the default, editing in a systematic sequence, and optimizing for the platform where the image will be seen.
Actionable next steps:
- Clean the phone lens right now and enable the grid overlay in the camera app
- Plan one shooting session during golden hour this week and compare the results to midday shots
- Download Lightroom Mobile or Snapseed and practice the seven-step editing sequence on three existing photos
- Switch the camera to its highest resolution setting and, if available, try one session in RAW format
- Check for camera app and firmware updates today, free quality improvements may already be waiting
The gap between a basic snapshot and a brilliant photograph is smaller than most people think. These six methods close that gap, one deliberate choice at a time.
References
[1] How To Take Better Smartphone Photos – https://6monthslater.net/2026/05/how-to-take-better-smartphone-photos/
[2] How To Use Your Phone For Professional Photography Shoots – https://thedivinemagazine.com/how-to-use-your-phone-for-professional-photography-shoots/
[3] How To Take Better Photos With A Phone – https://www.photographylaunchpad.com/how-to-take-better-photos-with-a-phone/
[4] Smartphone Photography – https://martinkleinheinz.de/en/smartphone-photography/
[5] How To Improve Smartphone Camera Quality In 2026 – https://mobileos.it/en/2026/07/how-to-improve-smartphone-camera-quality-in-2026/
[6] Complete Guide To Smartphone Photography – https://www.fredericpaulussen.be/complete-guide-to-smartphone-photography/
[7] Smartphone Photography Tools Guide 2026 – https://sharedtutor.com/2026/07/04/smartphone-photography-tools-guide-2026/
[8] Smartphone Photography Social Media – https://probusinessstrategy.com/smartphone-photography-social-media/
[9] How To Improve Your Smartphone Photography – https://www.engadget.com/cameras/how-to-improve-your-smartphone-photography-010037588.html
[10] How To Take Better Smartphone Photos The Complete Guide – https://www.vodafone.co.uk/newscentre/smart-living/how-to/how-to-take-better-smartphone-photos-the-complete-guide/