6 Essential Tips For Finding and Preparing The Perfect 3D Printing Model
A model can look flawless on a screen and still collapse into a puddle of failed layers on the print bed. That gap between digital perfection and physical reality is why so many hobbyists and professionals quietly reprint the same object three or four times before it comes out right. The fix isn’t a better printer. It’s a better process. This guide walks through 6 Essential Tips For Finding and Preparing The Perfect 3D Printing Model, drawing on 2026 optimization standards that define what “print-ready” actually means: a closed, watertight, manifold mesh with no holes, no intersecting geometry, and no unsupported ultra-thin elements [12][13].
Disclosure: This post contains affiliate links. As an Amazon Associate, we earn from qualifying purchases, and at no extra cost to you.
Whether the goal is a downloaded miniature, a scanned prototype, or an original design, the steps below apply the same way. Following them in order, before slicing, not after a failed print, saves filament, resin, and hours of frustration.
Key Takeaways
- A print-ready model must be watertight, manifold, and free of holes, intersecting geometry, or paper-thin unsupported walls before it ever reaches the slicer.
- Minimum wall thickness matters: aim for roughly 0.8 mm (twice a 0.4 mm nozzle diameter) for FDM, with 1.2 mm often recommended for general reliability [3].
- File format choice affects outcomes, STL suits simple single-material geometry, 3MF handles multi-material and metadata-rich prints, and OBJ preserves color and texture data [3][8].
- Orientation and support planning are design decisions, not last-minute slicer tweaks; overhangs beyond about 45 degrees typically need support material [11][15].
- Hollowing large resin models and adding at least two 4 mm escape holes can cut resin usage by up to roughly 60 percent while improving reliability [1][3].
1. Define the Model’s Purpose Before You Start Searching

The search for the right file should begin with a question most people skip: what is this object actually for? A display miniature tolerates fine surface detail that a functional bracket does not need, while a load-bearing part requires attention to wall thickness and orientation that a decorative piece can ignore. Recent 2026 modeling workflows emphasize planning for printability from the very first step, defining intended use, required detail level, and real-world units early, rather than fixing these issues after the model is already built [2].
This matters because the “perfect” model changes depending on the job. A cosplay prop calls for large, smooth surfaces and minimal internal complexity. A mechanical replacement part demands dimensional accuracy and enough wall thickness to survive stress. A tabletop game piece needs fine detail but can tolerate more support material because visible seams matter less. Before opening a marketplace or CAD file, write down three things: the intended use, the required strength, and the acceptable level of visible support marks. This short exercise narrows the search dramatically and prevents the common mistake of choosing a beautifully detailed file that was never designed to be printed at the scale or in the material intended.
2. Search for Files With Verified Print History and Manifold Geometry
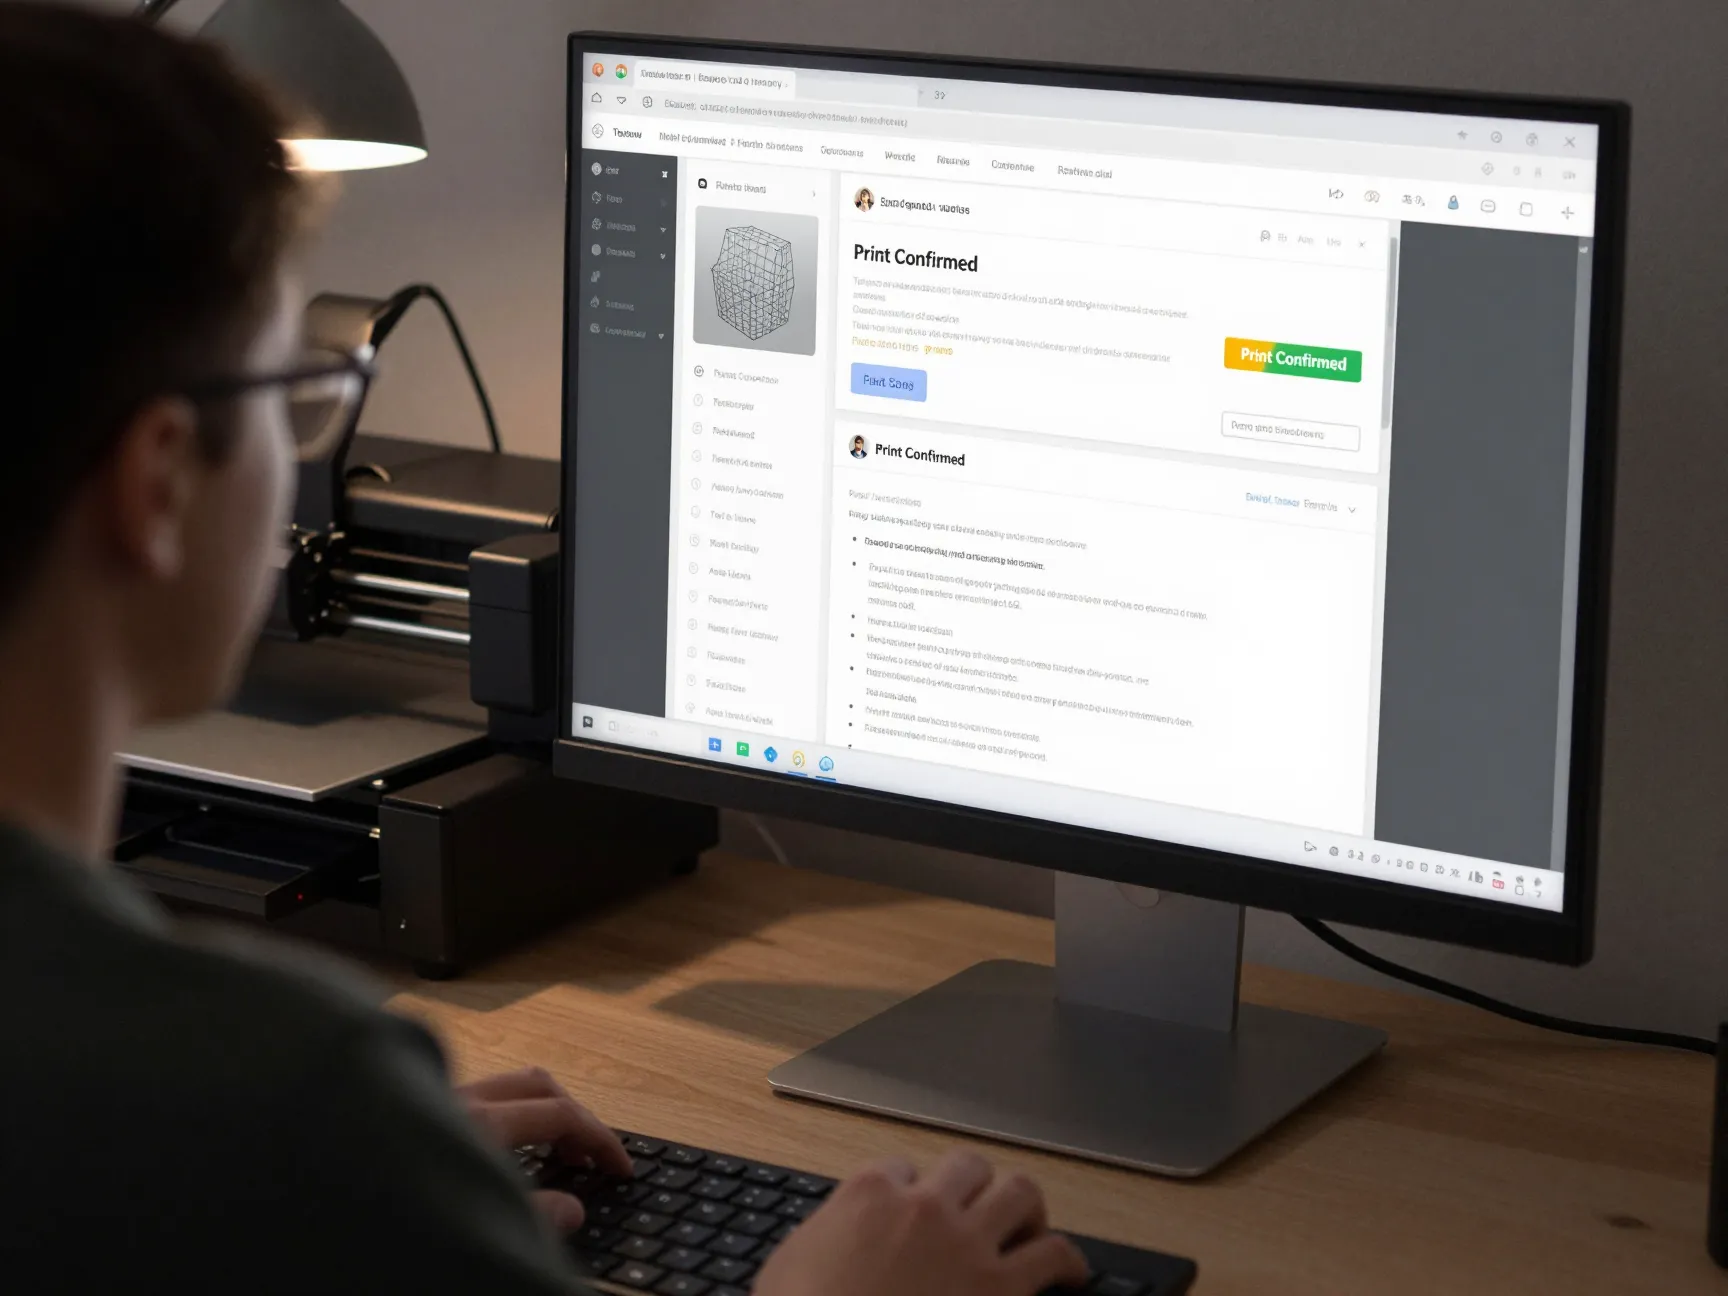
Not every downloadable model is safe to print as-is. Reputable model repositories increasingly flag files with community print confirmations, but the file’s technical health matters more than its popularity. A truly print-ready model in 2026 is defined as closed, watertight, and manifold, with no holes, open edges, or self-intersecting geometry anywhere in the mesh [12][13]. Files lacking these traits may look fine in a thumbnail preview yet fail the moment they’re sliced.
When evaluating a candidate file, look for these signals before downloading:
- Comment threads or reviews mentioning successful prints at the intended scale.
- A stated polygon count that is reasonable for the level of detail (excessively low or absurdly high counts both suggest problems).
- File descriptions noting the software used to export it, since certain CAD-to-mesh conversions are more prone to leaving gaps.
- Availability in more than one format, which often indicates the creator tested exports across pipelines.
If a listing offers no clues about print history, it is worth spending an extra few minutes opening the file in a free viewer before committing to a full slicer import. This single habit avoids the most common source of wasted material: discovering mesh errors only after supports have already generated.
3. Check Wall Thickness, Scale, and Units Before Anything Else
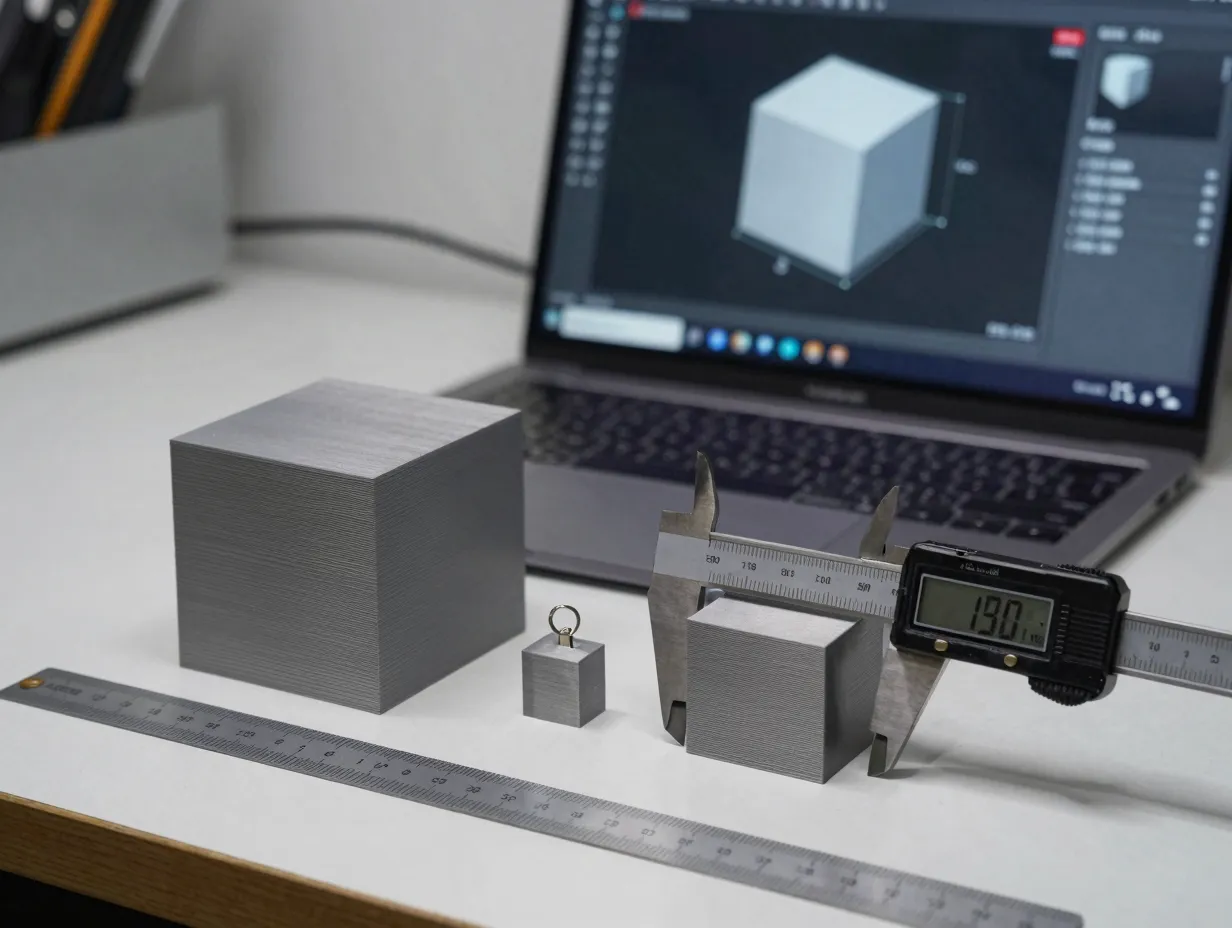
Scale errors are the silent killer of otherwise excellent models. A model built without explicit units can print as a tiny keychain when it was meant to be a hand-sized figure, or vice versa. University 3D printing guidelines updated through 2026 insist that models be designed and verified in millimeters, with dimensions cross-checked directly in the slicer before printing begins [11][13].
Wall thickness deserves equally close attention. Guidance published in mid-2026 recommends a minimum wall equal to roughly twice the nozzle diameter, about 0.8 mm for a standard 0.4 mm FDM nozzle, while a broader reliability recommendation from a university 3D printing wiki suggests at least 1.2 mm for general-purpose parts [3][13]. Walls thinner than this threshold tend to warp, tear, or simply fail to extrude cleanly, especially on tall or curved surfaces.
Table: Quick Wall Thickness Reference
| Print Method | Minimum Wall (Fragile) | Recommended Wall (Reliable) |
|---|---|---|
| FDM (0.4 mm nozzle) | 0.8 mm | 1.2 mm or greater |
| Resin (SLA/DLP) | 0.6 mm | 1.0 mm |
| Detailed miniatures | 0.5 mm | 0.8 mm |
Before moving forward, load the file into a slicer and check the bounding box dimensions against the intended real-world size. If the numbers look off by a factor of ten or a hundred, the file’s unit setting is almost certainly wrong and needs correcting at the source, not patched with an arbitrary scale multiplier.
4. Run a Mesh Analysis and Repair Any Structural Errors
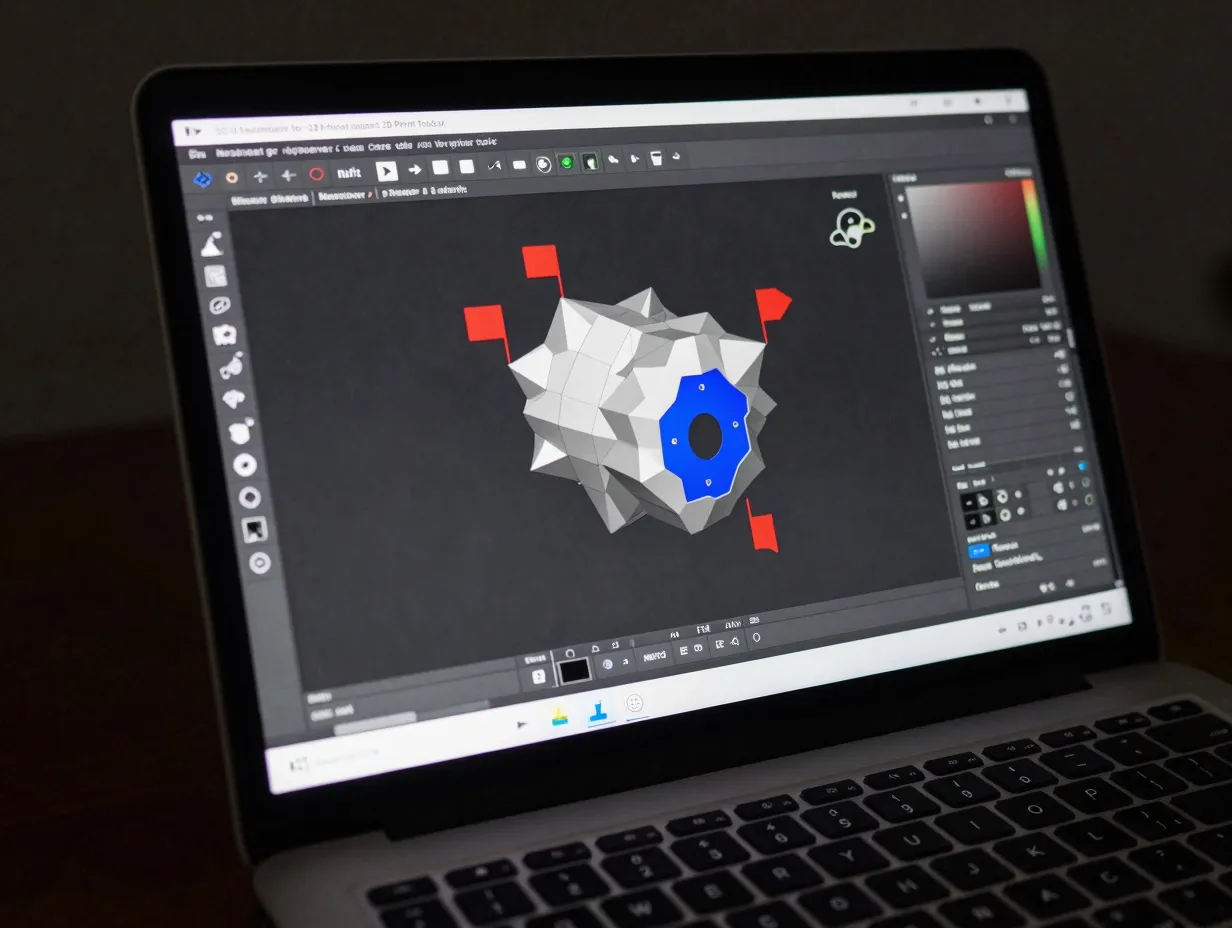
Even a promising file can hide invisible defects. Best-practice guides from 2026 stress checking for non-manifold edges, unintended holes, flipped normals, stray floating vertices, and overlapping meshes before any print attempt [2][11][12]. These issues rarely show up in a simple visual preview because the outer surface can look complete while the underlying geometry is broken.
A structured repair pass typically follows this sequence:
- Open the file in a dedicated analysis tool such as Meshmixer or Blender’s 3D Print Toolbox and run an automated inspection.
- Review flagged non-manifold edges and holes, then apply automatic repair functions where available.
- Manually inspect areas the software flags as ambiguous, particularly where multiple parts intersect.
- Re-export and re-run the analysis to confirm the fixes actually resolved the errors rather than shifting them elsewhere.
Dedicated repair utilities exist specifically because manual fixes in a general modeling program can be slow and error-prone. Using purpose-built tools before slicing is consistently cited as a standard step in professional preparation workflows [2][11][12]. Skipping this stage is the single most common reason a seemingly perfect file fails midway through a long print.
5. Choose the Right Export Format, Tolerance, and File Size
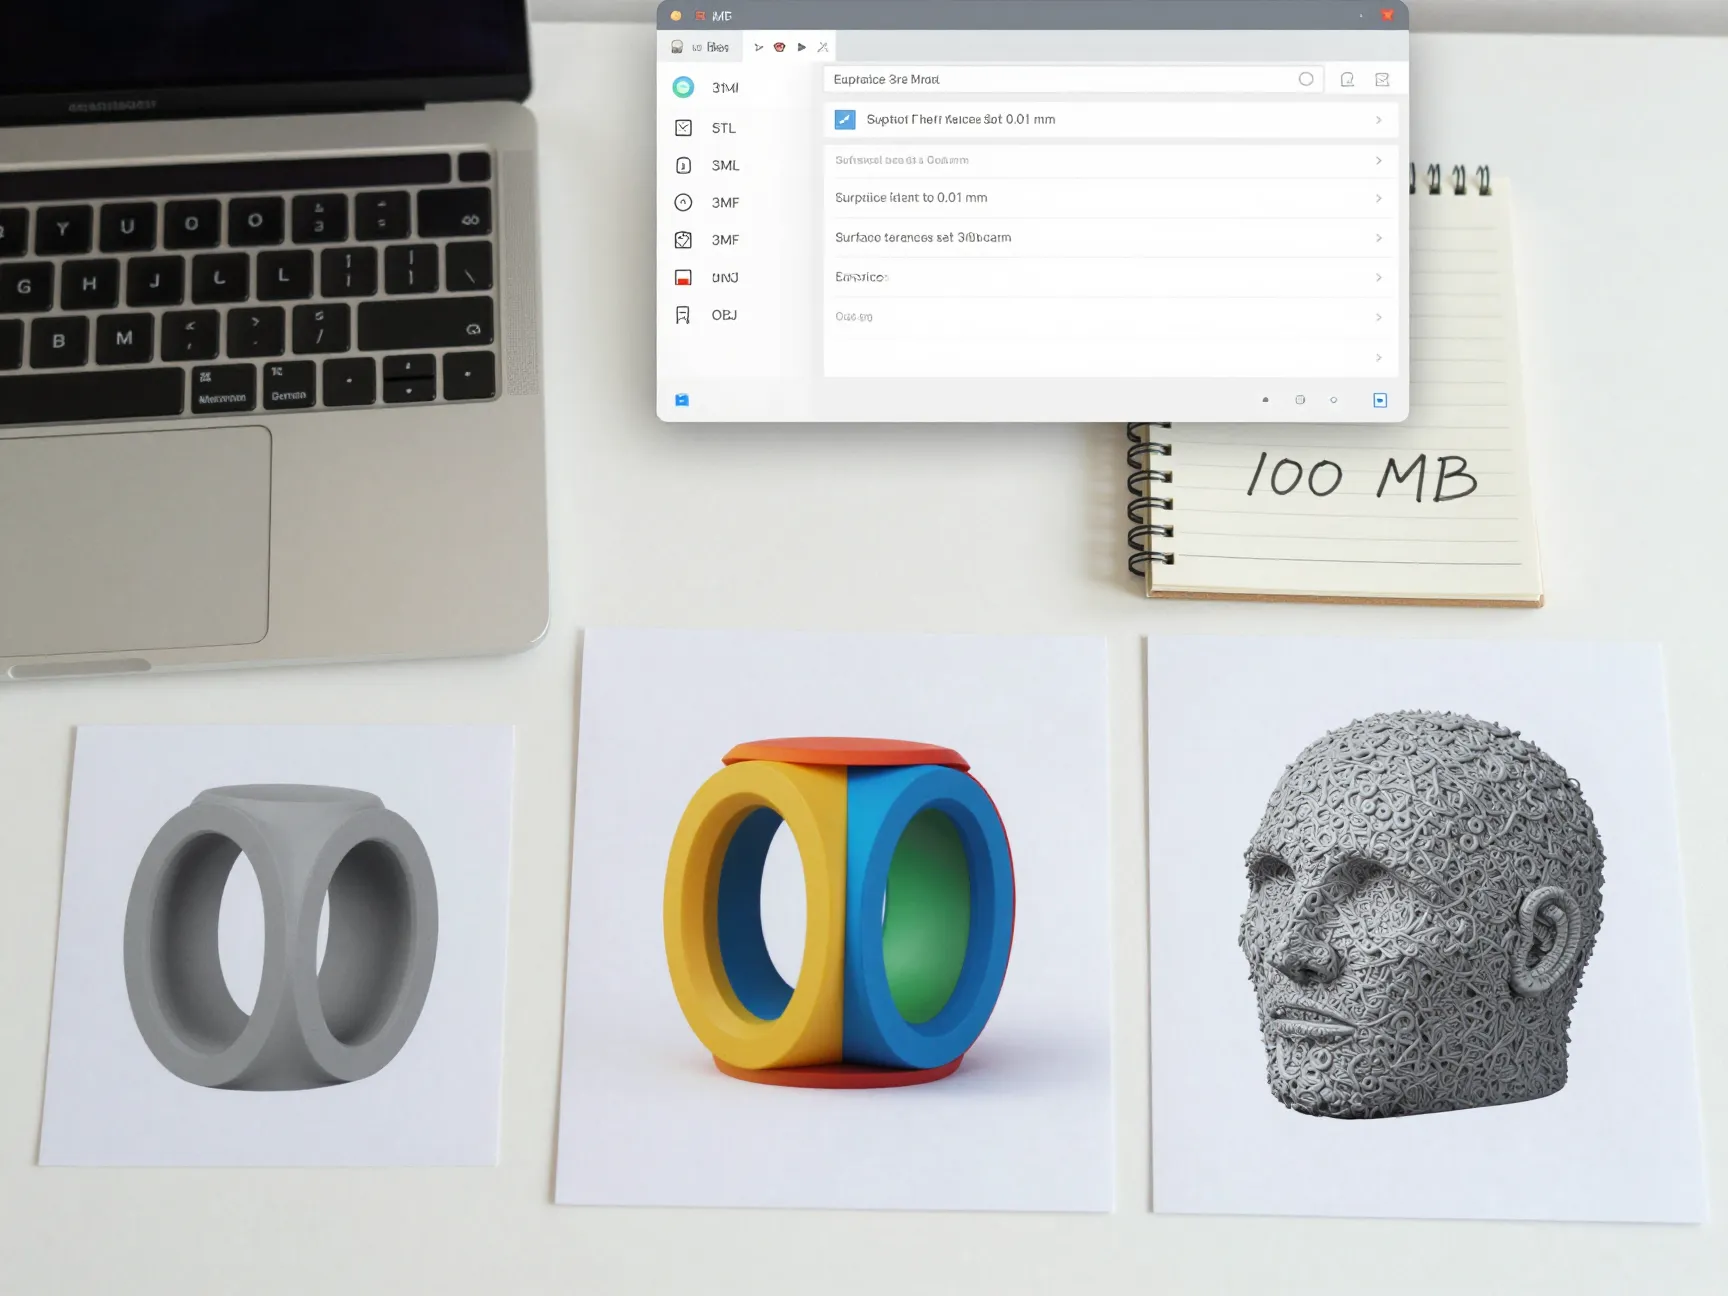
Export settings quietly determine how faithfully a digital model becomes a physical object. Format guidance has shifted in recent years: STL remains suitable for simple, single-material geometry, but 3MF has become the more reliable choice for multi-material prints and files carrying extra metadata, while OBJ is preferred when color or texture information needs to survive the export [3][8][11].
Surface tolerance settings matter just as much as format choice. Expert preparation guides from 2026 converge on a chordal or surface tolerance between 0.01 and 0.05 mm, warning that pushing resolution finer than this range only bloats file size without producing any visible improvement in the printed result [3][11]. Combined with a practical ceiling of roughly 100 MB for smoother handling in slicer software, these settings keep files manageable without sacrificing detail [11][13].
A quick pre-export checklist:
- Confirm the target format matches the print method (STL for simple single-color FDM, 3MF for multi-material, OBJ for textured color prints).
- Set surface tolerance between 0.01 and 0.05 mm.
- Verify the exported file stays comfortably under 100 MB.
- Reopen the exported file to confirm it loads without warnings before deleting the source project.
Skipping this reopening step is a surprisingly common mistake. An export can silently corrupt geometry, and the only reliable way to catch it is to load the finished file in a separate viewer before considering the job done.
6. Plan Orientation, Supports, and a Full Slicer Preview
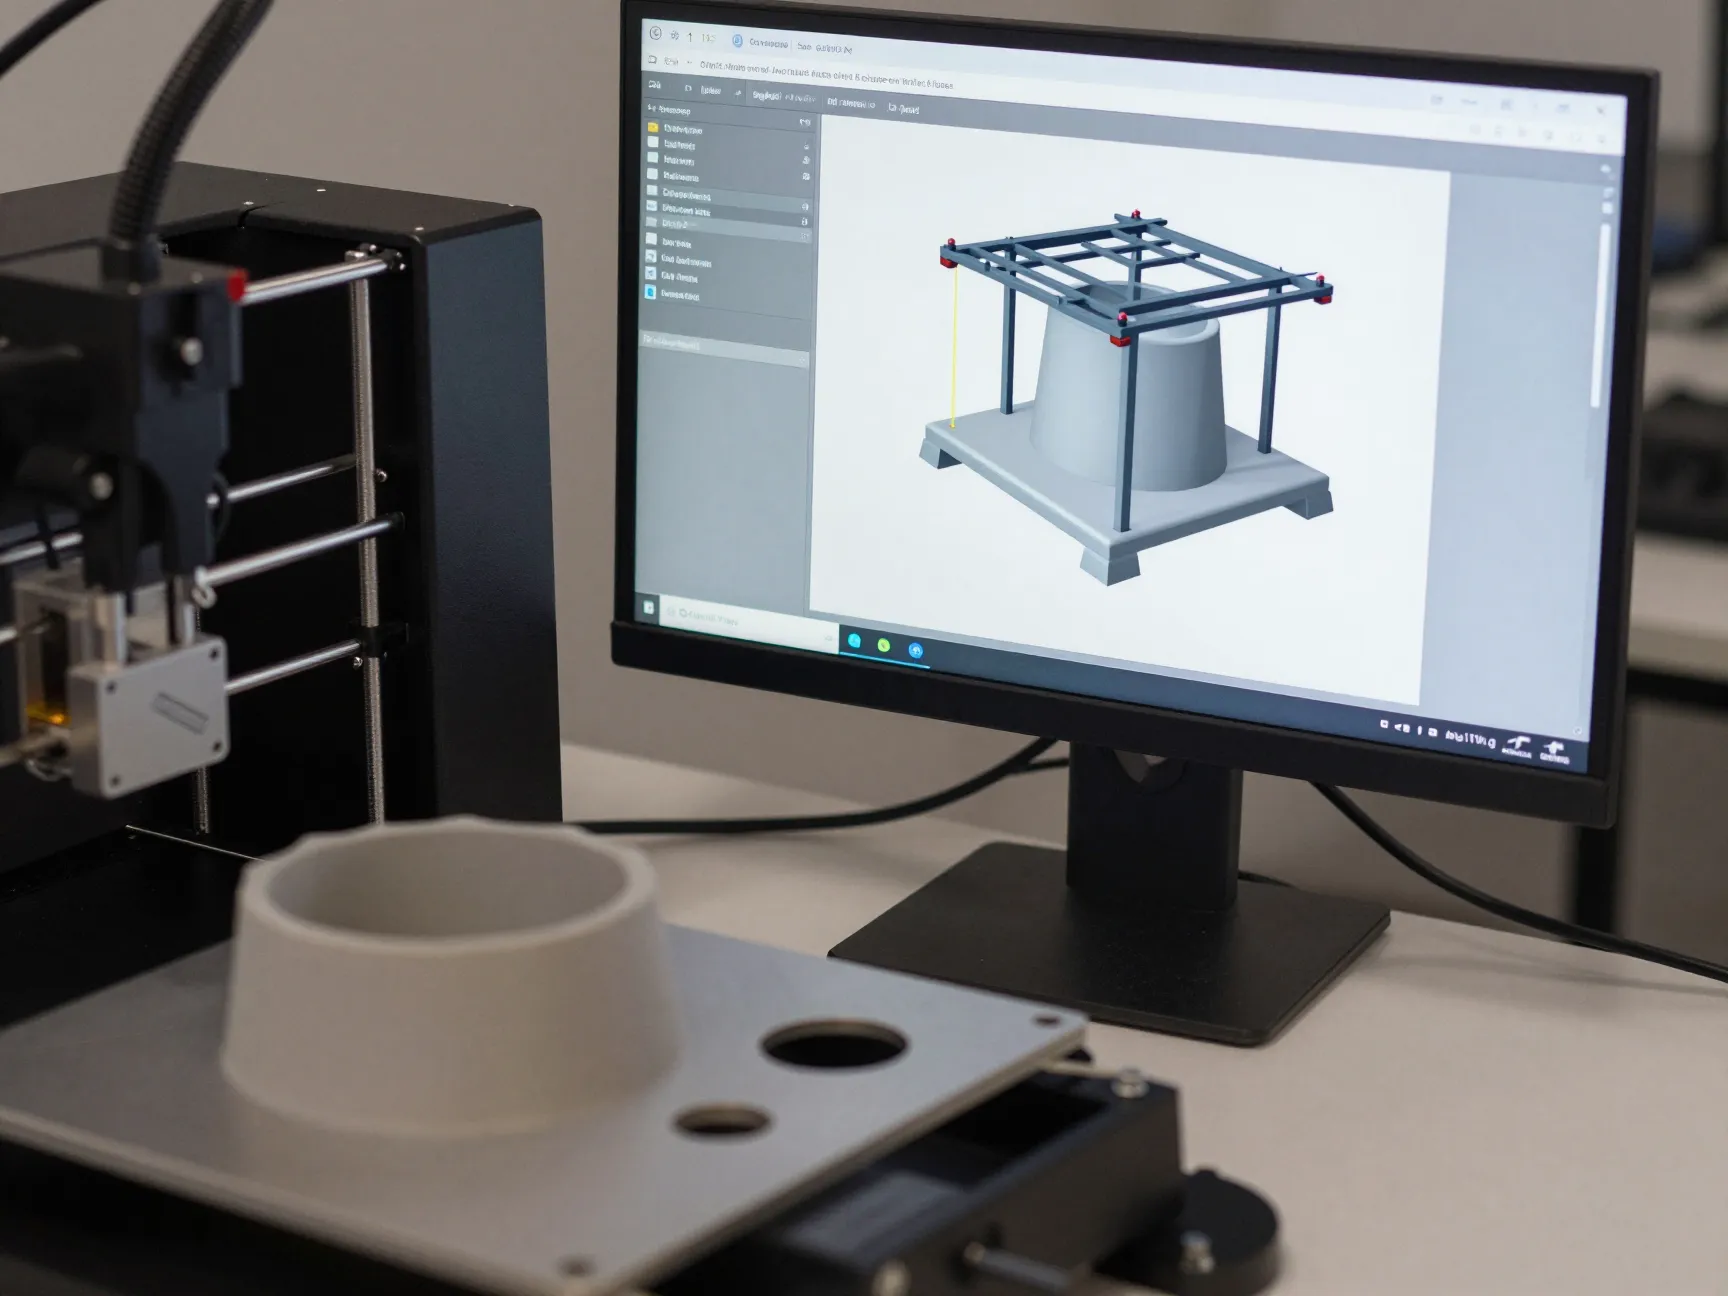
Orientation is a design decision, not a slicer afterthought. Multiple 2026 workflows frame orientation and support planning as choices that should be made deliberately, aimed at maximizing strength while minimizing the amount of support material needed [11][13][15]. Overhangs beyond roughly 45 degrees typically require support structures in common FDM setups, so identifying those angles before slicing avoids surprises during preview [11][15].
Large resin prints benefit from an additional step: hollowing. Hollowing a solid model and adding at least two properly placed escape holes, generally around 4 mm in diameter, can reduce resin consumption by up to approximately 60 percent while also reducing the risk of print failure caused by trapped resin pressure [1][3]. This single adjustment often makes the difference between a successful large-scale resin print and a ruined one.
Before committing to a final print, run a complete slicer preview rather than trusting the model view alone. Step-by-step guides from 2026 recommend inspecting layer-by-layer behavior specifically on overhangs, thin walls, and fine details, and confirming supports, scale, and material parameters one last time [8][9][11]. This preview step catches problems that are invisible in the static 3D view but become obvious once the software simulates the actual print path.
A condensed final checklist, drawn from comprehensive 2026 preparation standards, covers the essentials in one pass [9][13]:
- The file opens without errors in the slicer.
- Dimensions match the intended real-world size in millimeters.
- The mesh is fully watertight with no stray geometry.
- Walls meet the minimum thickness for the chosen print method.
- File size stays manageable, ideally under 100 MB.
- Overhangs and supports have been deliberately reviewed, not left to default settings.
Putting the 6 Essential Tips For Finding and Preparing The Perfect 3D Printing Model Into Practice
Reading a checklist and actually applying it are two different habits. The practical way to build this into a routine is to treat model preparation as its own project phase, separate from printing itself. Set aside time after finding a candidate file, whether downloaded or self-designed, to run through purpose definition, mesh analysis, wall thickness checks, export settings, and orientation planning before the slicer ever generates a time estimate.
“The printer rarely fails on its own. It fails because of decisions made, or skipped, long before the first layer goes down.”
Teams and hobbyists who adopt this sequence consistently report fewer failed prints and less wasted material, because each step catches a different category of problem. Purpose definition prevents choosing the wrong file entirely. Mesh analysis catches invisible structural defects. Wall thickness and scale checks prevent fragile or mis-sized parts. Export settings keep files efficient and compatible. Orientation and support planning protect surface quality and strength. Together, these six checks form a complete filter that few failed prints can slip through.
Conclusion
Finding a great 3D model is only half the job; preparing it correctly is what actually determines whether a print succeeds. The 6 Essential Tips For Finding and Preparing The Perfect 3D Printing Model covered here, defining purpose, vetting file health, checking wall thickness and scale, repairing mesh errors, choosing the right export settings, and planning orientation with a full slicer preview, form a repeatable workflow rather than a one-time fix.
The next practical step is simple: before starting the next print, run the current file through this six-point sequence from start to finish, even if it looks flawless at first glance. A few extra minutes of inspection now costs far less than hours of failed prints, wasted filament, or wasted resin later. Building this habit turns 3D printing from a trial-and-error hobby into a predictable, repeatable process.
References
[1] Modeling 3d Printing Tips Jeremy Ortiz – https://formlabs.com/blog/modeling-3d-printing-tips-jeremy-ortiz/
[2] 3d Modeling For 3d Printing 2026 – https://www.tripo3d.ai/blog/explore/3d-modeling-for-3d-printing-2026
[3] How Do I Prepare A 3d Model File For Printing – https://www.3d-printed.org/how-do-i-prepare-a-3d-model-file-for-printing/
[4] How Prepare Model 111413462 – https://www.creativebloq.com/3d-printing/how-prepare-model-111413462
[5] How To Prepare Your 3d Model For Printing – https://mandarin3d.com/blog/how-to-prepare-your-3d-model-for-printing
[6] How To Prepare Your 3d Model For Perfect Printing Results – https://www.3dbaltic.com/blog-posts/how-to-prepare-your-3d-model-for-perfect-printing-results
[7] Prepare 3d Model For Printing – https://3dprintbounty.com/blog/prepare-3d-model-for-printing
[8] Prepare 3d Model For Printing – https://www.tripo3d.ai/blog/prepare-3d-model-for-printing
[9] 3d Printing Preparation – https://www.checklistdirectory.com/category/3d-modeling/3d-printing-preparation
[10] How To Design 3d Print Models Complete Guide – https://assetsdigitalpro.com/blog/3d-printer/how-to-design-3d-print-models-complete-guide