6 Mobile Photography Tips for Beginners to Instantly Improve Your Shots
Over 1.4 trillion photos are taken every year worldwide, and the vast majority of them are captured on smartphones, yet most beginners never move beyond pointing and tapping the shutter button. The gap between a forgettable snapshot and a genuinely striking image often comes down to a handful of habits that take minutes to learn but make an immediate difference. This guide covers 6 mobile photography tips for beginners to instantly improve results, drawing on proven techniques used by both hobbyists and professional photographers who rely on nothing but their phones. Whether shooting portraits, street scenes, food, or landscapes, these fundamentals apply across every subject and every device.
Disclosure: This post contains affiliate links. As an Amazon Associate, we earn from qualifying purchases, and at no extra cost to you.
Key Takeaways
- Cleaning the lens and stabilizing the phone before shooting eliminates the most common source of blurry, hazy images
- Natural light, especially during the golden hour, is the single most powerful free tool available to any smartphone photographer
- Tapping to focus and adjusting exposure manually puts creative control back in the photographer’s hands
- Turning on the grid and following basic composition rules transforms average snapshots into visually compelling images
- Avoiding digital zoom and experimenting with Pro or Manual mode are the fastest paths from beginner to intermediate shooting
Why These 6 Mobile Photography Tips for Beginners to Instantly Improve Actually Work
Most beginner advice focuses on gear. But the truth is, the camera hardware inside a modern smartphone is already extraordinary. The real barrier is technique, not technology. Research and expert guidance consistently show that small behavioral changes, how the phone is held, where the light comes from, which camera mode is selected, produce dramatic improvements without spending a single dollar [2][4].
The six tips covered here are sequenced deliberately: they begin with physical preparation, move through light and composition fundamentals, and end with editing and practice routines that compound over time. Each tip builds on the previous one, creating a workflow rather than a disconnected list of tricks.
1. Clean the Lens and Stabilize the Phone Before Every Shot

The single most overlooked step in mobile photography costs nothing and takes three seconds. A smartphone lens spends most of its life inside a pocket or bag, collecting fingerprints, dust, and skin oils. Even a thin smear of grease across the lens scatters light and produces images that look soft, hazy, or low in contrast, problems that no amount of editing can fully fix [2].
The fix is simple:
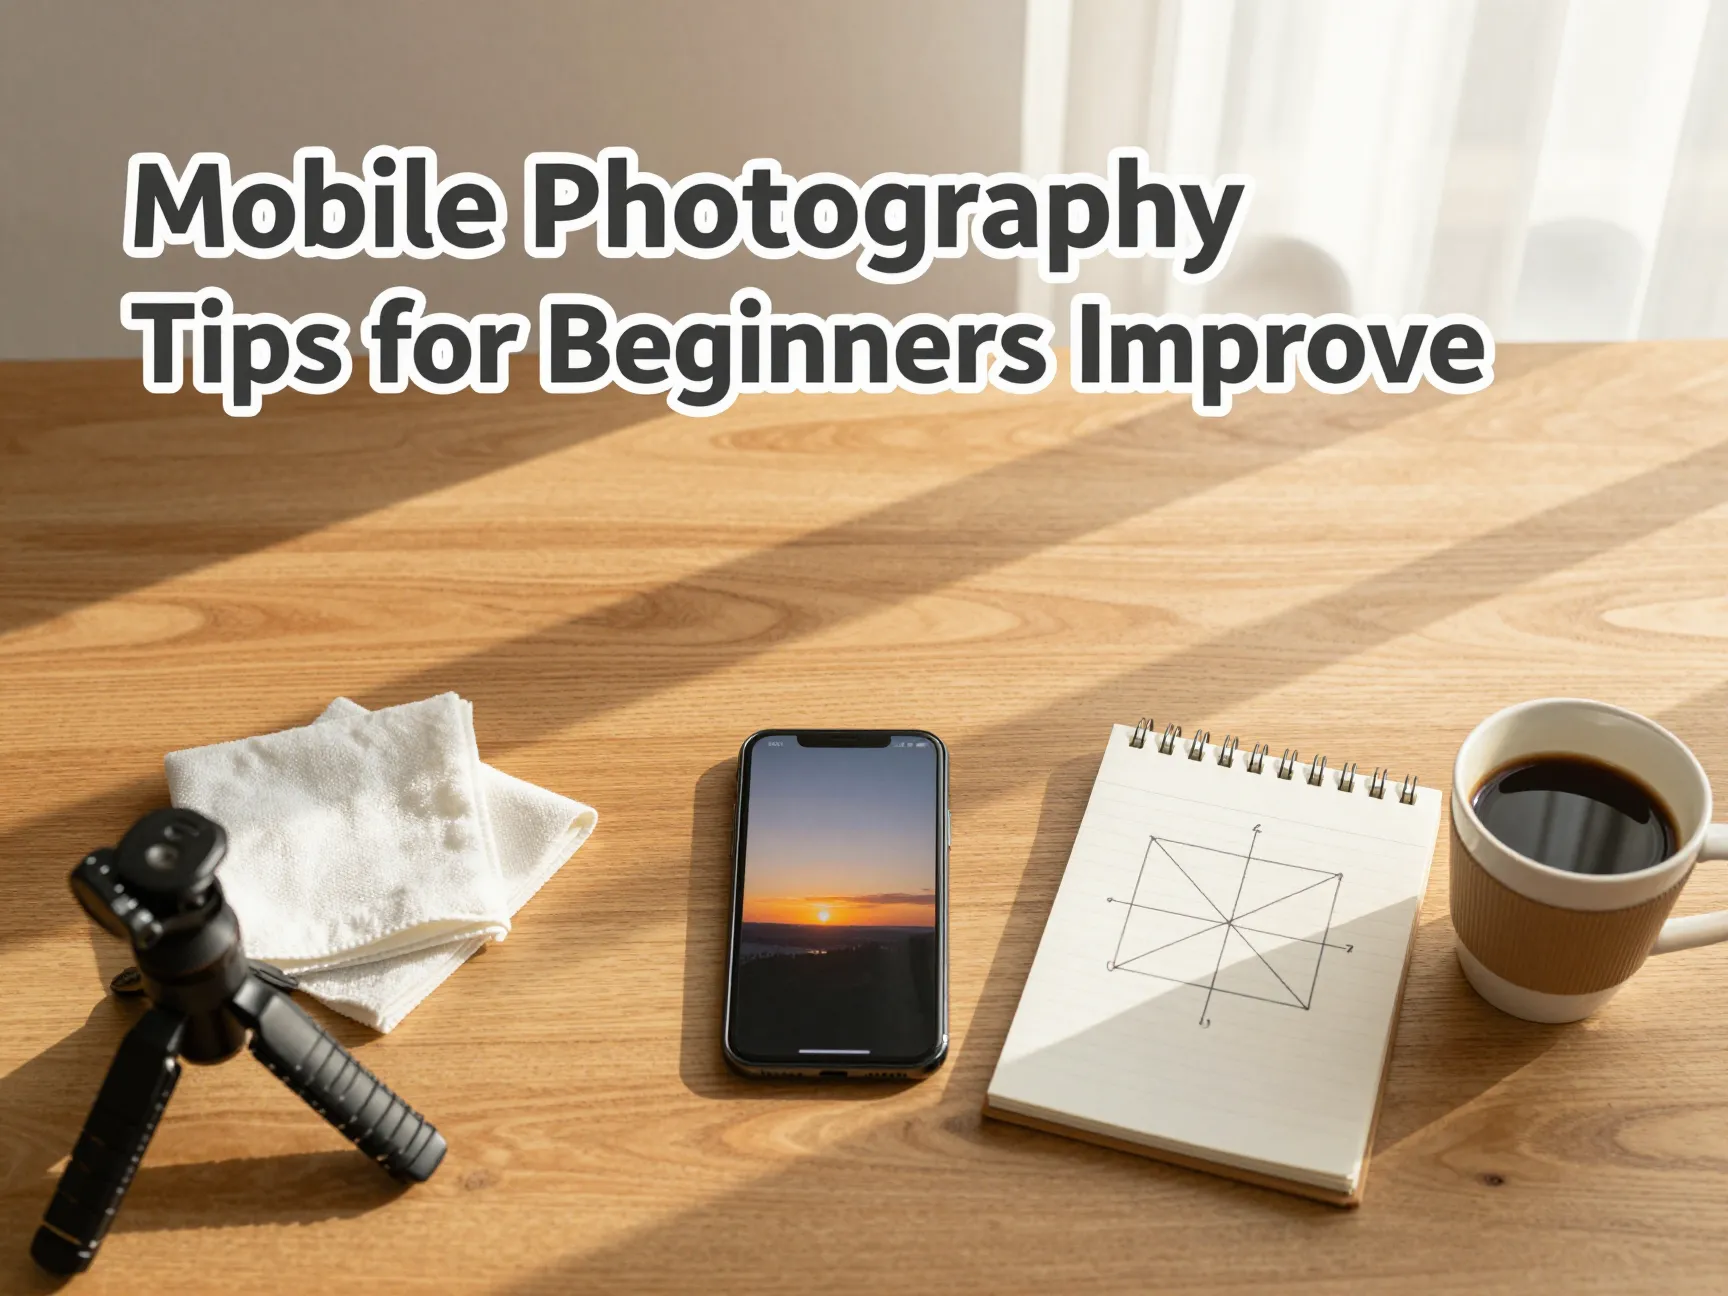
- Wipe the lens with a clean microfiber cloth or the soft inner hem of a cotton shirt before shooting
- Inspect the lens in bright light to confirm it is clear before framing a shot
- Keep a small microfiber cloth in the phone case or camera bag
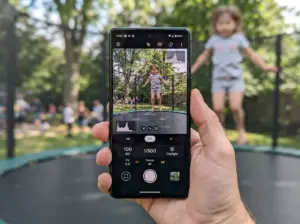
Stabilization matters equally. Camera shake is responsible for a large proportion of blurry images, particularly in low light where the shutter stays open longer. Holding the phone with both hands, tucking elbows against the body, and bracing against a wall or surface dramatically reduces movement [7]. For even greater stability, a small tripod or a mini gorilla-pod mount, both available for under fifteen dollars, transforms the phone into a stable platform for long exposures, night shots, and self-portraits [5].
“Hold the phone like a real camera, two hands, elbows in, body as a tripod. This single habit eliminates more blurry shots than any software fix ever could.”
Burst mode is another stabilization ally for moving subjects. Holding the shutter button activates a rapid sequence of frames, making it far more likely that at least one image will be sharp and perfectly timed [9]. This technique is especially useful for children, pets, sports, or any unpredictable action.
2. Master Natural Light and Understand When to Avoid Harsh Sun
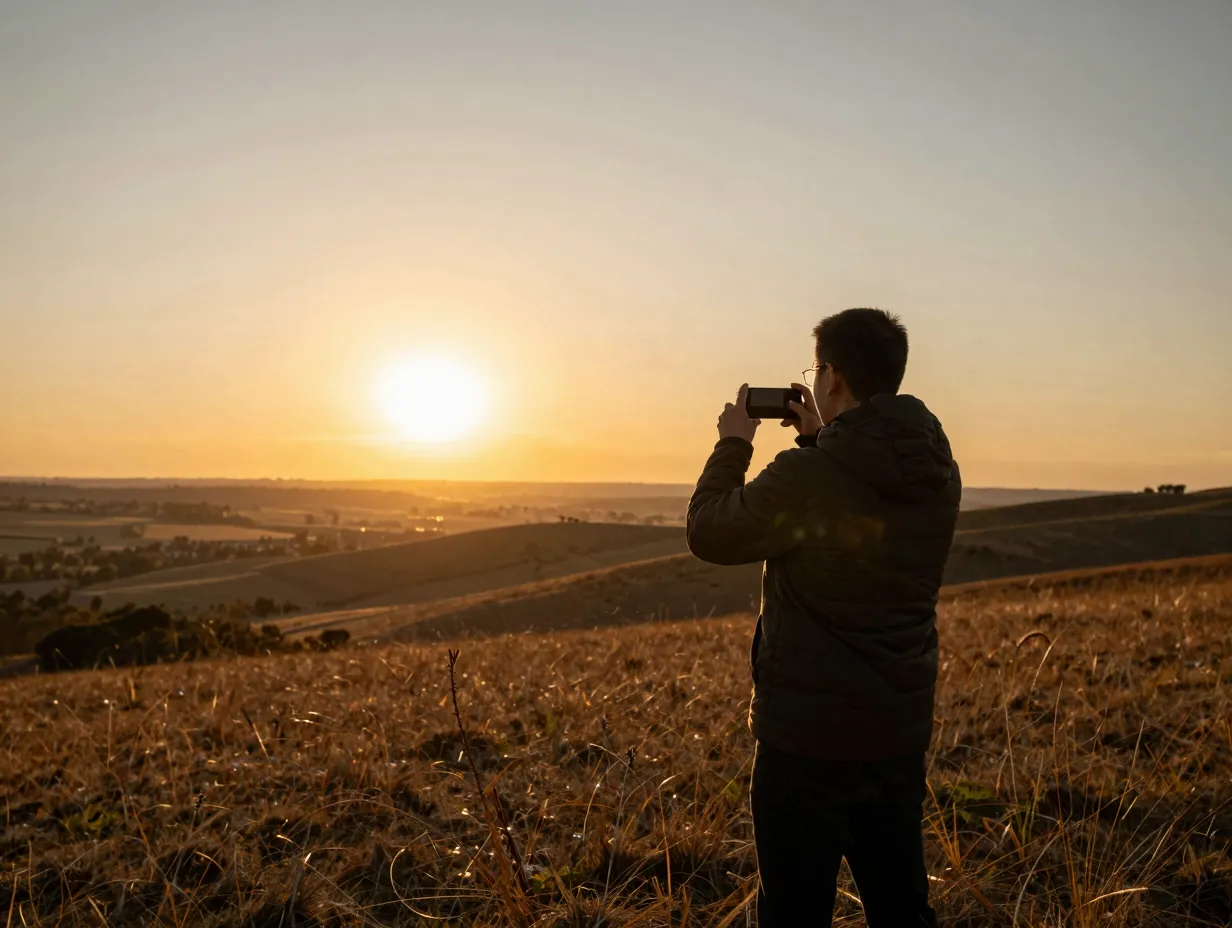
Light is not just a technical requirement for photography, it is the primary creative material. The quality, direction, and color of light determine mood, texture, and depth in ways that composition and editing cannot replicate. For beginners, learning to read and use available light is the fastest route to noticeably better images [3].
The golden hour advantage
The hour after sunrise and the hour before sunset produce warm, directional light that flatters virtually every subject. Shadows are long and soft, colors are rich, and the low angle of the sun creates natural depth and dimension. Professional photographers schedule shoots around these windows for good reason [4].
What to avoid
Harsh midday sun is the most common light trap for beginners. Overhead sunlight creates:
- Deep, unflattering shadows under eyes and chins in portraits
- Blown-out highlights on bright surfaces
- Flat, high-contrast scenes that are difficult to expose correctly
Indoor and window light
A large window with diffused natural light, particularly on an overcast day, functions as a natural softbox. Positioning the subject close to the window and slightly to one side creates beautiful, even illumination with gentle shadow detail. This setup requires no equipment and produces results that rival studio lighting [6].
Practical light checklist:
| Situation | Best Approach |
|---|---|
| Outdoor portrait | Shade or golden hour; avoid direct midday sun |
| Indoor subject | Large window, subject at 45-degree angle |
| Landscape | Sunrise or sunset for color and depth |
| Food photography | Diffused side window light; no flash |
| Night/low light | Stabilize phone; use Night mode if available |
Avoid the built-in flash in almost all situations. It produces flat, harsh light that washes out skin tones and creates red-eye. The only exception is as a subtle fill light in bright outdoor situations where it can reduce harsh shadows on a subject’s face [7].
3. Tap to Focus, Adjust Exposure, and Use the Right Camera Mode
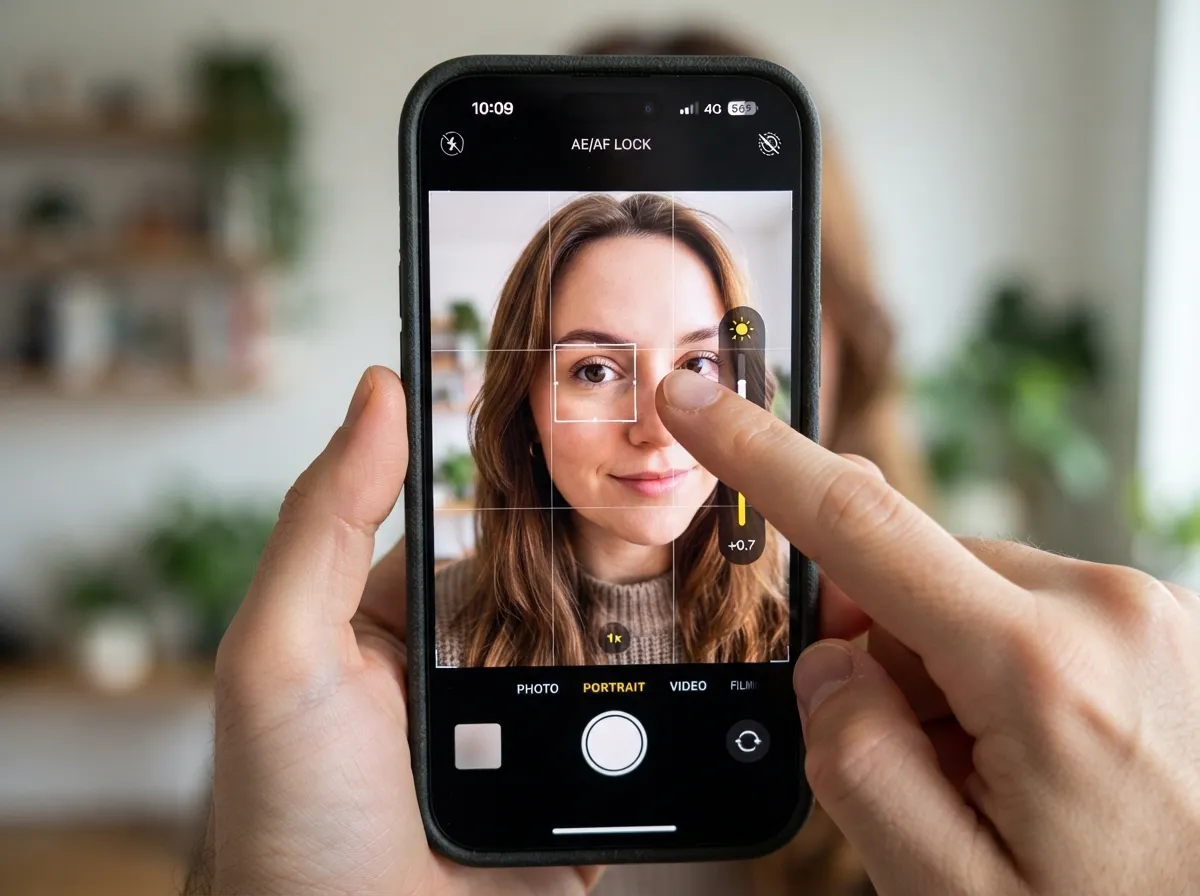
Modern smartphone cameras are designed to make automatic decisions about focus and exposure. Those decisions are often good, but they are rarely optimal for a specific creative intention. Taking manual control of focus and exposure is one of the most impactful 6 mobile photography tips for beginners to instantly improve image quality, and it requires nothing more than a single tap on the screen [6].
Tap to focus
Tapping on the subject on the screen tells the camera exactly where to focus. On most devices, a small square or circle appears at the tap point, confirming the focus lock. This is critical for portraits (tap the eye), macro shots (tap the detail), or any scene where the automatic system might focus on the background instead of the intended subject.
Adjusting exposure
On both iOS and Android, after tapping to focus, a small sun icon or slider appears. Dragging this up or down adjusts the exposure, brightening or darkening the image before the shot is taken. This prevents blown-out skies, recovers shadow detail, and gives the image the tonal balance intended [6].
Camera modes worth knowing:
- Portrait mode uses computational depth-of-field to blur the background, creating a professional-looking separation between subject and environment
- Night mode extends the exposure time and uses AI processing to produce bright, detailed images in low light without excessive noise
- Pro or Manual mode gives full control over ISO, shutter speed, and white balance, the most powerful mode for photographers ready to move beyond automatic settings [4]
Beginners are encouraged to start with Portrait and Night modes to see immediate quality improvements, then graduate to Pro mode as confidence grows [8].
4. Turn On the Grid and Apply Simple Composition Rules
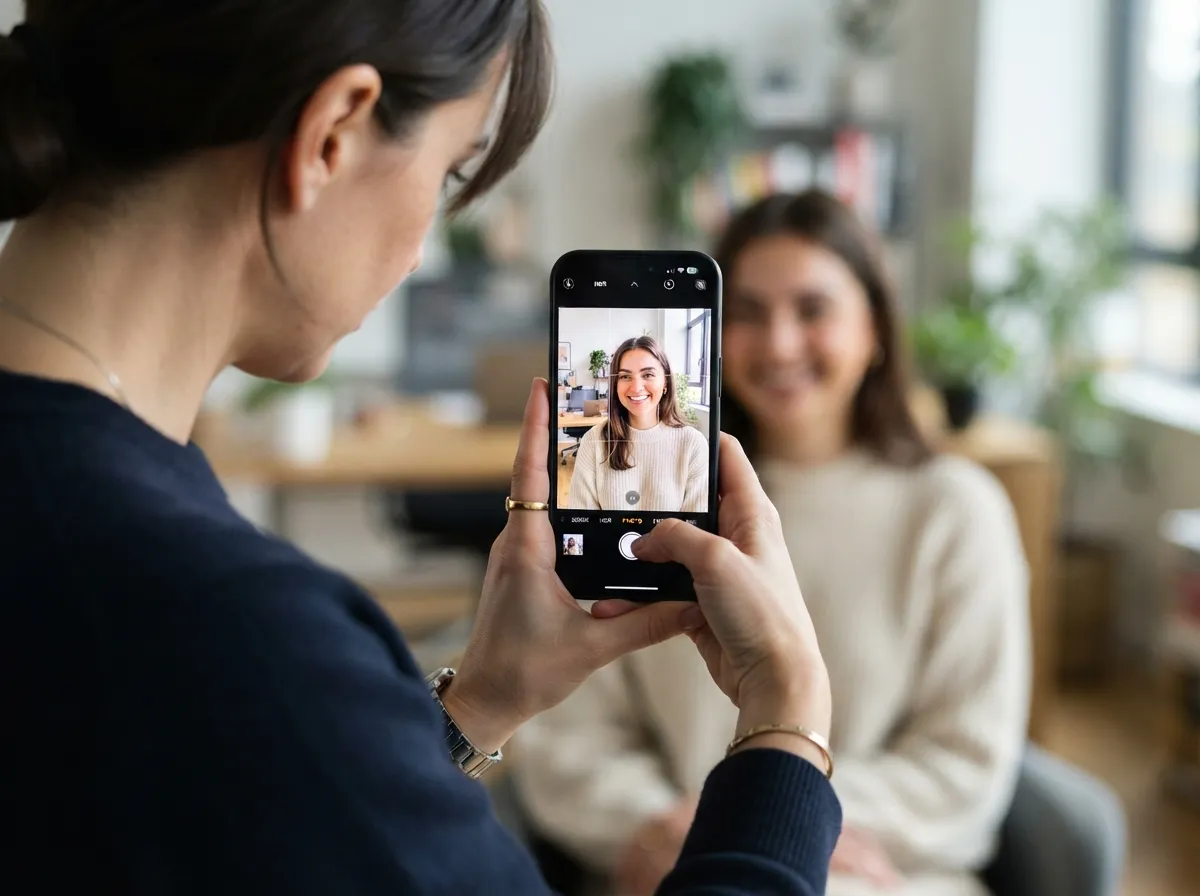
A technically sharp, well-lit photograph can still feel flat or uninteresting if the composition is weak. Composition, the arrangement of elements within the frame, is what guides the viewer’s eye and creates visual impact. The good news is that a few simple rules, applied consistently, produce dramatic improvements with almost no learning curve [9].
Enable the grid
Every major smartphone camera app has a grid overlay option in settings. Enabling it displays a rule-of-thirds grid directly on the screen while shooting. This grid divides the frame into nine equal sections using two horizontal and two vertical lines. The four intersection points of these lines are the strongest positions for placing the main subject [2].
The rule of thirds in practice
Instead of centering every subject, place it at one of the four intersection points. For landscapes, align the horizon with either the top or bottom horizontal line rather than the center. For portraits, position the eyes at the upper intersection points. This simple shift makes images feel more dynamic and professionally composed [3].
Additional composition techniques:
- Leading lines: Roads, fences, rivers, and architectural lines that draw the eye toward the subject create depth and movement in the frame
- Framing: Using natural elements, doorways, arches, tree branches, to frame the subject adds layers and context
- Negative space: Leaving empty space around the subject creates breathing room and emphasizes the subject’s importance
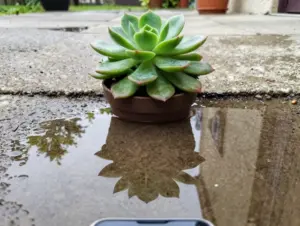
- Symmetry: Reflections, architecture, and natural patterns offer opportunities for powerful symmetrical compositions
Negative space is particularly underused by beginners. A subject placed against a clean, uncluttered background, open sky, a plain wall, still water, immediately looks more intentional and polished than the same subject surrounded by visual noise [4].
5. Avoid Digital Zoom, Move Your Feet or Use the Telephoto Lens
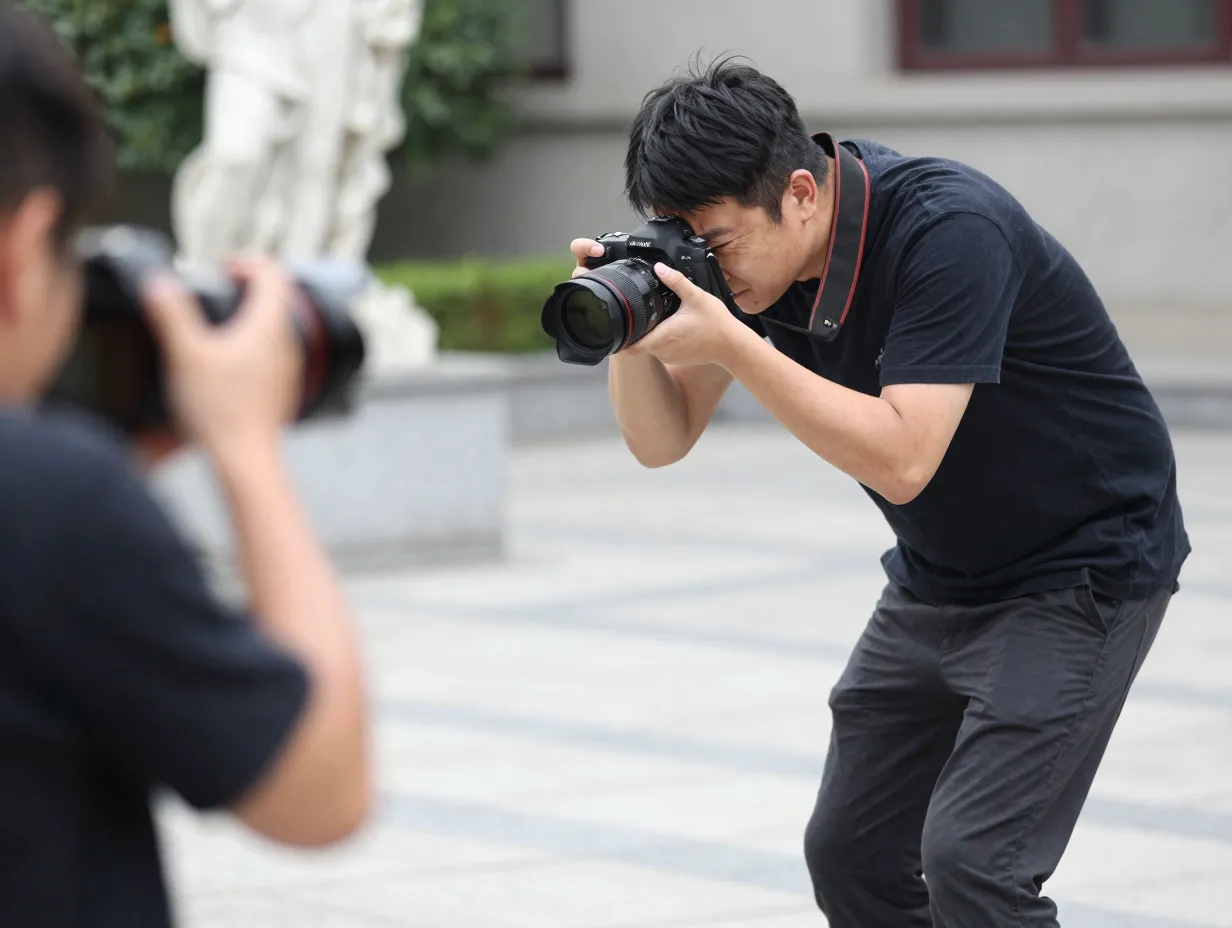
Digital zoom is one of the most damaging habits in beginner mobile photography. When a smartphone uses digital zoom, it is not actually magnifying the optical image, it is cropping into the existing sensor data and enlarging the pixels. The result is a soft, pixelated image that loses the fine detail and sharpness of the original [7].
The solution is straightforward: move physically closer to the subject. Walking toward a subject preserves full image quality and often improves the composition by forcing a more intentional framing decision. If physical proximity is not possible, most modern smartphones include a dedicated telephoto lens, typically labeled 2x, 3x, or 5x, that uses a separate optical lens rather than digital interpolation [5].
Understanding the lens system:
| Lens Type | Best Use Case | Quality Impact |
|---|---|---|
| Ultra-wide (0.5x) | Architecture, landscapes, tight spaces | Full optical quality |
| Main (1x) | General photography, portraits, everyday | Full optical quality |
| Telephoto (2x, 5x) | Distant subjects, compressed backgrounds | Full optical quality |
| Digital zoom (beyond optical) | Avoid in most cases | Significant quality loss |
Switching between optical lenses by tapping the 1x, 2x, or 3x button on the camera screen is always preferable to pinching to zoom beyond those fixed points [9]. Understanding which lens is active at any given zoom level is a small piece of knowledge that immediately improves image sharpness across every subject type.
A practical rule: if the image looks soft or pixelated in the viewfinder at a given zoom level, step closer or switch to the telephoto lens rather than pushing the digital zoom further [7].
6. Edit Simply, Practice Daily, and Embrace AI-Assisted Tools
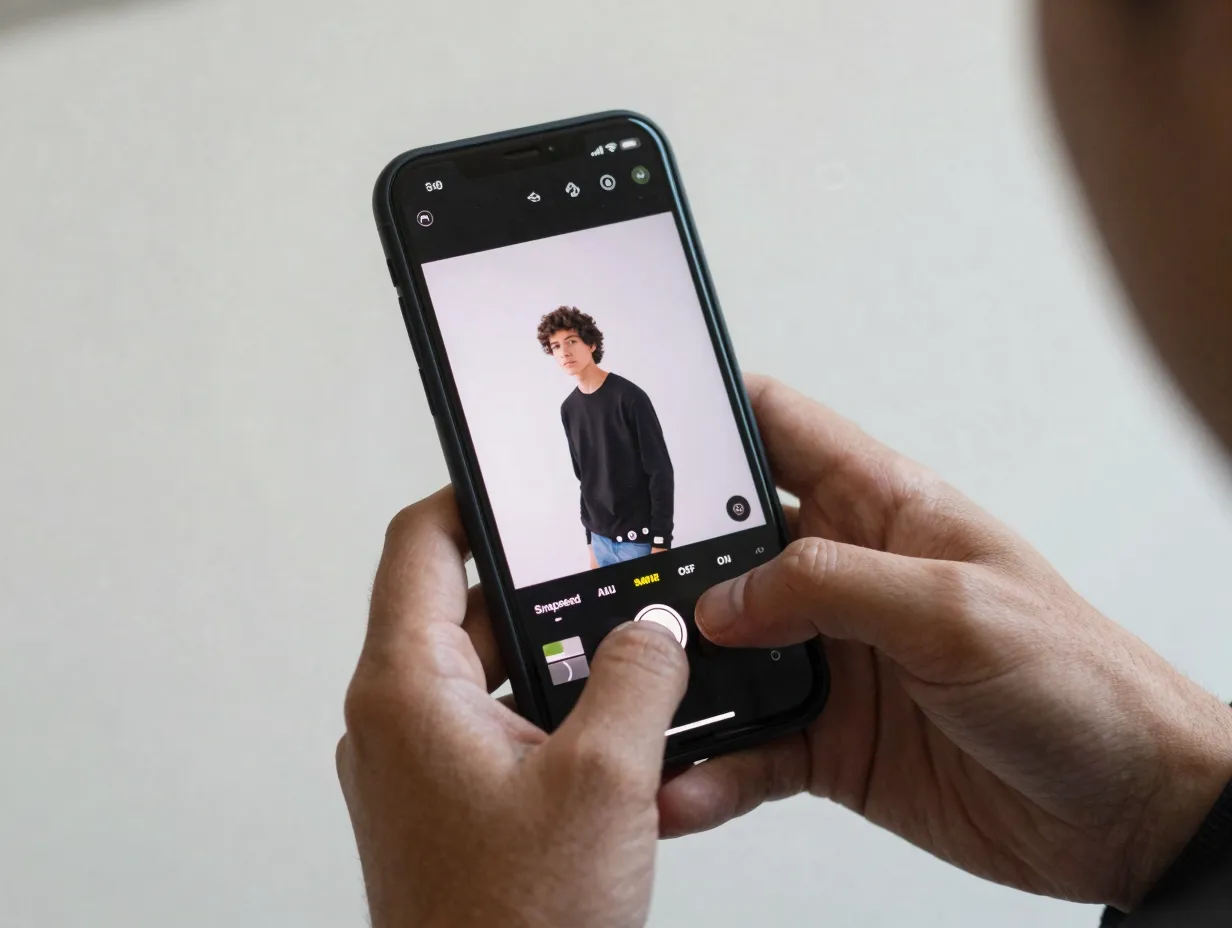
Capturing a great image is only half the process. Even professional photographers edit every image they publish. For smartphone photographers, free and low-cost editing apps bring powerful tools directly to the device where the photos were taken, making a simple editing workflow accessible to any beginner [8].
The essential editing workflow
Three apps dominate beginner and intermediate mobile editing:
- Snapseed (free, iOS and Android), offers selective adjustments, healing tools for removing distractions, and a non-destructive editing stack that allows changes to be reversed at any time
- Lightroom Mobile (free tier available), provides professional-grade controls for exposure, color, and detail, and supports RAW file editing for photographers ready to shoot in that format
- VSCO (free tier with paid presets), known for its film-inspired presets and a clean, intuitive interface that suits beginners who want consistent color grading across a series of images [8]
A simple editing sequence for beginners:
- Straighten the horizon if needed
- Adjust exposure to a natural brightness
- Lift shadows slightly to recover detail in dark areas
- Reduce highlights to prevent blown-out bright areas
- Add a small amount of clarity or sharpening
- Apply a subtle, consistent color grade
Shooting in RAW format, available in the Pro or Manual mode of most flagship smartphones, captures significantly more image data than JPEG, giving editing software far more latitude to recover highlights, lift shadows, and adjust white balance without degrading quality [6]. Beginners who feel comfortable with basic editing are encouraged to try RAW as a next step.
AI-assisted editing in 2026
AI-powered editing tools have matured rapidly and are now embedded in apps like Lightroom Mobile, Snapseed, and Google Photos. Features such as automatic sky enhancement, one-tap subject masking, and AI distraction removal, which identifies and erases unwanted background elements, make sophisticated edits accessible without manual selection skills [5][8]. These tools are not a replacement for understanding light and composition, but they significantly reduce the time required to produce a polished final image.
The practice habit
Consistent short practice sessions outperform occasional long ones. Spending ten to fifteen minutes shooting daily, even in a familiar environment like a home or neighborhood, builds the visual instincts that separate competent photographers from great ones. Reviewing images critically after each session, identifying what worked and what did not, accelerates improvement faster than any single technique [3][7].
“The photographers who improve fastest are not the ones with the best equipment, they are the ones who shoot every day and ask why each image succeeded or failed.”
How to Apply These 6 Mobile Photography Tips for Beginners to Instantly Improve Starting Today
Applying all six tips at once can feel overwhelming. A more effective approach is to introduce one habit per week, allowing each to become automatic before adding the next. The following sequence is recommended:
Week-by-week implementation plan:
- Week 1, Clean the lens before every shoot and stabilize the phone with both hands
- Week 2, Identify the best natural light in the shooting environment and schedule sessions around it
- Week 3, Practice tapping to focus and adjusting exposure on every single shot
- Week 4, Enable the grid and apply the rule of thirds to every composition
- Week 5, Eliminate digital zoom entirely; use only optical lenses or move closer
- Week 6, Begin a simple editing workflow in Snapseed or Lightroom Mobile after each session
By the end of six weeks, these habits will feel natural and the improvement in image quality will be measurable and visible.
Conclusion
The 6 mobile photography tips for beginners to instantly improve covered in this guide are not theoretical, they are actionable, device-agnostic, and effective from the very first session. Cleaning the lens takes three seconds. Tapping to focus takes one. Turning on the grid is a one-time settings change. None of these steps require new equipment, paid apps, or advanced technical knowledge.
Actionable next steps:
- Open the phone’s camera settings right now and enable the grid overlay
- Wipe the lens with a microfiber cloth before the next photo is taken
- Download Snapseed (free) and apply a basic edit to the last three photos in the camera roll
- Schedule a fifteen-minute practice session for tomorrow morning during golden hour
- Revisit the images from that session and identify one specific thing to improve next time
The gap between a forgettable snapshot and a compelling photograph is smaller than most beginners realize. These six techniques close that gap immediately, and the photographers who apply them consistently will find that the improvements compound quickly into a genuinely distinctive visual style.
References
[1] Watch – https://www.youtube.com/watch?v=2aap6GRjdl4&vl=en
[2] Smartphone Photo Tips For Beginners Android Iphone – https://www.printerpix.com/blog/smartphone-photo-tips-for-beginners-android-iphone/
[3] Photography Tips For Beginners How To Take Better Pictures In 2026 – https://clippingexpertasia.com/blog/photography-tips-for-beginners-how-to-take-better-pictures-in-2026/
[4] Complete Guide To Smartphone Photography – https://www.fredericpaulussen.be/complete-guide-to-smartphone-photography/
[5] Smartphone Photography Tools Guide 2026 – https://sharedtutor.com/2026/07/04/smartphone-photography-tools-guide-2026/
[6] Beginner Camera Settings Guide To Get Professional Photos Using Your Phone – https://capacademy.in/beginner-camera-settings-guide-to-get-professional-photos-using-your-phone/
[7] How To Take Better Photos With A Phone – https://www.photographylaunchpad.com/how-to-take-better-photos-with-a-phone/
[8] Best Smartphone Photography Tools 2026 Guide – https://sharedtutor.com/2026/07/24/best-smartphone-photography-tools-2026-guide/
[9] How To Take Great Pictures From Your Mobile Phone 10 Tips For Beginners – https://focus.picfair.com/articles/how-to-take-great-pictures-from-your-mobile-phone-10-tips-for-beginners
[10] How To Use Your Phone For Professional Photography Shoots – https://thedivinemagazine.com/how-to-use-your-phone-for-professional-photography-shoots/