6 Smart Home Control Panel UI Designs for Effortless Automation
By 2026, more than 700 million smart home devices are active worldwide, yet a majority of users still struggle to control them efficiently. The bottleneck is rarely the hardware. It is the interface. The 6 Smart Home Control Panel UI Designs for Effortless Automation explored in this guide represent the clearest solutions to that problem, drawn from the most widely reviewed panels and design systems available today. From tile-based wall hubs to glassmorphism dashboards built in Home Assistant, each design pattern solves a specific friction point in the daily automation experience.
Disclosure: This post contains affiliate links. As an Amazon Associate, we earn from qualifying purchases, and at no extra cost to you.
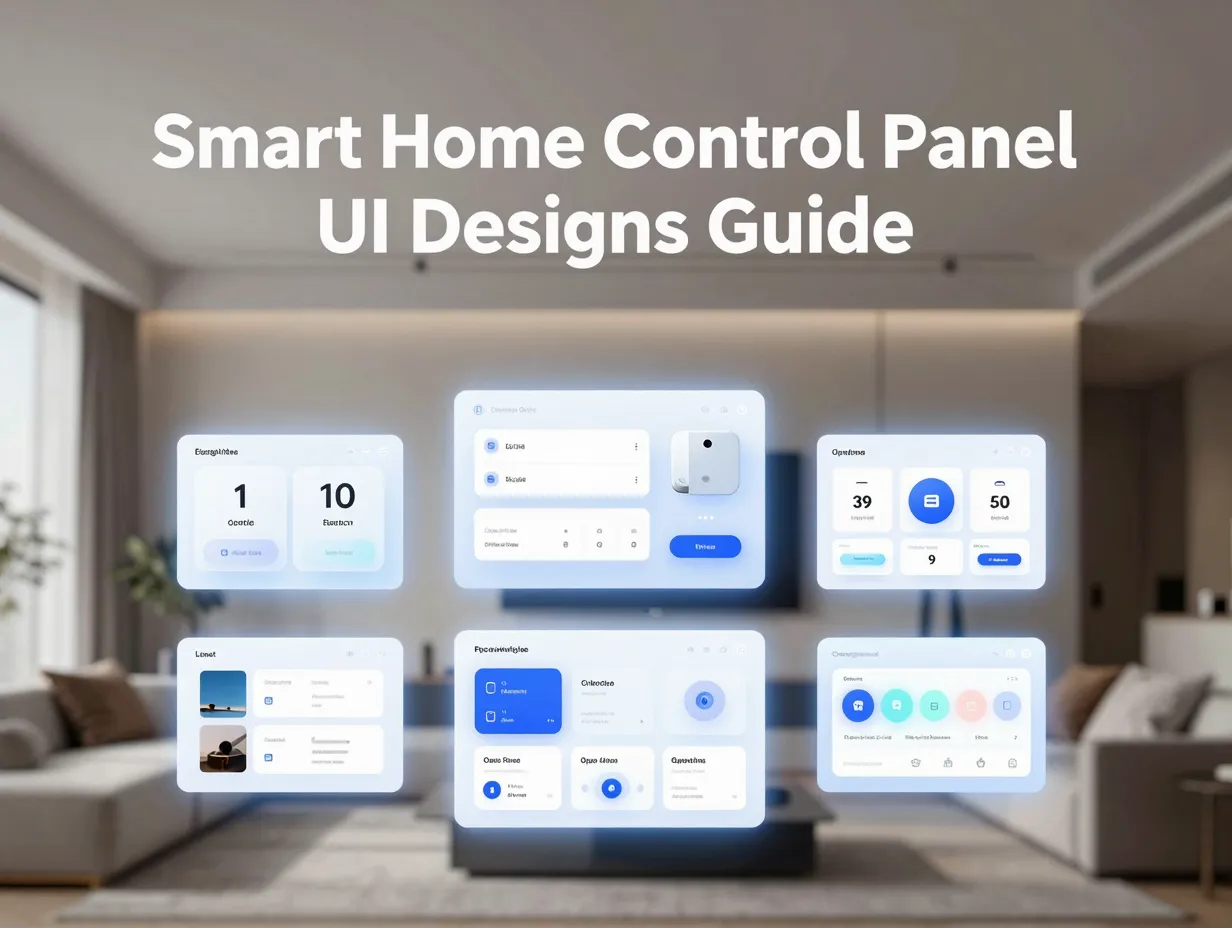
Whether the goal is replacing a light switch with a full-room controller or building a whole-home command center, understanding these UI paradigms helps homeowners and designers make smarter decisions before spending a dollar.
Key Takeaways
- The six dominant smart home control panel UI patterns in 2026 each serve a distinct use case, from DIY touchscreen hubs to high-end custom interfaces.
- Room-based navigation and tile-based dashboards consistently reduce cognitive load compared to raw device lists.
- AI-driven automation, Matter interoperability, and biometric security UX are now standard expectations in modern panel design.
- Pricing ranges from roughly $130 for compact all-in-one panels to over $1,000 for professional-grade custom systems, with UI sophistication scaling accordingly. [1][2]
- Open-source platforms like Home Assistant allow advanced users to build glassmorphism and state-aware UIs without purchasing proprietary hardware.
What Makes a Smart Home Control Panel UI Truly Effortless
Before examining the 6 Smart Home Control Panel UI Designs for Effortless Automation in detail, it is worth defining what separates a frustrating interface from a genuinely effortless one.
A smart home panel UI fails when users must scroll through long device lists, switch between multiple apps, or re-learn layouts after a firmware update. It succeeds when the interface surfaces the right control at the right moment, without requiring the user to think about the underlying device topology.
Industry analysis for 2026 identifies four non-negotiable qualities in high-performing control panel UIs [7][9]:
- Speed, Controls respond in under 300 milliseconds, and scene activations are one tap away.
- Visual clarity, State-aware icons and colors communicate device status without requiring the user to read text.
- Interoperability, The UI works across Zigbee, Z-Wave, Matter, Wi-Fi, and major voice assistants (Amazon Alexa, Google Home, Apple HomeKit).
- Scalability, The layout accommodates 5 devices or 50 without becoming cluttered.
With those benchmarks in mind, the following six UI designs represent the most effective approaches available in 2026.
The 6 Smart Home Control Panel UI Designs for Effortless Automation
1. Tile-Based Dashboard UI (Amazon Echo Hub)
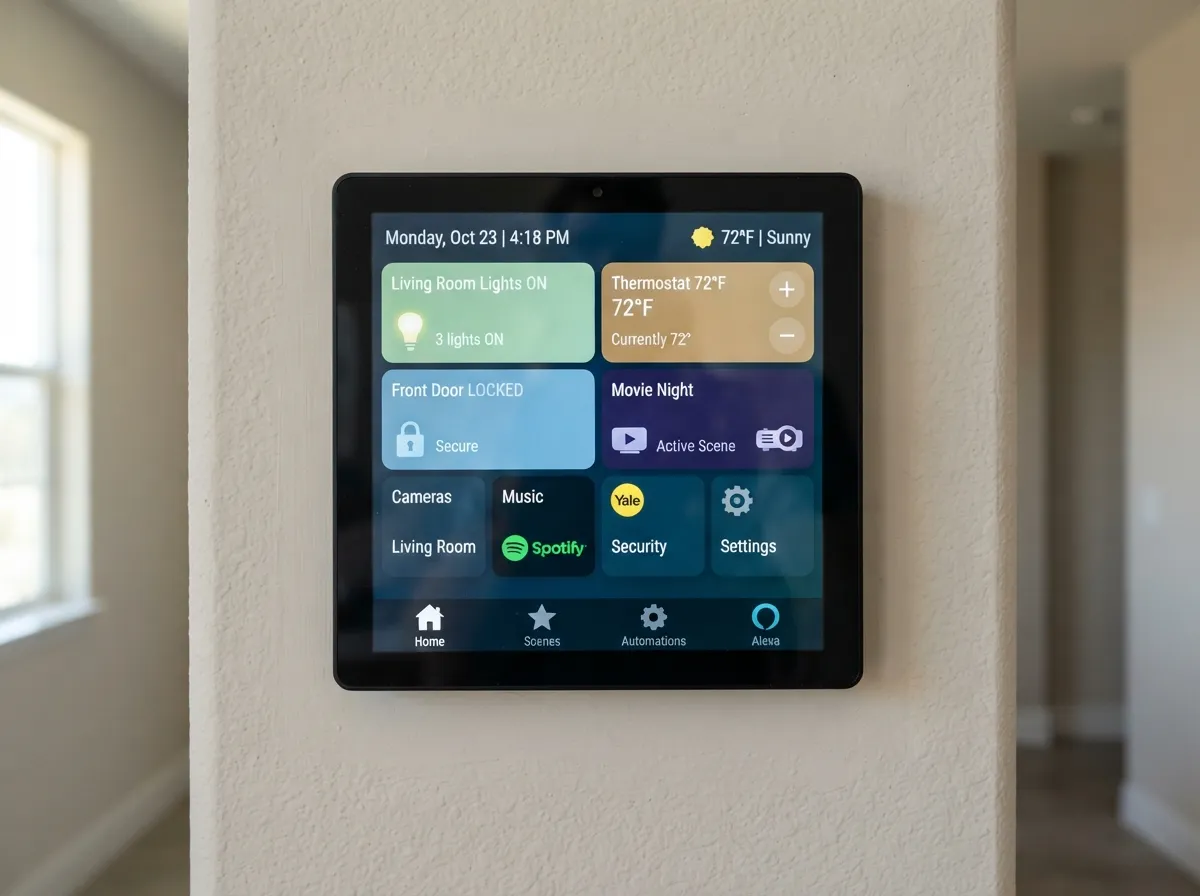
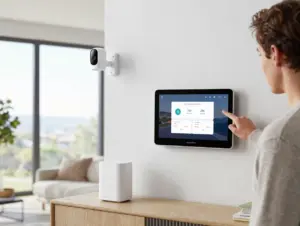
The tile-based dashboard is the most widely adopted smart home control panel UI pattern in 2026. The Amazon Echo Hub, priced at approximately $179, exemplifies this approach with a clean grid of interactive tiles, each representing a device or scene. [2][8]
How it works: Each tile displays the device name, its current state (on/off, temperature, brightness level), and a tap target. Tiles can be reorganized by the user, grouped by room or function, and color-coded to reflect status. A persistent bottom bar provides quick access to frequently used scenes.
Why it works: The tile format mirrors the mental model most users already have, a list of things they own, displayed visually. There is no learning curve. A new user can walk up to an Echo Hub and operate it within seconds.
Best for: Households with mixed smart home ecosystems, renters who want a portable controller, and users who rely heavily on Alexa voice commands alongside touch controls.
| Feature | Detail |
|---|---|
| Panel type | Wall-mounted / countertop |
| Display size | 8 inches |
| Voice assistant | Amazon Alexa |
| Approx. price (2026) | $179 |
| Key UI strength | Instant scene access, familiar tile grid |
The Echo Hub also supports Zigbee, Bluetooth, and Matter, meaning the tile dashboard can pull in devices from dozens of brands without requiring a separate hub. [8][9] For most households, this is the lowest-friction entry point into wall-panel automation.
2. In-Wall Replacement Panel UI (Brilliant Smart Home Panel)
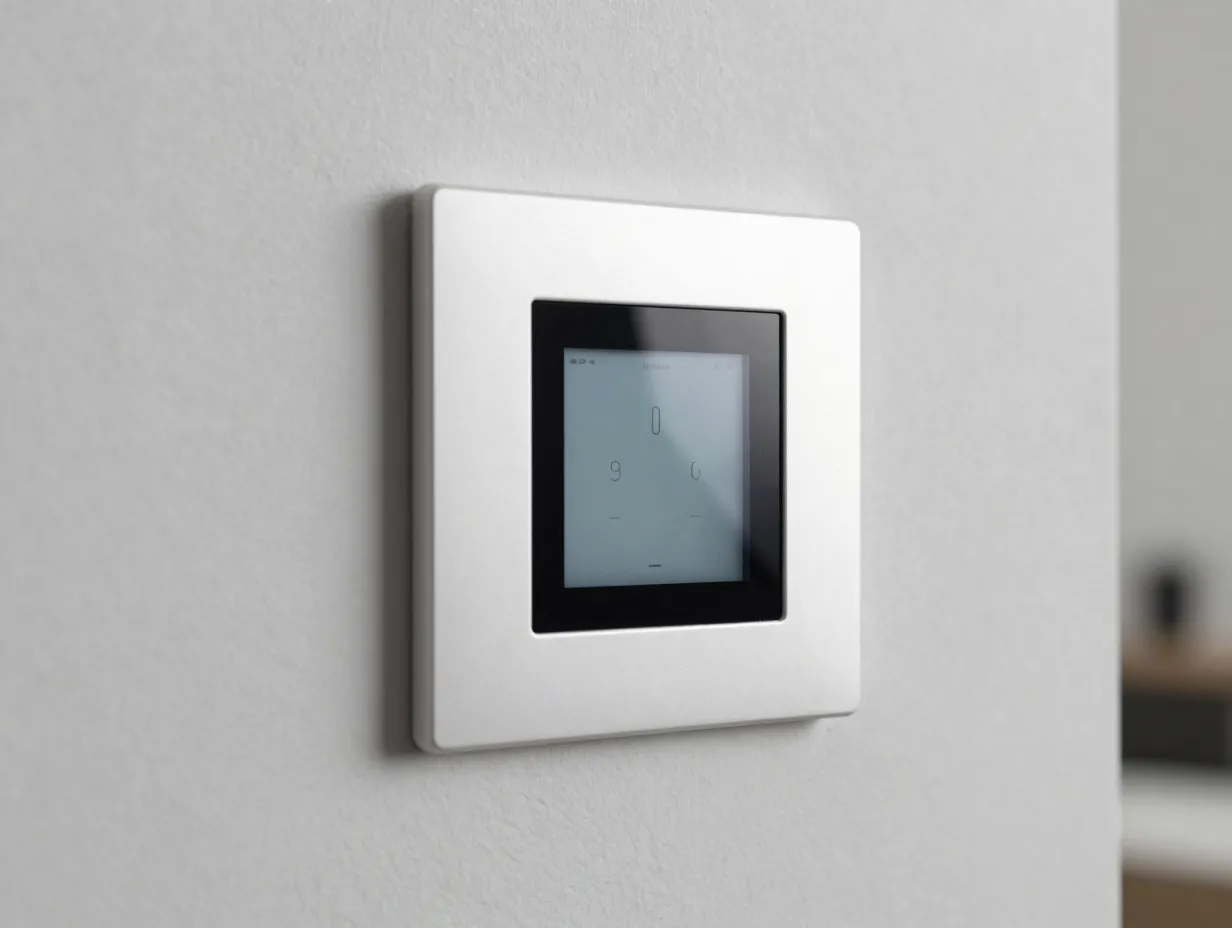
The Brilliant panel takes a fundamentally different approach to smart home UI design. Rather than adding a new device to the wall, it replaces an existing light switch, making the control panel invisible in the sense that it occupies space that was already occupied. Priced between roughly $239 and $299 depending on the number of switch positions, Brilliant is consistently rated the best in-wall panel for most homes. [2][3]
How it works: The Brilliant panel embeds a touchscreen directly into a standard wall plate. The UI presents a combination of physical dimmer sliders (capacitive touch strips on the sides) and a central touchscreen that shows device tiles, scene shortcuts, and a camera feed if a Brilliant camera is installed. The design prioritizes ambient integration, the panel looks like a premium light switch, not a tablet bolted to the wall.
Why it works: The in-wall replacement model solves the “extra device” objection. Homeowners who resist adding hardware to their walls will accept a panel that replaces hardware they already have. The UI is intentionally minimal at idle, brightening and expanding only when touched.
Best for: Homeowners doing a renovation or new build, households where aesthetics are a priority, and users who want Alexa, Google Assistant, and Ring integration in a single switch-sized footprint.
“The best smart home UI is the one residents forget is there, until they need it, and then it delivers exactly what they want.”
Brilliant’s UI also supports multi-room audio control, intercom functionality between panels, and motion-activated wake, which means the interface adapts to presence rather than requiring deliberate interaction. [2]
3. All-in-One Compact Panel UI (SONOFF NSPanel Pro / NSPanel Pro Gen2)
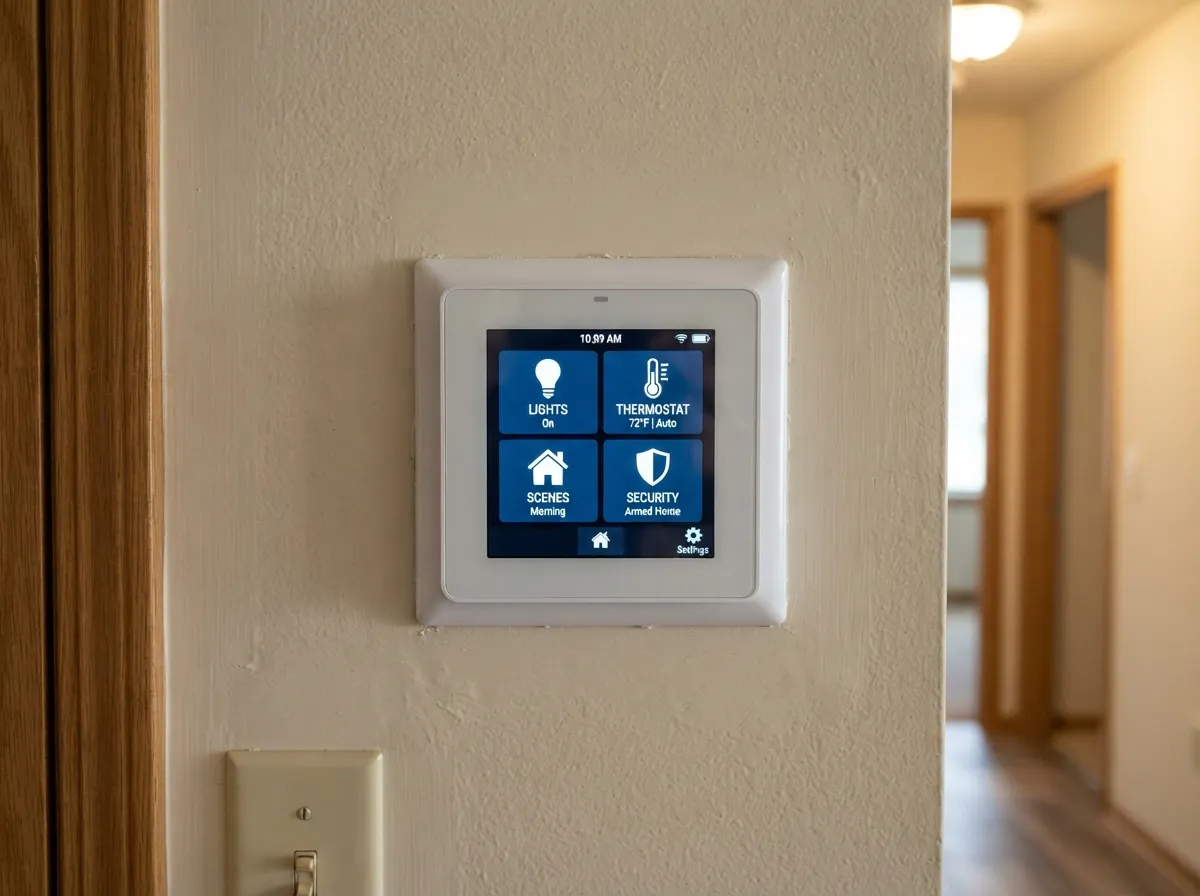
The SONOFF NSPanel Pro line targets a different segment: users who want maximum protocol coverage in the smallest possible form factor. The NSPanel Pro Gen2, announced for pre-order at $116.90 with shipping beginning June 15, 2026, packs a 3.95-inch touch display, two 10A relays, dual-band Wi-Fi 4, Bluetooth LE, Zigbee 3.0, Matter support, a speaker, and a microphone into a standard 86-type wall box. [4][6]
How it works: The UI on the NSPanel Pro Gen2 is organized around a central home screen with large, finger-friendly tiles for lights, thermostat, scenes, and security. A swipe-left gesture opens the device list; swipe-right opens scene management. The panel runs eWeLink natively but is also compatible with Home Assistant, Apple Home, Amazon Alexa, and Google Home. [4][6]
Why it works: The compact all-in-one UI is the right choice when wall space is limited or when a single panel needs to serve as both a physical relay controller (directly switching lights) and a software dashboard. The Gen2’s multi-ecosystem compatibility means the UI is not locked to a single vendor’s design language, users can surface standardized Matter device tiles and reuse scenes across platforms. [4]
Best for: Home Assistant power users, Zigbee-heavy setups, apartments with limited wall space, and users who want voice interaction without a separate smart speaker.
The NSPanel Pro line is consistently ranked as the top pick for Home Assistant wall panels, largely because its open firmware support allows custom UI layouts that go well beyond the stock eWeLink interface. [3][6]
4. Large-Format Smart Display UI (Amazon Echo Show 15)
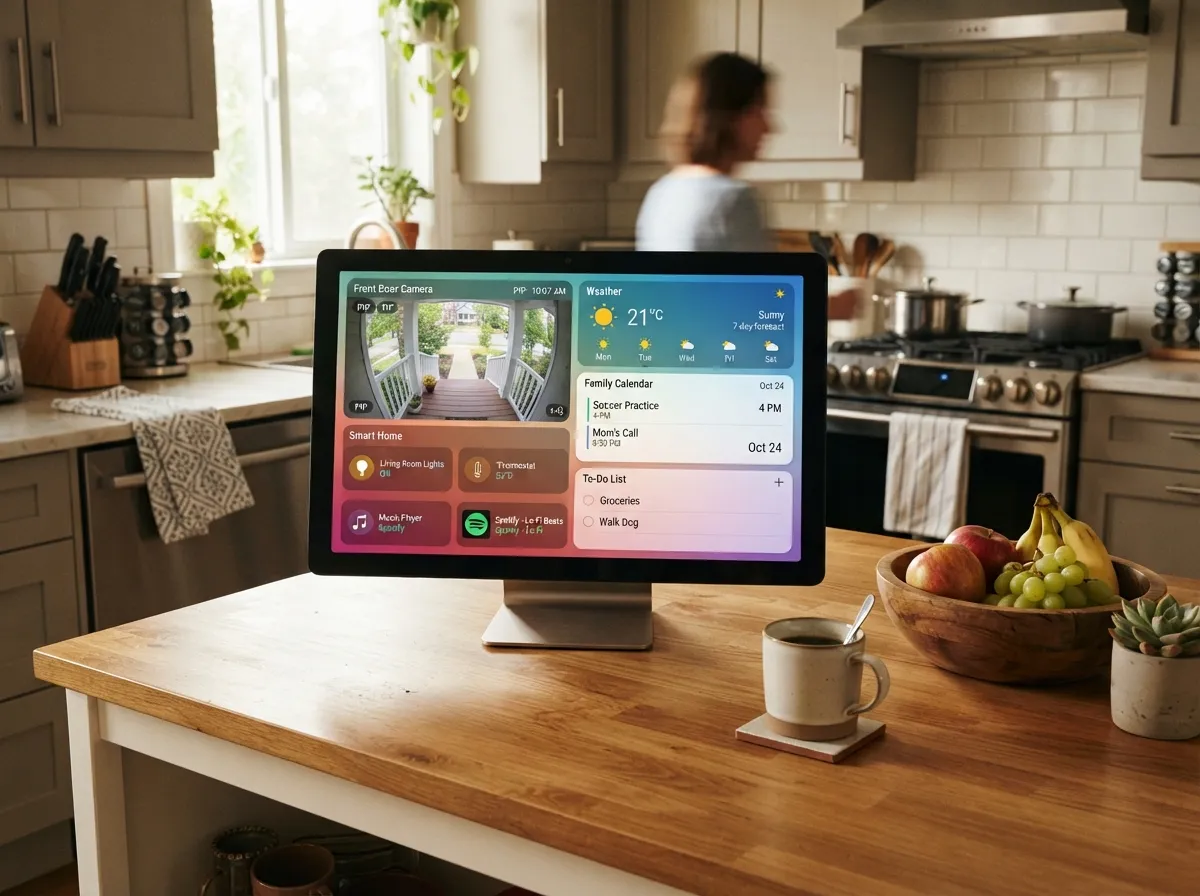
Not every smart home control panel needs to be a dedicated wall hub. The Amazon Echo Show 15, priced at approximately $249, demonstrates that a large-format smart display can function as a fully capable home automation dashboard when paired with the right UI configuration. [1][8]
How it works: The Echo Show 15 runs a 15.6-inch full HD display with a customizable home screen that supports widgets for smart home controls, calendars, shopping lists, and media. The Smart Home Dashboard widget presents a tile grid nearly identical to the Echo Hub, but at a much larger scale. Users can pin frequently used devices, activate scenes by voice or touch, and monitor camera feeds in a picture-in-picture layout.
Why it works: The large-format UI excels in shared spaces, kitchens, living rooms, and entryways, where multiple household members need to interact with the panel simultaneously. The extra screen real estate allows more device tiles to be visible at once, reducing the need to scroll or navigate sub-menus.
Best for: Kitchens and family common areas, households that also want a media display and video calling device, and users who prefer a plug-in device over a hardwired installation.
| Comparison Point | Echo Hub | Echo Show 15 |
|---|---|---|
| Display size | 8 inches | 15.6 inches |
| Installation | Wall-mount or countertop | Wall-mount or countertop |
| Primary UI | Smart home tiles | Smart home + media widgets |
| Voice assistant | Alexa | Alexa |
| Approx. price (2026) | $179 | $249 |
The Echo Show 15 also supports visual ID, which personalizes the home screen based on who is standing in front of it, an early implementation of the biometric-aware UI trend that analysts predict will become standard across high-end panels. [8][12]
5. Professional Custom Interface UI (Control4 Tilt)
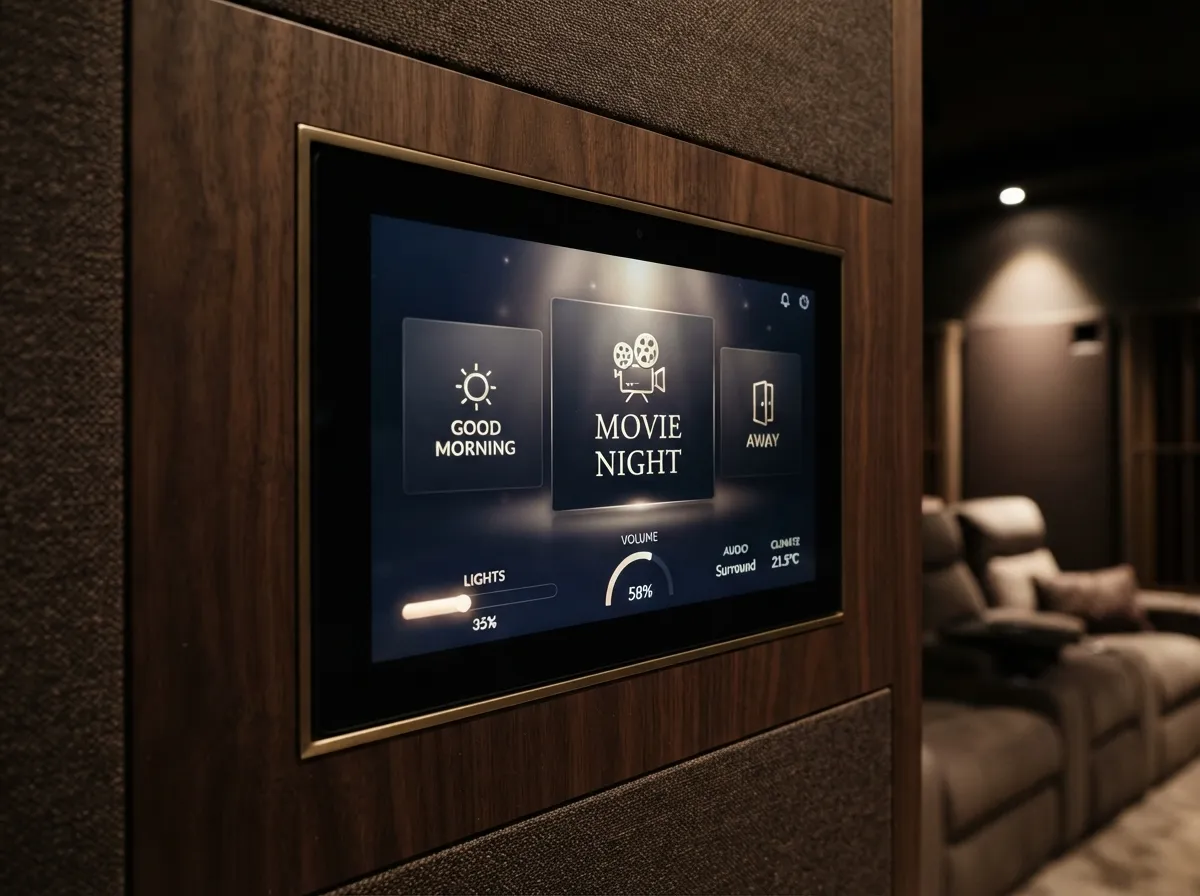
At the opposite end of the spectrum from DIY panels sits the Control4 Tilt, a professional-grade in-wall touchscreen that retails for over $1,000 and requires dealer installation. [1][7] The Tilt represents the most sophisticated UI paradigm in this list: a fully custom, project-specific interface built by a certified Control4 dealer using the Control4 Composer design environment.
How it works: The Control4 Tilt UI is not a template, it is a bespoke design created for each installation. The dealer maps every device, scene, and automation in the home to custom buttons, sliders, and panels that reflect the homeowner’s specific layout and preferences. The result is an interface where tapping “Movie Night” dims the lights, closes the shades, powers on the projector, sets the thermostat to 70°F, and silences the doorbell, all in a single action, with no visible device management required.
Why it works: The professional custom UI eliminates the gap between what the homeowner wants to do and what the interface asks them to do. There are no generic device lists, no protocol labels, and no ecosystem logos. The UI speaks in the language of activities and outcomes, not devices and commands.
Best for: New construction, luxury renovations, commercial hospitality environments, and homeowners who want a zero-compromise automation experience and are willing to pay for professional design and installation.
The trade-off is cost and flexibility. Modifying a Control4 system typically requires a dealer visit, which makes it less suitable for users who enjoy tinkering or frequently change their device lineup. [1][7]
6. Open-Source Glassmorphism UI (Home Assistant Custom Dashboard)
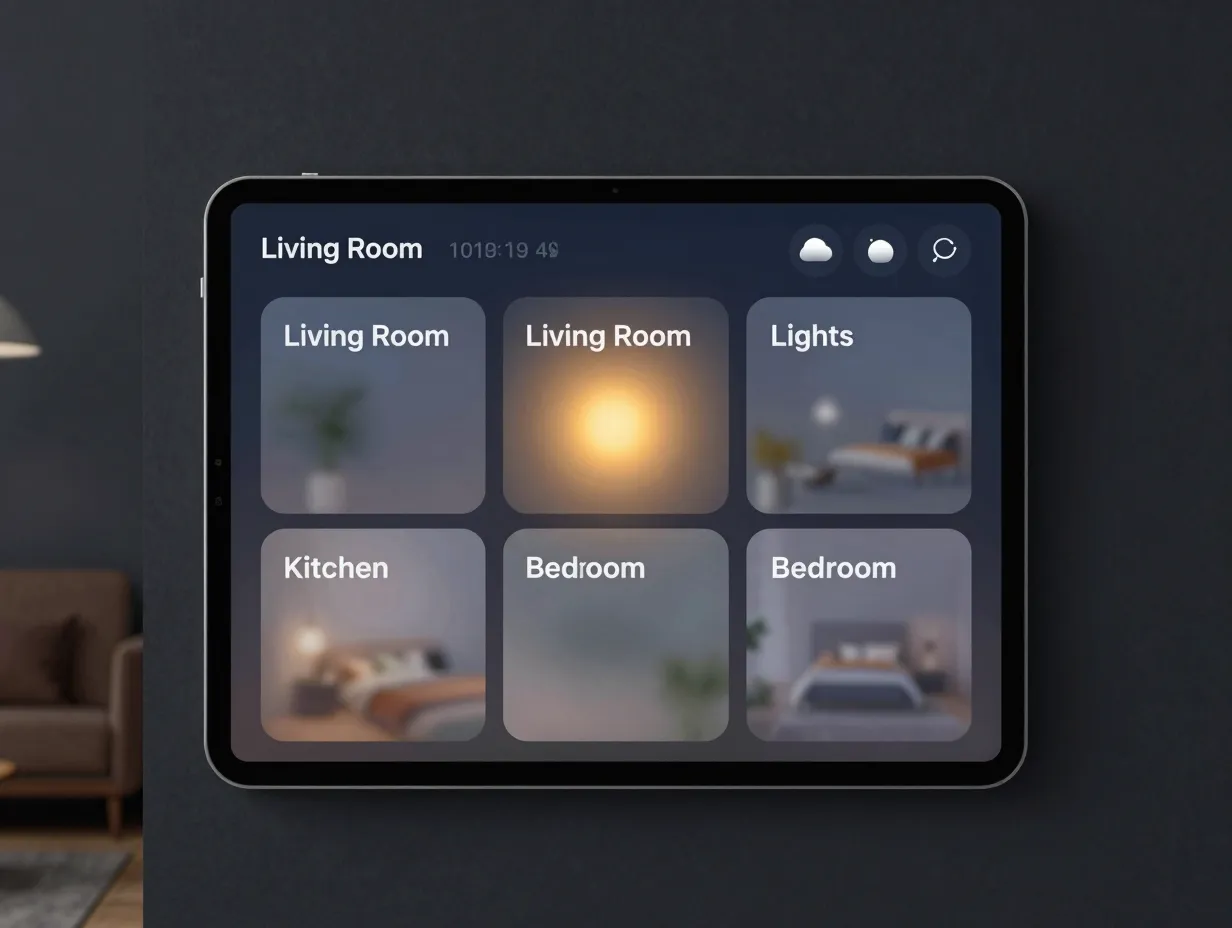
The sixth and most visually distinctive entry in the 6 Smart Home Control Panel UI Designs for Effortless Automation is the custom Home Assistant dashboard, specifically the glassmorphism “liquid glass” style that has become a showcase standard in the Home Assistant community in 2026. [5][10]
How it works: Home Assistant’s Lovelace UI engine allows users to build entirely custom dashboards using YAML configuration, custom card integrations (such as Mushroom Cards, Button Card, and Mini Graph Card), and CSS theming. The glassmorphism style applies frosted-glass card backgrounds, subtle blur effects, and translucent overlays to create a UI that feels modern and spatial rather than flat. Cards change color, icon, and animation state based on real-time device status, a light card glows warm amber when the bulb is on, shifts to cool gray when off. [5]
Why it works: The room-based grouping model used in these dashboards, organizing cards by Living Room, Kitchen, Bedroom, Balcony, and Hall rather than by device type, directly reduces cognitive load. Users navigate by where they are, not by what protocol a device uses. State-aware visual feedback means the dashboard communicates the home’s current state at a glance, without requiring the user to tap into sub-menus. [5][10]
Best for: Tech-savvy homeowners, Home Assistant power users, Zigbee and Z-Wave heavy setups, and anyone who wants complete UI control without paying for proprietary hardware.
The open-source model also means the UI evolves continuously. Community designers release new card styles, themes, and layout templates regularly, and the Figma-based design systems (such as the Smart Home Dashboard Figma kit) provide a structured starting point for users who want a polished result without building from scratch. [22][23]
Key design principles from the best Home Assistant dashboards:
- Use room-based navigation as the top-level structure, not device type
- Apply state-aware color and icon changes to every card
- Keep the primary action (toggle, slider, scene) reachable in one tap
- Reserve a persistent header for time, weather, and alarm status
- Use dark mode as the default for wall-mounted tablets in living spaces
How to Choose the Right UI Design for Your Home
Selecting among these six paradigms comes down to three variables: technical comfort level, installation context, and ecosystem commitment.
Technical comfort level determines whether a DIY approach (Echo Hub, NSPanel Pro, Home Assistant) or a professional installation (Control4 Tilt) is appropriate. Users who enjoy configuring devices and building automations will find the open-source glassmorphism approach deeply satisfying. Users who want to plug in and start immediately will be better served by the tile-based or large-format display options.
Installation context shapes the physical choice. In-wall panels (Brilliant, NSPanel Pro Gen2, Control4 Tilt) require access to a wall box and, in some cases, a neutral wire. Countertop or plug-in options (Echo Hub, Echo Show 15) require no electrical work.
Ecosystem commitment is increasingly less of a constraint in 2026, thanks to Matter. All six UI paradigms reviewed here support Matter to varying degrees, which means devices from different manufacturers can appear in a single dashboard without requiring manufacturer-specific bridges. [4][6][9] However, voice assistant preference (Alexa vs. Google Assistant vs. Apple Siri) still influences which panel feels most native.
Want the simplest setup? Amazon Echo Hub (tile-based, plug-and-play, Alexa-native).
Want the best aesthetics? Brilliant in-wall panel (replaces light switch, minimal footprint).
Want the most protocol coverage for the least money? SONOFF NSPanel Pro Gen2 (Zigbee + Matter + relays, under $120).
Want a kitchen or family room hub? Echo Show 15 (large display, media + automation combined).
Want a zero-compromise custom experience? Control4 Tilt (professional installation, activity-based UI).
Want full creative control? Home Assistant glassmorphism dashboard (open-source, infinitely customizable).
Emerging UI Trends Shaping the Next Generation of Smart Home Panels
The six designs above reflect the current state of the art, but the trajectory of smart home control panel UI design is moving in three clear directions for the remainder of 2026 and beyond.
AI-driven proactive automation is shifting UI design away from manual per-device toggles toward interfaces that surface suggestions. Rather than showing a grid of lights to turn off, a next-generation panel might display a single notification: “You usually leave in 10 minutes. Activate Away scene?” The UI becomes a conversation rather than a control board. [7][9]
Biometric security integration is moving from a separate app function to a core dashboard element. Face recognition and fingerprint authentication are expected to become standard in high-end panels, with real-time encryption status indicators and device health monitors embedded directly in the main dashboard rather than buried in settings menus. [7][9]
Unified energy and automation dashboards are merging home automation controls with solar production charts, EV charging status, and time-of-use electricity pricing data. Design concepts on Dribbble and Behance already show panels that blend thermostat sliders, lighting cards, music players, and solar output graphs in a single scrollable view, a pattern that will likely become mainstream as home energy management systems proliferate. [10]
Conclusion
The 6 Smart Home Control Panel UI Designs for Effortless Automation covered in this guide, tile-based dashboards, in-wall replacement panels, compact all-in-one controllers, large-format smart displays, professional custom interfaces, and open-source glassmorphism dashboards, each solve a real problem for a specific type of homeowner. None is universally superior. The right choice depends on how much control the user wants over the interface, how the panel will be physically installed, and which devices and ecosystems are already in the home.
Actionable next steps:
- Audit the existing smart home device ecosystem before choosing a panel. Zigbee-heavy setups benefit most from the NSPanel Pro Gen2 or a Home Assistant dashboard; Alexa-centric homes are best served by the Echo Hub or Echo Show 15.
- Decide on installation type first. In-wall panels require electrical access; countertop or plug-in panels do not.
- Test a tile-based or room-based UI layout before committing to a custom design. The Echo Hub’s interface is a reliable benchmark for what most users find intuitive.
- If budget allows and the home is being renovated, get a Control4 or Brilliant consultation, the activity-based UI paradigm delivers a qualitatively different experience that is difficult to replicate with DIY tools.
- Follow the Home Assistant community dashboard showcases for inspiration, even if the plan is to use a commercial panel, the design principles (room-based grouping, state-aware cards, one-tap actions) apply across every platform.
The gap between a frustrating smart home and an effortless one is almost always a UI problem. Solving it starts with choosing the right design paradigm.
References
[1] Best Smart Home Control Panels 2026 – https://smarthomeahead.com/best-smart-home-control-panels-2026/
[2] Best In Wall Smart Home Control Panels 2026 – https://www.smarthomeexplorer.com/guides/best-in-wall-smart-home-control-panels-2026
[3] Best Home Assistant Wall Control Panels 2026 – https://www.smarthomeexplorer.com/guides/best-home-assistant-wall-control-panels-2026
[4] Sonoff NSPanel Pro Gen2 A 86 Type Smart Home Control Panel Two Relays Dual Band Wifi Zigbee 3.0 Matter Support – https://www.cnx-software.com/2026/04/29/sonoff-nspanel-pro-gen2-a-86-type-smart-home-control-panel-two-relays-dual-band-wifi-zigbee-3-0-matter-support/
[5] Home Assistant Dashboard Setup 2026 – https://www.smarthomeexplorer.com/guides/home-assistant-dashboard-setup-2026
[6] Sonoff NSPanel Pro Gen2 Review Ewelink Home Assistant – https://www.cnx-software.com/2026/07/02/sonoff-nspanel-pro-gen2-review-ewelink-home-assistant/
[7] Top 10 Smart Home Control Panels Of 2026 The Ultimate Guide – https://portworld-solu.com/top-10-smart-home-control-panels-of-2026-the-ultimate-guide/
[8] Best Smart Home Controllers Touchscreen 2026 – https://www.smarthomeexplorer.com/guides/best-smart-home-controllers-touchscreen-2026
[9] Best Smart Home Integration Panel – https://ecosmartworld.com/best-smart-home-integration-panel/
[10] Smart Home Dashboards – https://best-smart-devices.com/smart-home-dashboards