6 Pro Secrets to Make Your Phone Pictures and Images Pop
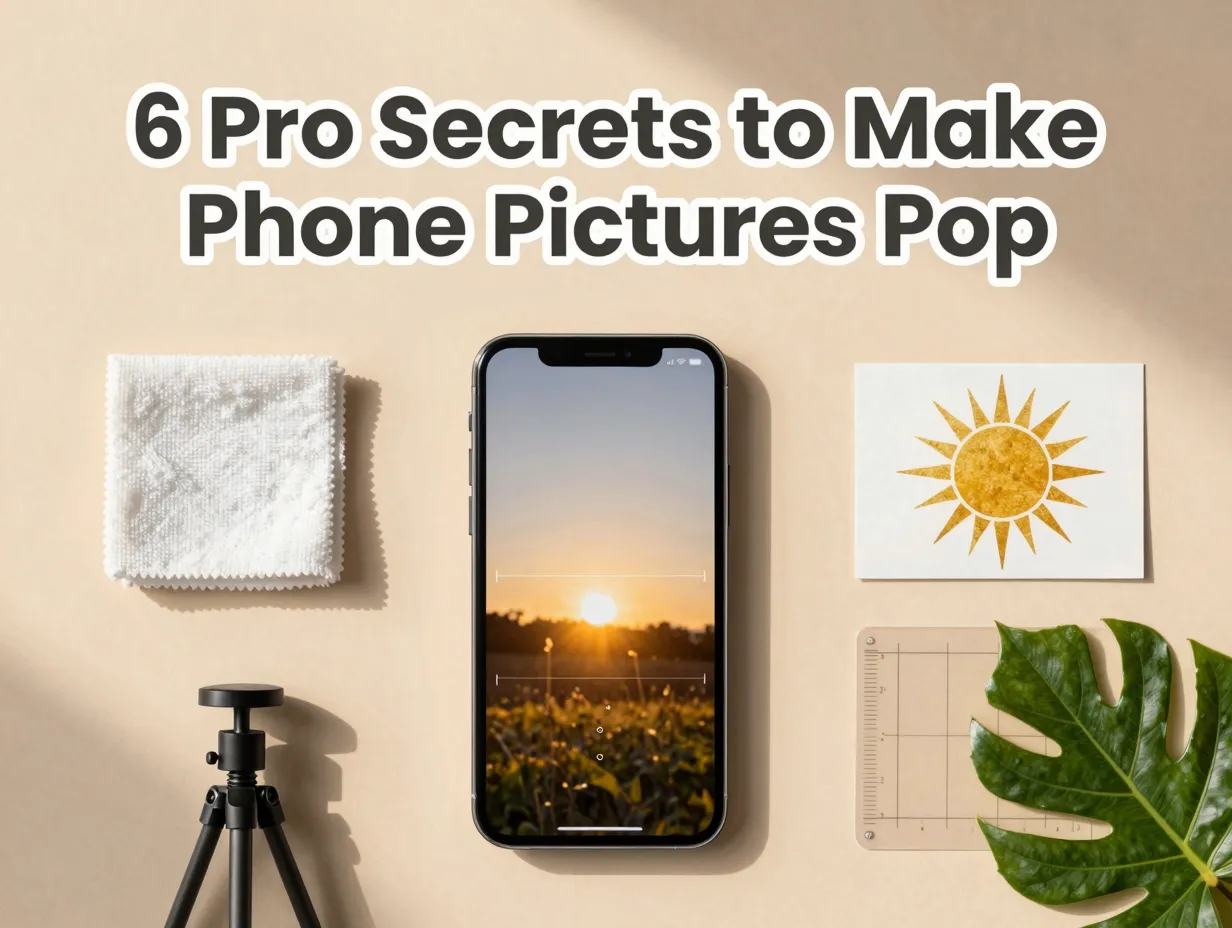
Smartphone cameras now outperform dedicated point-and-shoot cameras from just a decade ago, yet the majority of phone photos still look flat, blurry, or dull. The gap is not hardware, it is technique. Mastering the 6 Pro Secrets to Make Your Phone Pictures and Images Pop closes that gap faster than buying any new device. This guide breaks down each secret with practical, actionable steps drawn from professional mobile photography practice and the latest 2026 camera technology trends.
Disclosure: This post contains affiliate links. As an Amazon Associate, we earn from qualifying purchases, and at no extra cost to you.
Key Takeaways
- Light quality matters more than camera megapixels, always seek soft, directional light before anything else.
- Composition rules like the rule of thirds cost nothing but attention and instantly elevate any shot.
- Manually locking focus and exposure before shooting eliminates the most common causes of bad phone photos.
- Modern phone camera modes, HDR, Night, Portrait, and Pro, are professional tools hiding in plain sight.
- Shooting at full native resolution, using the correct physical lens, and keeping the lens clean are the three most overlooked technical habits.
Why Most Phone Photos Disappoint (And How the 6 Pro Secrets Fix That)
Every year, phone manufacturers add more lenses, more megapixels, and more computational photography features. In 2026, flagship phones now lean heavily on AI-assisted processing, multi-frame stacking, and real-time scene recognition [5]. Despite all of that power, the most common phone photos still suffer from the same handful of problems: poor lighting, cluttered backgrounds, missed focus, and over-reliance on digital zoom.
The good news is that the fixes are almost entirely free. The 6 Pro Secrets to Make Your Phone Pictures and Images Pop address the root causes of weak phone photography, not the symptoms. Whether shooting portraits, food, landscapes, or street scenes, these principles apply universally.
1. Light Is Everything, Seek Soft, Directional Light

Why Light Beats Hardware Every Time
No camera sensor, phone or professional, can manufacture good light. Light is the single biggest variable in any photograph, and learning to read it is the first and most important skill in mobile photography [2].
Harsh, direct light, midday sun, overhead office fluorescents, or the phone’s built-in flash, creates unflattering shadows, blown-out highlights, and flat, lifeless images. Soft, directional light, window light, open shade, golden hour sun, or an overcast sky, wraps around subjects gently, reveals texture, and creates natural depth.
The best free light sources for phone photography:
- North-facing windows indoors (consistent, soft, shadow-free)
- Open shade outdoors (no direct sun, but still bright)
- The hour after sunrise and before sunset (warm, directional, flattering)
- Overcast skies (nature’s giant softbox)
The phone’s built-in flash should be treated as a last resort. It fires directly at the subject from the same axis as the lens, flattening faces and creating harsh shadows on walls behind people [3]. If flash is unavoidable, a small clip-on diffuser or even a piece of white tissue paper over the flash dramatically softens the output.
“The difference between a professional-looking phone photo and an amateur one is almost always the light, not the camera.”, consistent finding across mobile photography guides [8]
Quick reference: Light quality comparison
| Light Type | Quality | Best Use Case |
|---|---|---|
| Direct midday sun | Harsh, high-contrast | Avoid for portraits |
| Golden hour sun | Warm, directional | Landscapes, portraits |
| Window light | Soft, directional | Indoor portraits, food |
| Overcast sky | Diffused, even | Any outdoor subject |
| Phone flash | Harsh, flat | Emergency only |
2. Composition, Use the Grid, Rule of Thirds, and Cleaner Backgrounds
Framing Is a Skill, Not an Accident
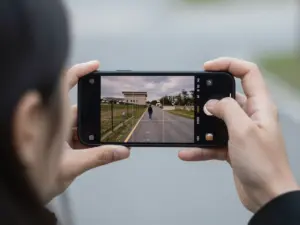
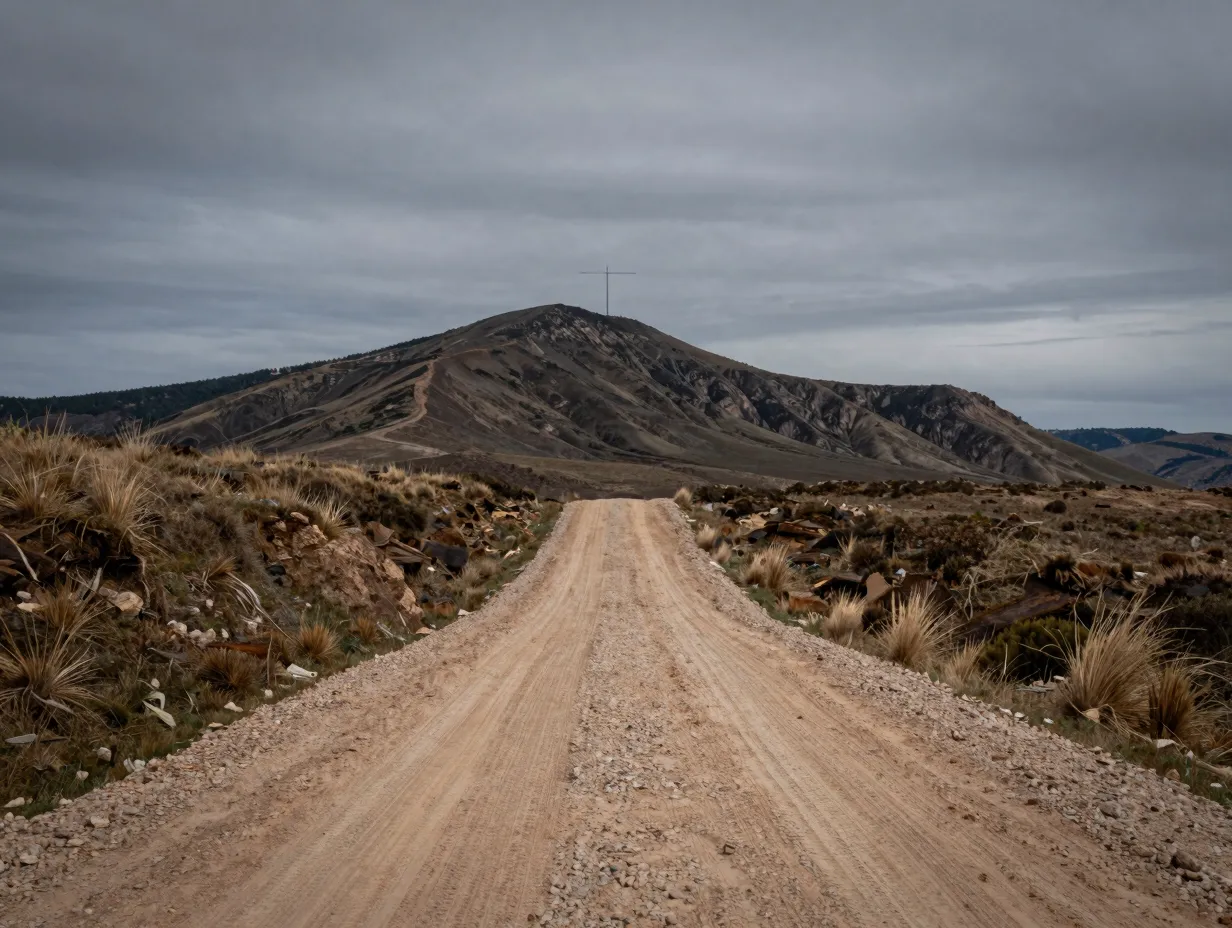
Composition is the arrangement of elements within the frame. It is one of the most powerful tools available to any photographer, and on a phone it costs nothing to use [1]. The most effective starting point is enabling the camera grid in the phone’s settings. This overlays a tic-tac-toe pattern on the viewfinder and makes the rule of thirds immediately visible.
The rule of thirds places the subject at one of the four intersection points of the grid rather than dead center. This creates visual tension, balance, and interest. Horizons should align with the top or bottom third line, not cut the frame in half [8].
Composition techniques that work on any phone:
- Place the main subject at a rule-of-thirds intersection
- Use leading lines (roads, fences, rivers) to draw the eye toward the subject
- Frame the subject within natural frames (doorways, windows, arches)
- Fill the frame completely for detail shots, get closer instead of zooming
- Simplify the background by moving the phone or the subject
Background clutter is one of the most common composition mistakes. A busy background competes with the subject for attention. Moving two steps to the left or right, crouching lower, or shooting from a higher angle can completely change what appears behind the subject [9].
Perspective and angle are instant upgrades. Shooting from eye level is the default, but it is rarely the most interesting choice. Getting low to the ground makes subjects look powerful and dramatic. Shooting from directly above (flat lay) works well for food and products. Slight diagonal angles add energy to otherwise static compositions [4].
3. Take Control of Focus and Exposure Before Every Shot
Stop Letting the Phone Decide
Modern phone cameras are designed to make decisions automatically. Most of the time, the auto systems are good. But “good enough” is not the same as “exactly right.” The two most important manual controls available on almost every smartphone camera are tap-to-focus and exposure adjustment [10].
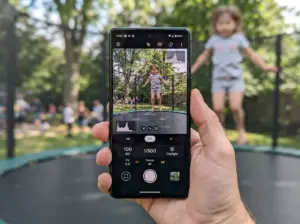
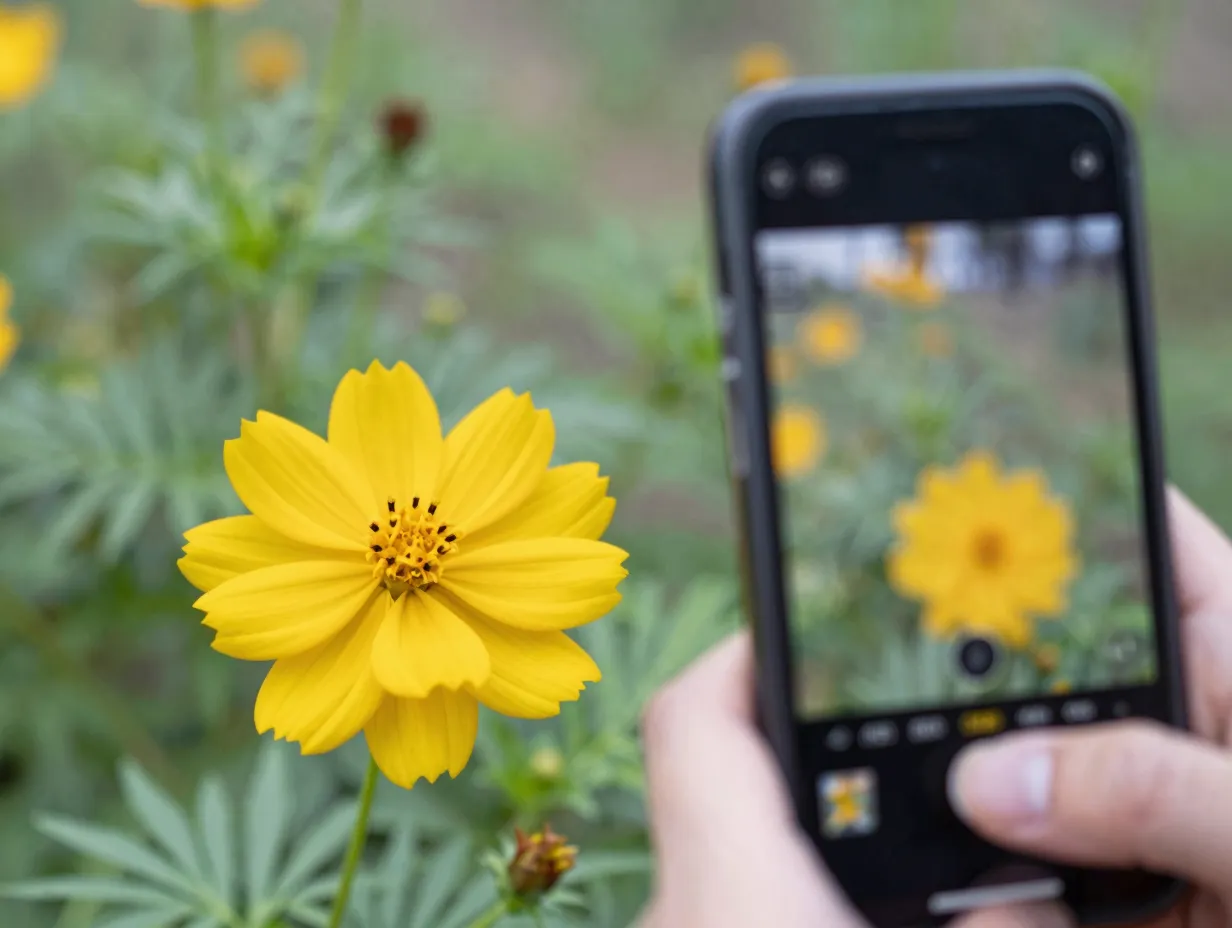
Tap-to-focus tells the camera exactly which part of the scene to make sharp. By default, phones focus on whatever is closest or most central. Tapping on the subject’s eye in a portrait, or on the flower in a garden shot, forces the camera to prioritize the correct element.
Exposure adjustment controls brightness. After tapping to focus, a small sun icon or slider usually appears on screen. Dragging it up brightens the image; dragging it down darkens it. This simple step prevents washed-out skies and underexposed faces [3].
Exposure lock (AE/AF Lock) is an underused feature. Pressing and holding on the subject locks both focus and exposure, preventing the camera from readjusting when something moves through the frame. This is especially useful for moving subjects or scenes with changing light.
Common focus and exposure mistakes to avoid:
- Letting the camera auto-focus on the background instead of the subject
- Shooting into bright windows without adjusting exposure down
- Not using exposure lock when the subject is moving
- Forgetting to re-tap focus when repositioning the phone
- Ignoring the exposure warning indicators in the viewfinder
4. Master Modern Phone Camera Modes, HDR, Night, Portrait, and Pro
The Professional Tools Already on the Phone
In 2026, the gap between phone camera modes and dedicated camera features has nearly closed. Phones now ship with modes that were once exclusive to professional cameras, and most users never leave the default auto mode [5]. Understanding when and how to use each mode is a significant part of the 6 Pro Secrets to Make Your Phone Pictures and Images Pop.
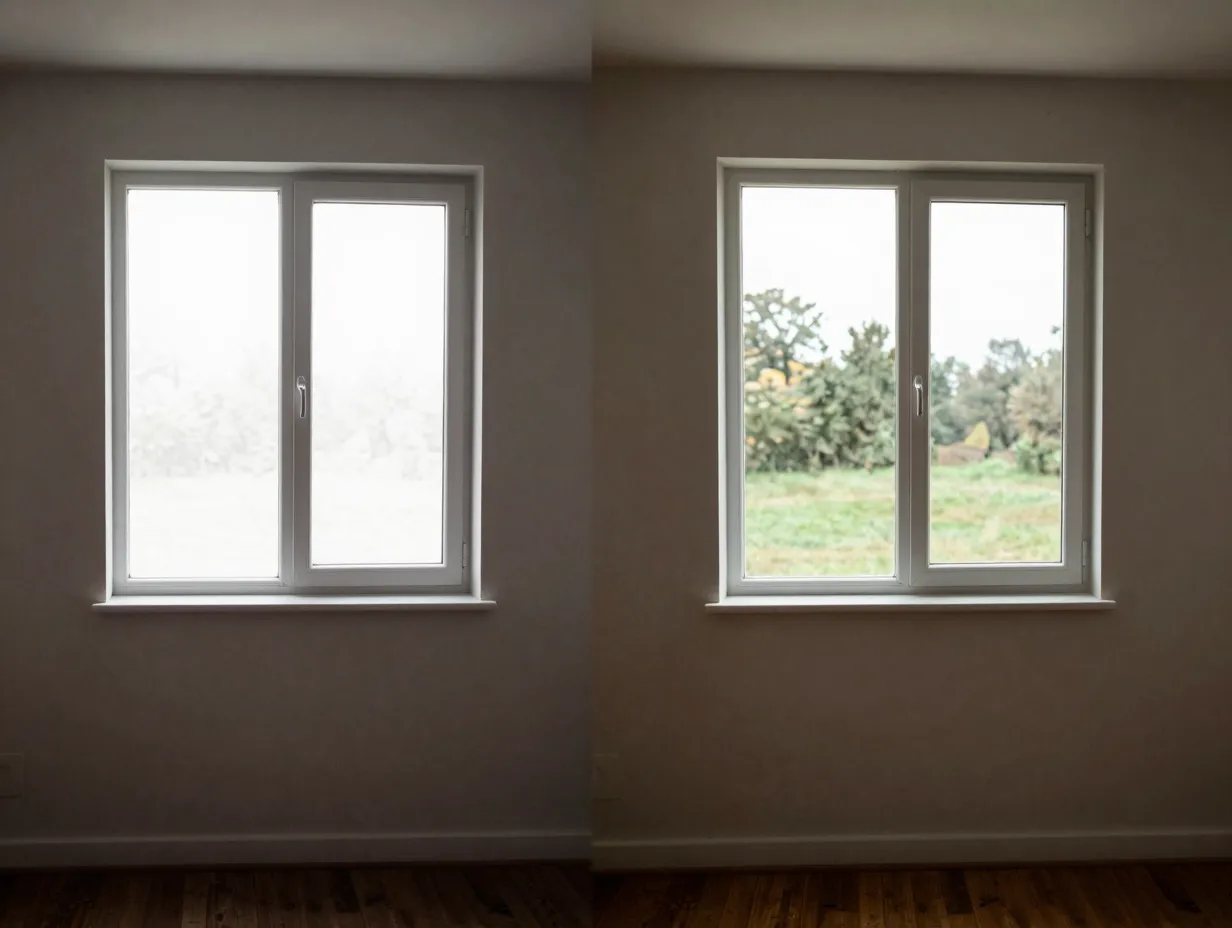
HDR (High Dynamic Range): Captures multiple exposures simultaneously and blends them. Best used for high-contrast scenes, bright sky with a darker foreground, or a sunlit window in a dim room. HDR preserves detail in both the highlights and shadows [6].
Night Mode: Uses long-exposure multi-frame stacking to brighten dark scenes without adding excessive noise. Best used on a stable surface or with very steady hands. Night mode is not ideal for moving subjects because the longer capture time causes motion blur [7].
Portrait Mode: Uses depth mapping (via multiple lenses or AI) to blur the background while keeping the subject sharp. This mimics the shallow depth of field of a professional camera lens. Works best when the subject is 1.5 to 2.5 meters from the phone and the background has some distance behind it [2].
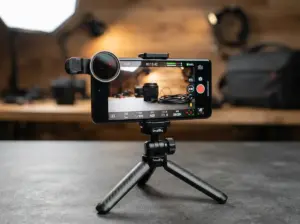
Pro / Manual Mode: Gives direct control over ISO, shutter speed, white balance, and focus. Available on most Android flagships and some iPhones via third-party apps. Pro mode is the right choice for creative control, low-light shooting without Night Mode’s processing, and shooting in RAW format [10].
Mode selection quick guide:
| Scene Type | Recommended Mode |
|---|---|
| Bright outdoor, high contrast | HDR |
| Low light, static subject | Night Mode |
| People, pets, close objects | Portrait Mode |
| Creative control, RAW capture | Pro / Manual Mode |
| General everyday shooting | Standard Auto |
RAW and HEIF formats are now mainstream options on flagship phones. RAW files preserve all sensor data and allow extensive editing without quality loss. HEIF offers better compression than JPEG while retaining more detail. For anyone who edits photos after shooting, switching to RAW or HEIF is a straightforward upgrade [7].
5. Treat the Phone Like a Real Camera for Stability and Sharpness

Camera Shake Is the Silent Killer of Phone Photos
Even the best phone camera sensor cannot compensate for a shaky hand. Camera shake is the most common cause of blurry phone photos, and it is entirely preventable [1]. The 6 Pro Secrets to Make Your Phone Pictures and Images Pop consistently emphasize physical stability as a non-negotiable foundation.
Techniques for steadier phone shots:
- Tuck elbows into the chest to create a stable human tripod
- Brace the phone against a wall, table, or door frame when possible
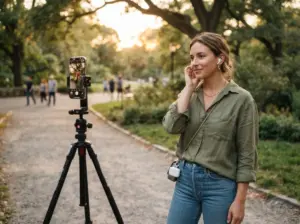
- Use a small phone tripod or gorilla-style flexible mount for stationary shots
- Use the volume button or a Bluetooth shutter remote instead of tapping the screen
- Use burst mode for moving subjects to capture the sharpest frame from a sequence
Lens cleanliness is one of the most overlooked “hidden” pro tips. Phone lenses live in pockets, bags, and hands all day. A thin film of fingerprint oil or dust on the lens scatters light and reduces sharpness and contrast dramatically. Wiping the lens with a soft microfiber cloth before every important shoot takes three seconds and makes a visible difference [9].
Camera app updates matter too. Phone manufacturers regularly release updates that improve processing algorithms, fix autofocus bugs, and add new features. Keeping the camera app and phone firmware updated ensures access to the best computational photography the device can deliver [4].
Stability tools comparison:
| Tool | Cost | Best For |
|---|---|---|
| Elbow-tuck technique | Free | All handheld shots |
| Phone tripod | Low | Landscapes, long exposure |
| Gorilla mount | Low | Flexible positioning |
| Bluetooth shutter | Low | Self-portraits, group shots |
| Volume button shutter | Free | Reducing screen-tap shake |
6. Shoot at Full Resolution, Avoid Digital Zoom, and Choose the Right Lens

The Technical Foundations That Protect Image Quality
The final secret in the 6 Pro Secrets to Make Your Phone Pictures and Images Pop is about protecting image quality at the source. Three technical habits make the biggest difference: shooting at full resolution, avoiding digital zoom, and selecting the correct physical lens for the scene [6].
Full resolution shooting means checking the camera settings and ensuring the highest available megapixel option is selected. Many phones default to a compressed or lower-resolution setting to save storage space. Shooting at full resolution preserves the maximum detail for editing and cropping later [8].
Digital zoom degrades image quality. When a phone “zooms” beyond its optical zoom range, it is simply cropping and enlarging the image digitally, the same as cropping in an editing app, but with no ability to undo. The result is a softer, noisier image. The professional alternative is to move physically closer to the subject, or to crop the full-resolution image in editing afterward [3].
Modern phones have multiple physical lenses, typically an ultra-wide, a standard wide, and one or more telephoto lenses. Each lens is optimized for a specific distance and field of view. Using the correct lens for the scene, rather than digitally zooming from the wrong lens, produces sharper, more natural results [5].
Lens selection guide:
| Lens Type | Focal Equivalent | Best For |
|---|---|---|
| Ultra-wide | 13-16mm | Architecture, landscapes, interiors |
| Standard wide | 24-28mm | Street, portraits, everyday |
| 2x Telephoto | 48-56mm | Flattering portraits, details |
| 5x+ Telephoto | 120mm+ | Distant subjects, compression |
Quick editing is the non-negotiable final step. Even a technically perfect phone photo benefits from basic post-processing. Adjusting exposure, contrast, highlights, shadows, and sharpness in a mobile editing app like Lightroom Mobile, Snapseed, or the phone’s native editor takes under two minutes and consistently produces more polished results [7]. The goal is not heavy filtering, it is correcting and enhancing what the camera already captured.
A minimal mobile editing checklist:
- Straighten the horizon if needed
- Adjust overall exposure to the correct brightness
- Recover blown highlights and lift crushed shadows
- Add a small amount of clarity or texture for sharpness
- Adjust white balance if colors look too warm or too cool
- Export at full resolution
Putting All 6 Pro Secrets Together, A Practical Shooting Workflow
Understanding each secret individually is useful. Applying them in sequence during a real shoot is where the transformation happens. The following workflow integrates all six secrets into a repeatable process that works for any subject or scene.
Before picking up the phone:
- Assess the available light and reposition to find the best angle relative to the light source
- Wipe the lens clean
While framing the shot:
- Enable the grid and apply rule-of-thirds composition
- Check the background for clutter and adjust position if needed
- Select the correct physical lens for the subject distance
Before pressing the shutter:
- Tap to focus on the main subject
- Adjust exposure with the slider
- Lock AE/AF if the subject or light might shift
- Choose the appropriate camera mode (HDR, Night, Portrait, Pro)
- Brace elbows or use a support surface
After shooting:
- Review the shot at full zoom to check sharpness
- Apply quick edits in a mobile editing app
- Export at full resolution
This workflow adds less than thirty seconds to any shot and consistently produces results that look far beyond what most phone cameras are assumed to be capable of [1][6].
Conclusion
The 6 Pro Secrets to Make Your Phone Pictures and Images Pop are not about expensive gear or years of technical training. They are about developing deliberate habits around light, composition, focus control, camera modes, physical stability, and technical settings. Each secret addresses a specific, common failure point in phone photography, and together, they produce a compounding effect that elevates every image.
Actionable next steps for 2026:
- Enable the camera grid in settings today and start applying the rule of thirds on every shot.
- Delete the habit of using digital zoom, move closer or crop later instead.
- Before the next important shot, wipe the lens, tap to focus, and adjust exposure manually.
- Explore Pro or Manual mode once a week to build comfort with ISO and shutter speed controls.
- Install a free mobile editing app and apply a basic five-step edit to the next ten photos taken.
The phone in a pocket right now is capable of producing genuinely stunning images. The only thing standing between ordinary snapshots and professional-quality results is the consistent application of these six secrets.
References
[1] How To Use Your Phone For Professional Photography Shoots – https://thedivinemagazine.com/how-to-use-your-phone-for-professional-photography-shoots/
[2] Smartphone Photography – https://martinkleinheinz.de/en/smartphone-photography/
[3] How To Take Better Photos With A Phone – https://www.photographylaunchpad.com/how-to-take-better-photos-with-a-phone/
[4] How To Improve Smartphone Camera Quality In 2026 – https://mobileos.it/en/2026/07/how-to-improve-smartphone-camera-quality-in-2026/
[5] Smartphone Photography In 2026 Phone – https://www.onlinedesignteacher.com/2026/08/smartphone-photography-in-2026-phone.html
[6] How To Take Better Smartphone Photos – https://6monthslater.net/2026/05/how-to-take-better-smartphone-photos/
[7] Smartphone Photography Tools Guide 2026 – https://sharedtutor.com/2026/07/04/smartphone-photography-tools-guide-2026/
[8] Complete Guide To Smartphone Photography – https://www.fredericpaulussen.be/complete-guide-to-smartphone-photography/
[9] Best Smartphone Photography Tips That Instantly Level Up – https://shop.bottegadelsarto.com/opinion/best-smartphone-photography-tips-that-instantly-level-up-284724
[10] Beginner Camera Settings Guide To Get Professional Photos Using Your Phone – https://capacademy.in/beginner-camera-settings-guide-to-get-professional-photos-using-your-phone/